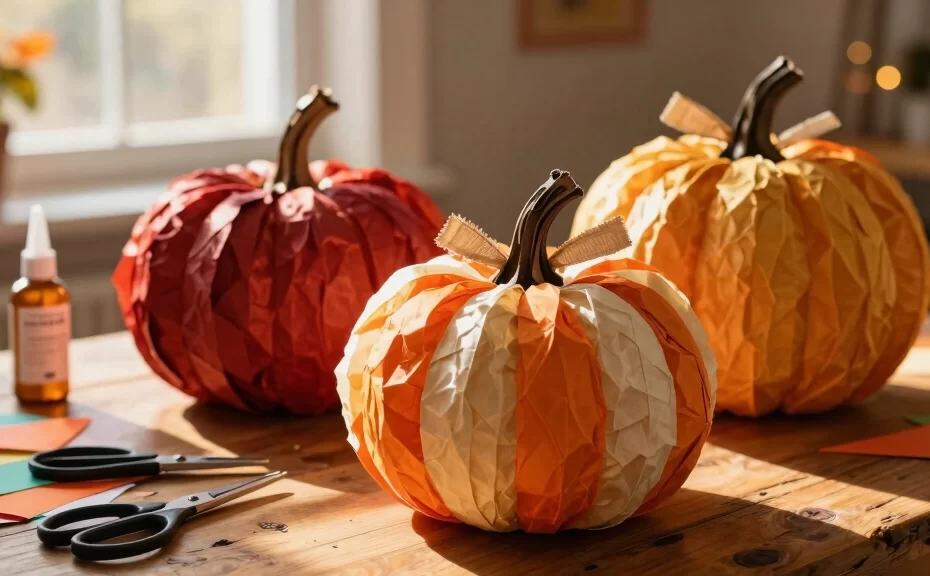
Fall has finally arrived, and your front porch is begging for a cozy makeover. But let’s be honest: who wants to spend a fortune on plastic store-bought decorations that look generic? DIY tissue paper pumpkins offer a budget-friendly, incredibly creative way to warm up your home this season. With just a bottle of glue, some colorful paper, and a pinch of imagination, you can transform plain surfaces into autumn masterpieces.
Do you want to create stunning centerpieces, whimsical window art, or chic farmhouse accents? We have gathered the absolute best projects to spark your creativity. These crafts require zero professional art skills, making them perfect for cozy weekend afternoons with family. Grab your scissors, clear off the dining table, and get ready to craft your way into the ultimate fall vibe.
1. The Classic Mod Podge Pumpkin
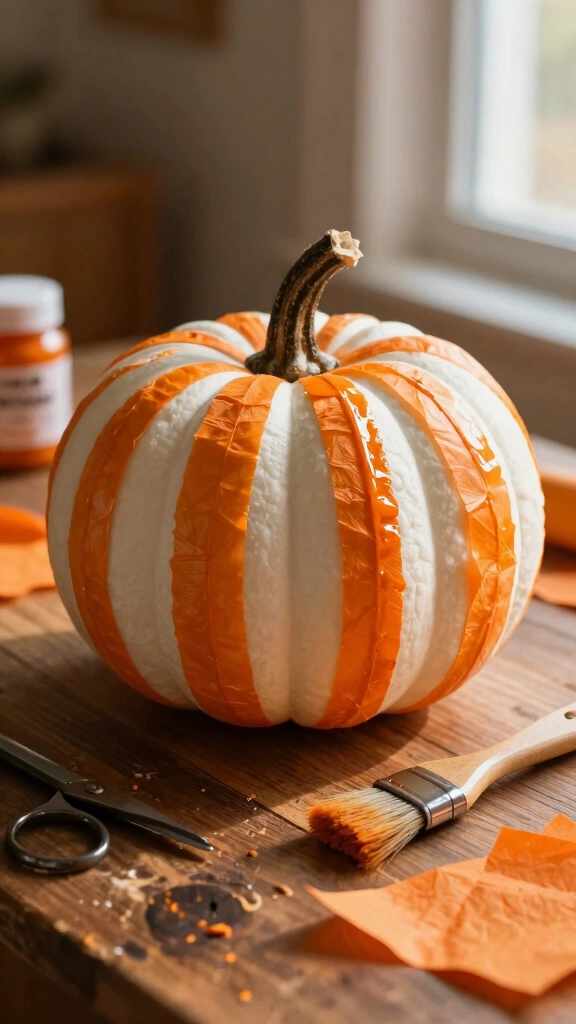
You cannot go wrong with the absolute classic decoupage technique. For this project, you need a faux white pumpkin, orange tissue paper, and a bottle of Mod Podge. Cut the tissue paper into vertical strips that mimic the natural ridges of the pumpkin. Brush the glue onto the pumpkin surface, lay the paper strips down, and seal them with another layer of glue.
Pro Tip for a Flawless Finish
Always start from the center and smooth the paper outward to prevent unsightly wrinkles. Using white foam pumpkins makes the orange tissue paper look incredibly vibrant. IMO, this simple technique creates a gorgeous, glossy finish that mimics high-end ceramic decor.
2. Textured Crumpled Tissue Pumpkins
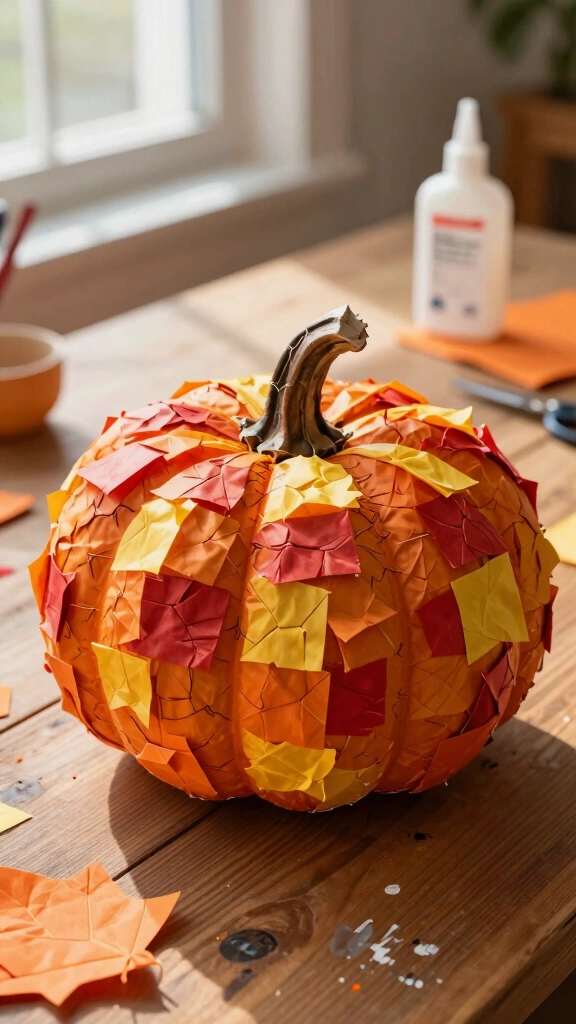
If you prefer a three-dimensional look over a flat surface, this textured pumpkin project is your answer. Cut your tissue paper into small two-inch squares. Crumple each square into a loose ball, dip the bottom in school glue, and press it firmly onto a cardboard pumpkin cutout. Repeat this process until you cover the entire surface.
This technique creates a wonderfully bumpy, tactile texture that catches the light beautifully. Kids love this craft because it allows them to get messy without ruining the final look. *The denser you pack the paper balls, the fluffier and more luxurious your pumpkin will look.*
3. Retro Honeycomb Tissue Paper Pumpkins
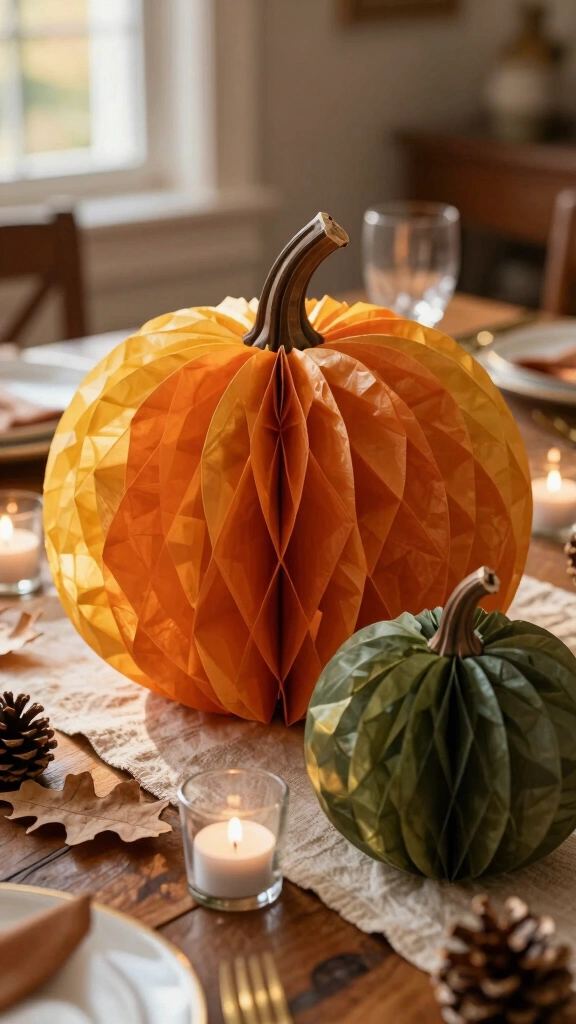
Do you love vintage holiday decorations? You can recreate that nostalgic, mid-century look at home with honeycomb tissue paper pumpkins. To do this, stack and glue multiple sheets of tissue paper together using a specific alternating glue pattern. Once the glue dries, cut the stack into a half-pumpkin silhouette.
When you open the stacked sheets, they unfold into a gorgeous 3D honeycomb structure. Use these lightweight paper pumpkins as freestanding centerpieces for your Thanksgiving dining table. You can even fold them flat for easy storage once the autumn season ends!
4. Stained Glass Mason Jar Pumpkins
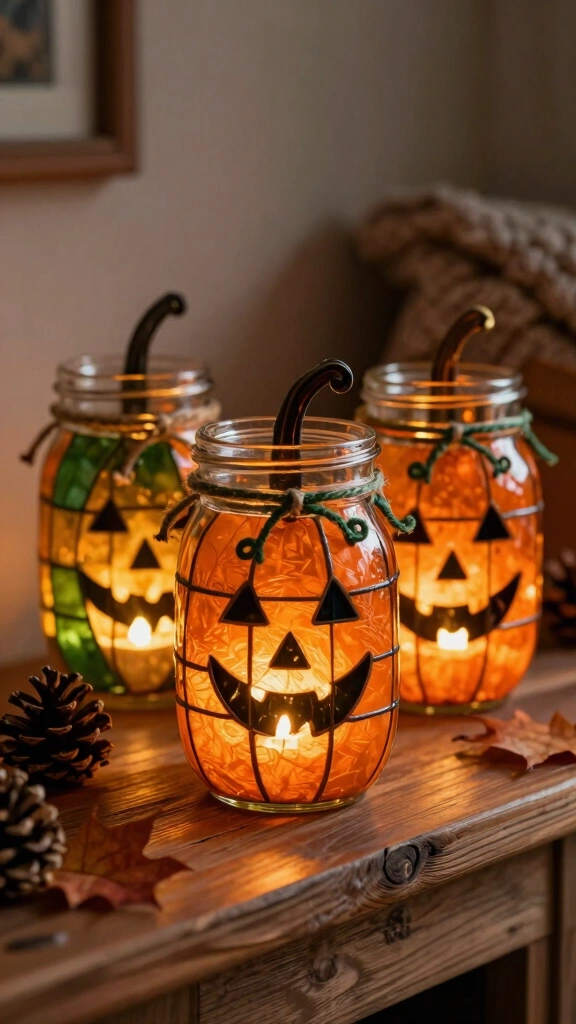
Bring a warm, ambient glow to your living room on chilly autumn evenings. Collect a few empty glass jars and clean them thoroughly. Cut orange tissue paper into small squares and glue them to the outside of the jar, leaving a small gap shaped like a classic jack-o’-lantern face.
- Apply a thin, even coat of glue to prevent the paper from tearing.
- Wrap a piece of green twine around the jar lid to mimic a pumpkin vine.
- Place a battery-operated LED tea light inside for a safe, flicker-free glow.
The light filters through the translucent paper to create a stunning stained-glass effect. These jars look absolutely magical lined up on a fireplace mantel or windowsill.
5. Fluffy Tissue Paper Pom-Pom Pumpkins
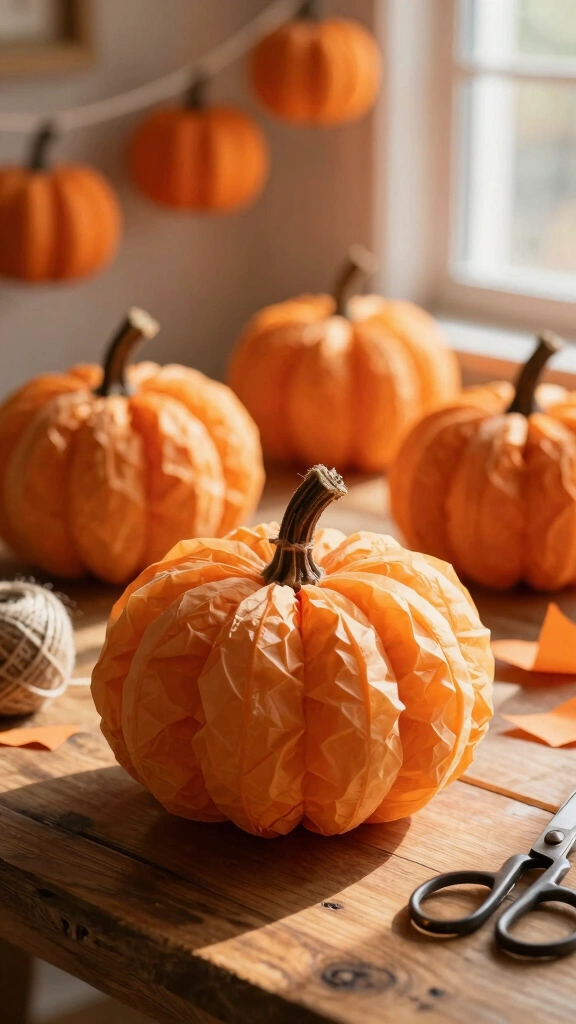
Turn regular tissue paper sheets into fluffy, round pumpkins in just ten minutes. Accordion-fold several sheets of orange tissue paper together, tie a string tightly around the center, and round off the edges with scissors. Carefully pull the layers of paper outward toward the center until you form a fluffy ball.
Attach a small twig or a green pipe cleaner to the center string to serve as the stem. These lightweight pumpkins make perfect hanging decorations for a fall party. You can even string several of them together to create a festive garland for your staircase.
6. Metallic Foil and Tissue Paper Pumpkins
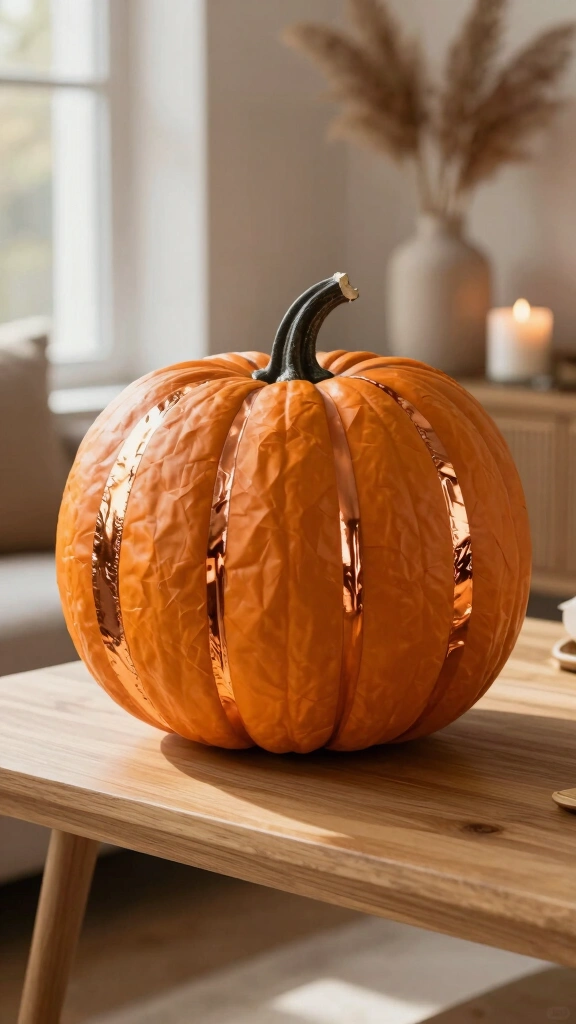
If you want to elevate your modern fall decor, try blending matte tissue paper with shiny metallic accents. Decorate a craft pumpkin with alternating strips of classic orange tissue paper and shiny copper foil paper. The contrast between the soft matte paper and the reflective metallic elements looks incredibly sophisticated.
Highlight the natural grooves of the pumpkin with the metallic strips. This simple placement trick draws the eye and gives the project a designer look. It is an easy way to match your fall decorations with modern brass or gold home fixtures.
7. Whimsical Tissue Paper Fringe Pumpkins
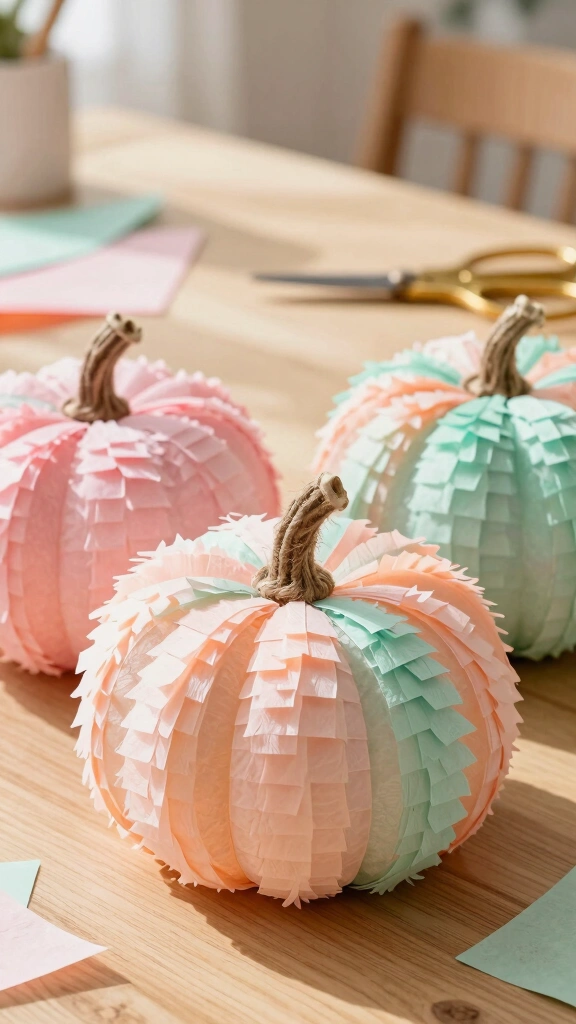
Fringe adds instant movement and a playful energy to any decorative piece. Cut tissue paper into long strips, then use scissors to snip halfway up the strip to create a fringe pattern. Wrap and glue these fringed strips around a foam pumpkin form, starting from the bottom and working your way up.
Each new layer should slightly overlap the fringe below it to hide the base. This creates a shaggy, whimsical pumpkin that looks like a party decoration. Use pastel colors like peach, mint, and soft pink for a trendy, non-traditional fall color palette.
8. Watercolor Bleeding Tissue Paper Pumpkins
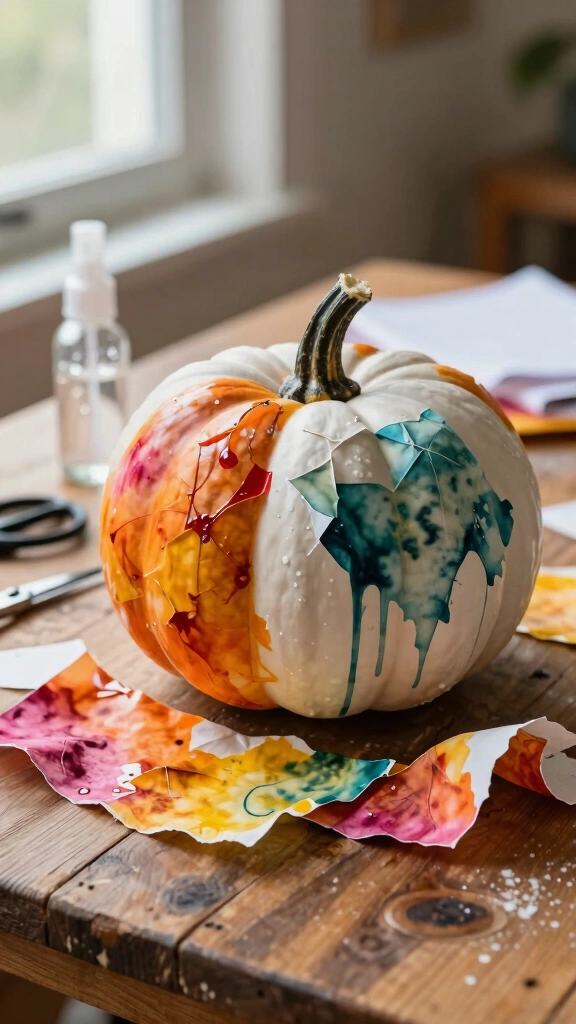
Did you know that some tissue papers bleed their ink when wet? You can use “bleeding tissue paper” to create a stunning watercolor effect on a ceramic pumpkin. Place different colored squares of the paper onto a wet pumpkin, spray them with a water bottle, and watch the colors run together.
Once the paper dries completely, peel the scraps away to reveal a gorgeous, blended dye pattern underneath. Make sure you do not use bleed-free tissue paper, or this project will not work! The result is a soft, artistic look that resembles custom hand-painted marble.
9. Pumpkin Sun Catchers for Windows
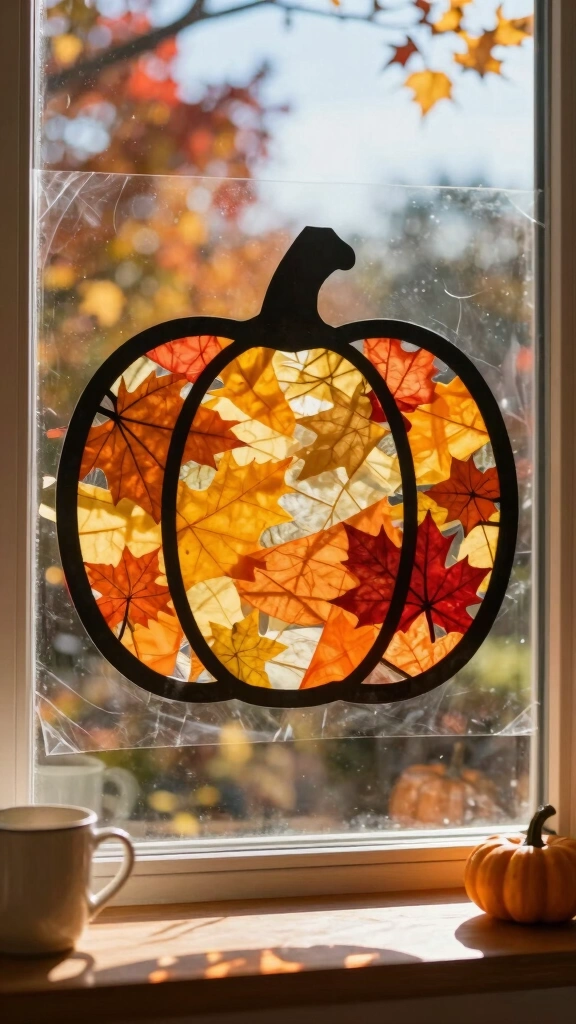
Brighten up gloomy autumn days by letting the sun shine through your crafts. Cut a pumpkin silhouette out of black construction paper, leaving a thick outline. Place the outline onto a sheet of clear contact paper, and fill the open center with small scraps of colorful tissue paper.
Once filled, seal the back with another sheet of contact paper and cut around the outer edge. Tape these sun catchers directly to your windows. When the autumn sun hits them, they cast beautiful, warm colors across your entire room.
10. Trendy Ombre Tissue Paper Pumpkins
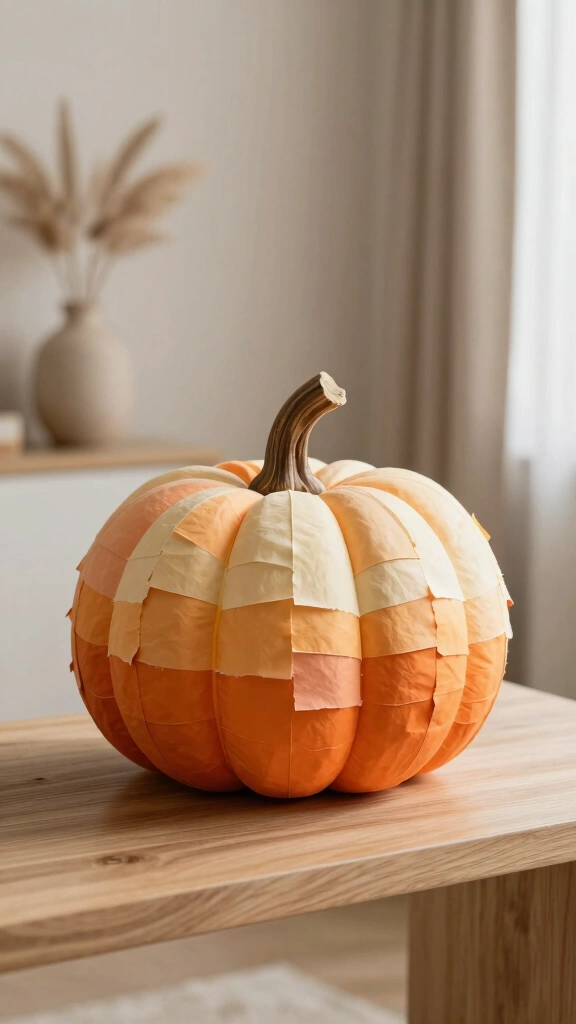
Ombre patterns remain a huge hit in modern home design. To achieve this look, gather tissue paper in dark orange, medium orange, peach, and soft cream. Tear the paper into small pieces to help the colors blend together more naturally.
Glue the darkest pieces around the bottom of the pumpkin. Slowly transition to the lighter shades as you work your way up to the stem. The subtle color gradient gives the pumpkin visual depth and looks stunning in a minimalist living room.
11. Cozy Buffalo Plaid Pumpkins
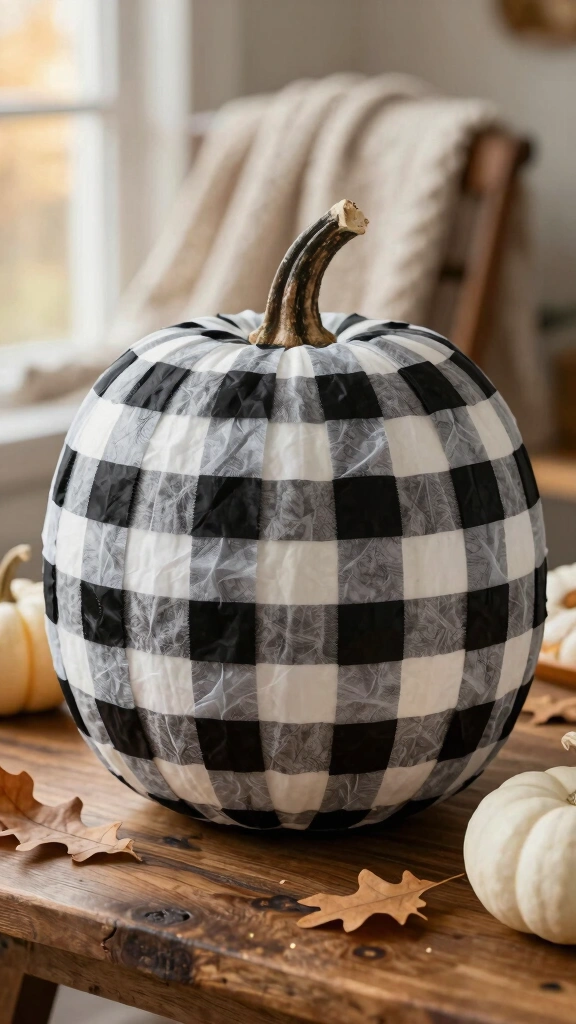
Nothing screams cozy autumn farmhouse quite like buffalo check patterns. You can replicate this look by cutting black, grey, and white tissue paper into clean, uniform squares. Glue them onto a white pumpkin in a strict, alternating grid pattern.
Achieving the Plaid Look
Because tissue paper is translucent, the overlapping squares will naturally create a darker mid-tone color. This optical illusion mimics the woven threads of real plaid fabric. FYI, this project requires a steady hand, but the rustic result is absolutely worth the extra effort.
12. Tissue Paper Pumpkin Treat Bags
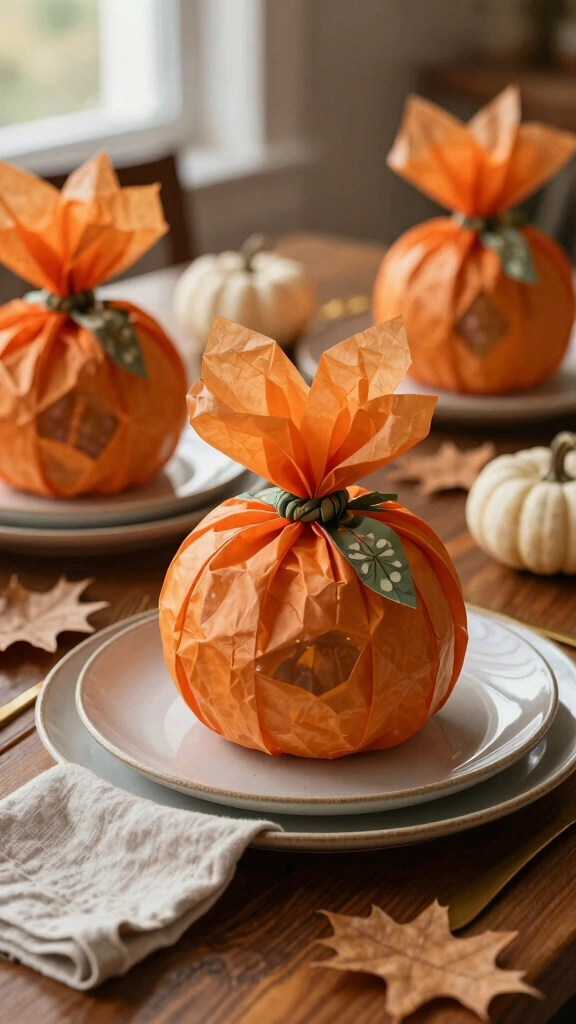
Are you hosting a fall dinner party or a Halloween gathering? Skip the plastic goody bags and make these adorable DIY pumpkin pouches instead. Place your party favors or candy in the center of two layered sheets of orange tissue paper.
Gather the edges of the paper at the top, twist them tightly, and wrap them in green floral tape to create a stem. These look incredibly cute sitting on guest plates. Best of all, guests can easily rip them open to get to the treats inside!
13. Neon Pop-Art Pumpkins
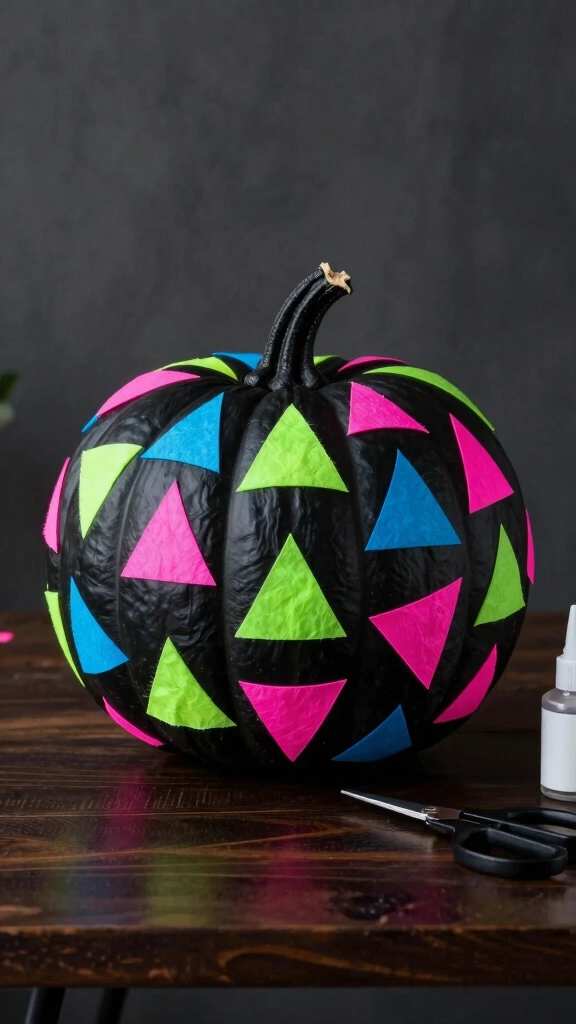
Who says you have to stick to traditional fall colors? Break the mold by decorating a matte black pumpkin with vibrant neon pink, lime green, and electric blue tissue paper. Cut the paper into sharp, geometric shapes like triangles and diamonds, and scatter them across the surface.
The bright neon colors pop dramatically against the dark black background. This bold styling choice works perfectly for anyone who wants a modern, slightly rebellious Halloween aesthetic. It is a guaranteed conversation starter for your holiday visitors!
Cozy Up Your Home for the Season
Creating your own DIY tissue paper pumpkins is an easy, budget-friendly way to usher the warmth of autumn into your home. Whether you love the rustic charm of buffalo plaid or the sleek look of gold foil accents, there is a paper craft on this list for every style. Grab your scissors, put on your favorite fall playlist, and start crafting your beautiful autumn display today.