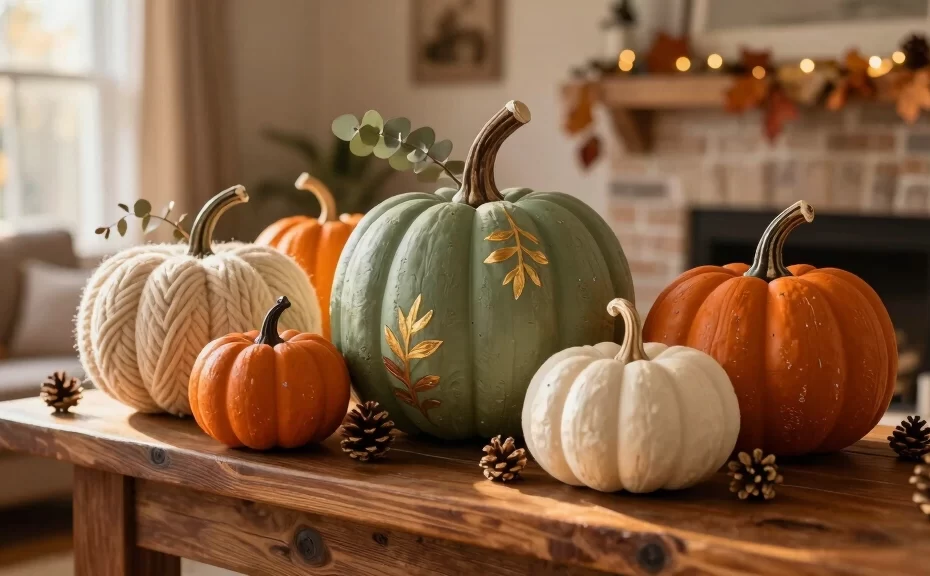
Do you smell that? The crisp autumn air is finally here, bringing along the irresistible urge to decorate every single corner of your home. But let’s be honest: real pumpkins rot, attract unwanted pests, and make a massive mess on your porch. Why put yourself through that weekly cleanup when you can create gorgeous, everlasting autumn decor instead? Foam pumpkin crafts offer the perfect, mess-free solution for your seasonal decorating needs.
You can find cheap foam pumpkins at almost any dollar store or craft shop. With a little creativity, paint, and hot glue, you can transform these bright orange plastic-looking spheres into high-end designer pieces. Ready to upgrade your fall decor game without breaking the bank? Let’s explore these easy, budget-friendly DIY ideas that will keep your home looking festive year after year.
1. Chic Velvet-Wrapped Foam Pumpkins
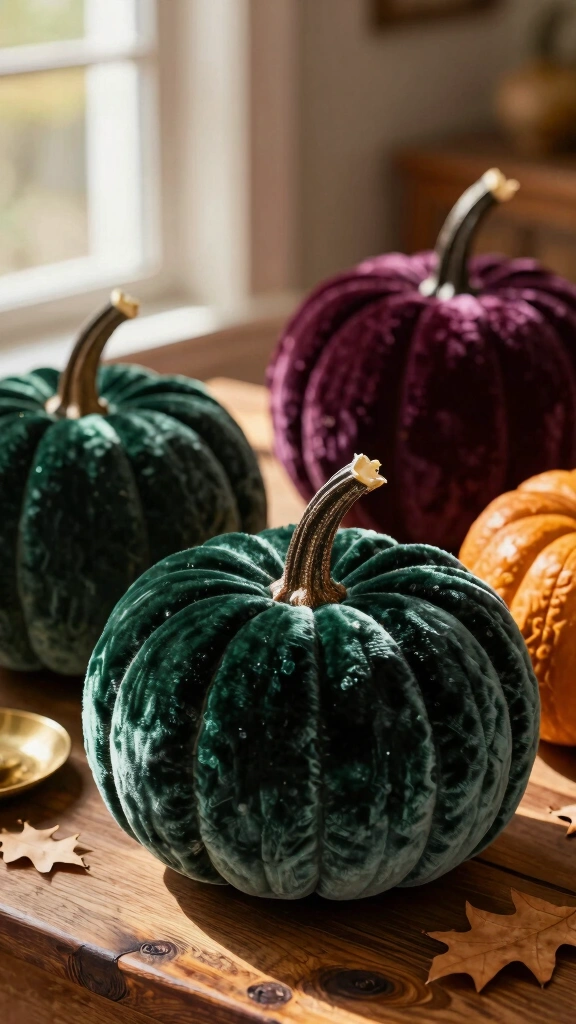
Nothing says luxury quite like the soft texture of velvet. You can easily elevate cheap foam pumpkins by wrapping them in rich, jewel-toned velvet fabric. This simple upgrade instantly mimics the high-end versions you see in designer home stores for a fraction of the cost.
How to Secure the Fabric
First, cut out the plastic stem from your foam pumpkin. Cut a circle of velvet fabric that is large enough to wrap completely around the foam form. Gather the edges at the top, tuck them into the center hole, and secure them with a generous dab of low-temperature hot glue. Finish the look by gluing a real dried pumpkin stem or a piece of driftwood on top.
2. Decoupage Book Page Pumpkins
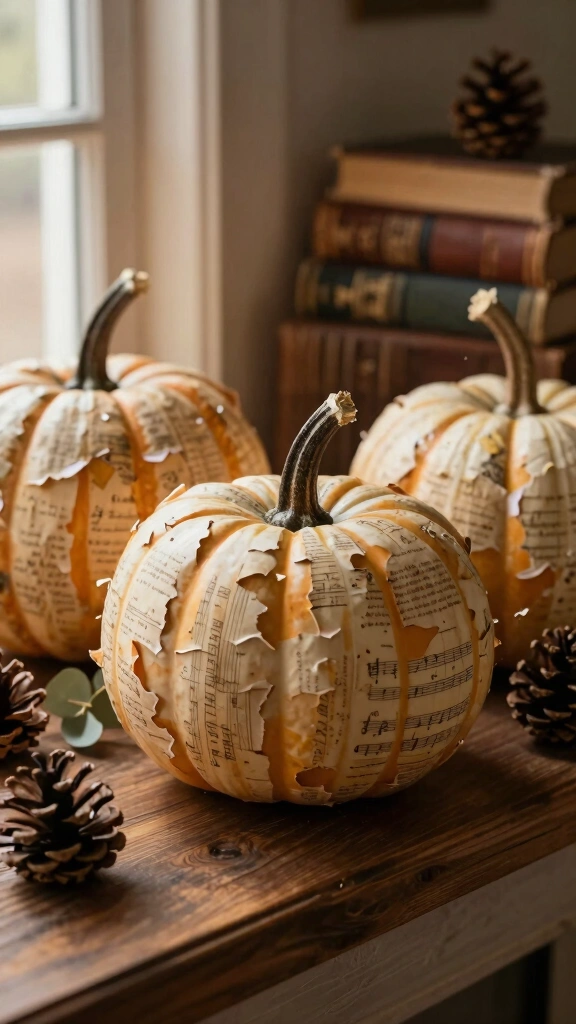
Are you a fan of vintage, literary-inspired decor? Decoupage book page pumpkins offer a sophisticated, rustic look that fits perfectly on any bookshelf or mantel. This project works wonders for saving old, damaged books from the recycling bin.
Simply tear book pages or sheet music into thin strips. Brush a thin layer of Mod Podge onto the foam pumpkin, press the paper strip down, and smooth out any air bubbles. Cover the entire surface, apply a final sealing coat of Mod Podge, and let it dry. Pro tip: apply a light brown ink or watercolor wash over the paper to give it an authentic, aged parchment look!
3. Glam Metallic Gold and Bronze Pumpkins
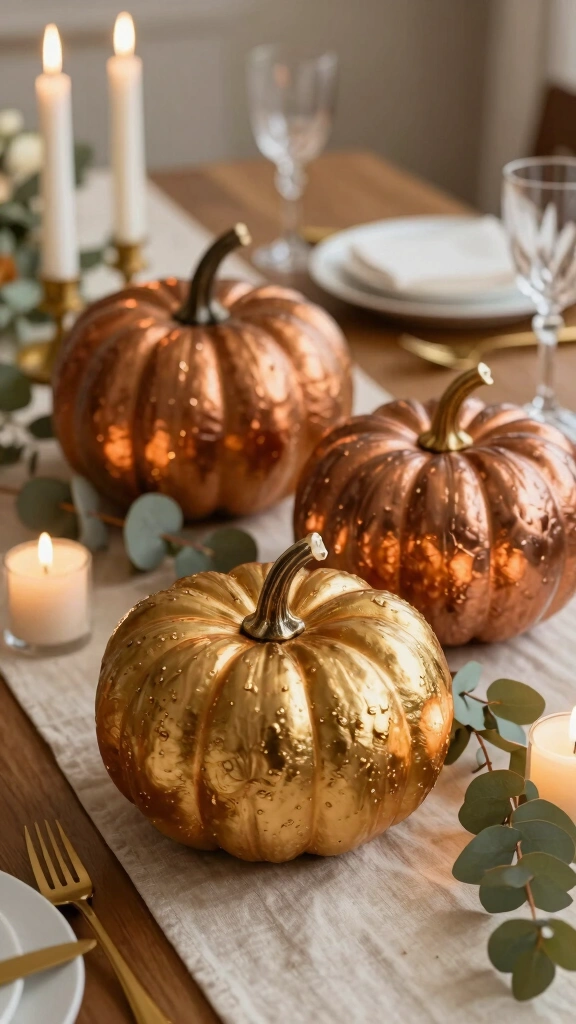
If you prefer modern, glamorous decor over rustic farmhouse styles, reach for the metallic paint. Shiny gold, copper, and bronze finishes reflect light beautifully and make your dining table setting look incredibly luxurious. Who knew dollar-store foam could look this expensive?
For the best results, apply two coats of high-quality acrylic metallic paint or use metallic spray paint. If you want a textured look, dab the paint on using a sea sponge instead of a brush. IMO, adding a coat of high-gloss sealer makes these metallic pumpkins truly pop under warm dining room lighting. 🌟
4. Cozy Cable Knit Sweater Pumpkins
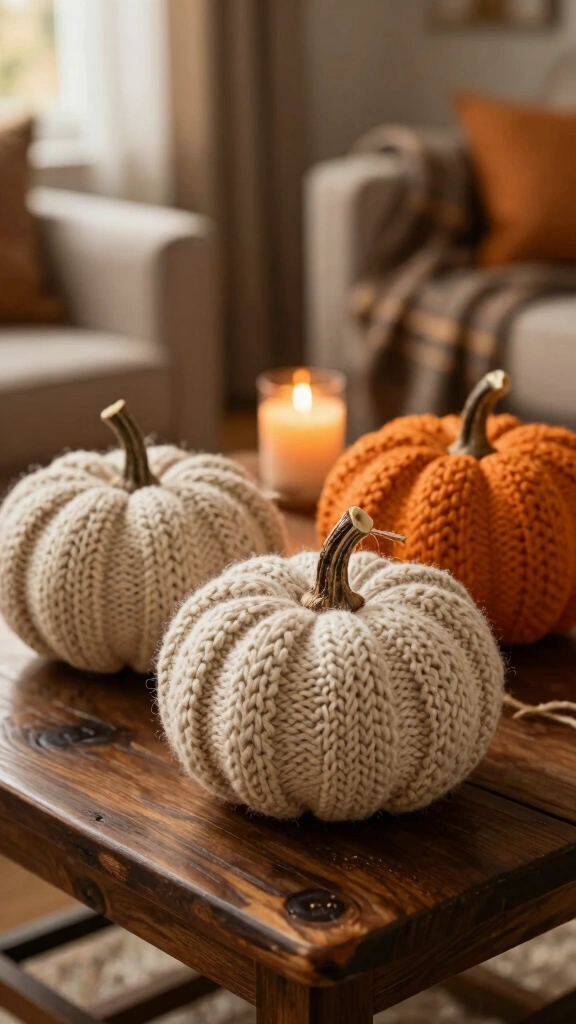
Do you have an old, stained sweater that you just can’t bear to throw away? Give it a second life by turning it into a cozy pumpkin cover. This craft brings instant warmth and texture to your living room during chilly autumn evenings.
Cut off the sleeve of your old sweater, slide the foam pumpkin inside, and trim the excess fabric. Gather the cut edges at the bottom and top, then secure them tightly with hot glue or rubber bands. This is one of the easiest foam pumpkin crafts you can make in under ten minutes, and the result is absolutely adorable!
5. DIY Faux Succulent Planters
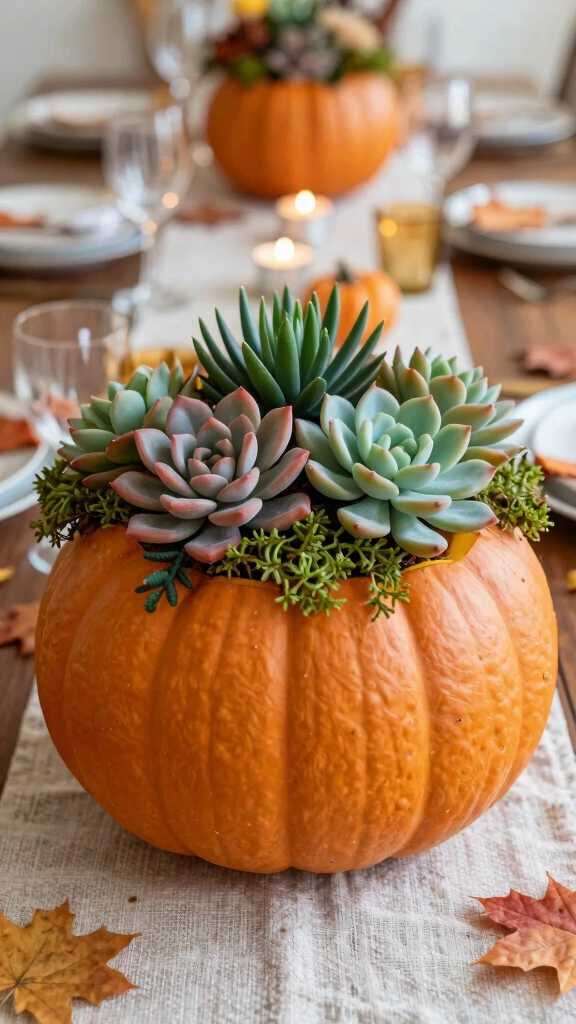
Who says pumpkin decor has to be traditional? You can easily carve out the center of a hollow foam pumpkin to create a stunning, unique planter for colorful faux succulents. It makes a gorgeous centerpiece for your Thanksgiving dining table.
Using a serrated kitchen knife, carefully cut a circle around the stem of the pumpkin and remove it. Fill the hollow center with floral foam, and then push the stems of your favorite faux succulents into the foam. Pack moss around the edges to hide the foam base and complete the lush, natural look.
6. Spooky Jack-O’-Lantern Cutouts
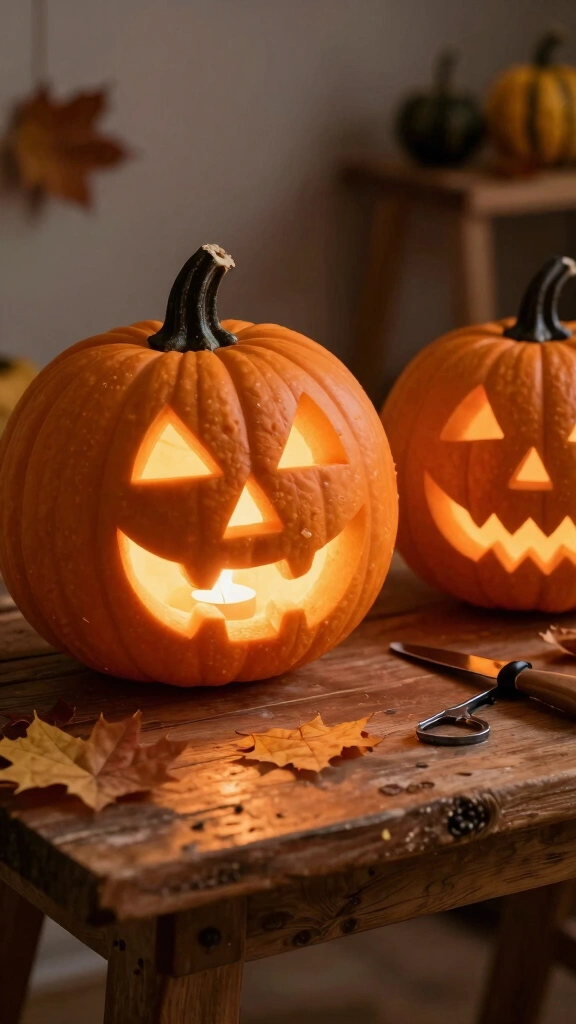
Do you love carving pumpkins but hate the smelly, gooey mess? Carvable foam pumpkins (often called “Funkins”) allow you to design permanent Jack-O’-Lanterns that will never rot on your porch. You can reuse these spooky decorations every single Halloween!
Draw your design directly onto the foam surface using a pencil. Carefully cut along your lines using a hot knife tool or a small keyhole saw for clean, smooth edges. Pop a battery-operated LED tea light inside, and watch your custom creation glow safely all night long. NEVER use real candles inside foam pumpkins, as the heat will melt the plastic material.
7. Chalk-Painted Pastel Pumpkins
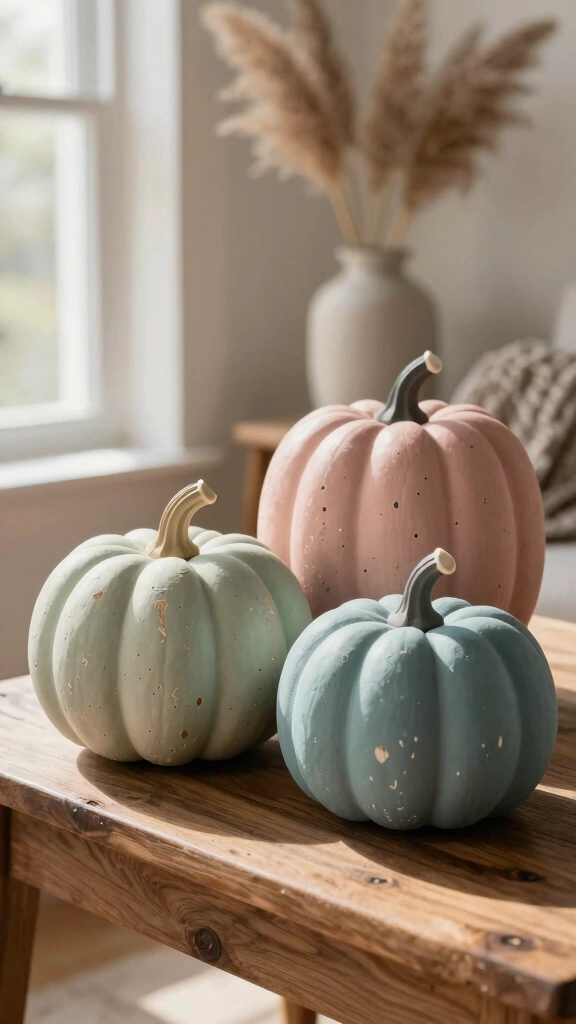
Move over, bright orange! Sage green, dusty rose, and muted teal are taking over the fall color palette this year. Chalk paint gives foam pumpkins a gorgeous, ultra-matte finish that looks highly sophisticated and modern.
Apply two coats of your favorite pastel chalk paint to the pumpkin. Once dry, use a piece of light-grit sandpaper to gently scuff up the ridges and edges to reveal a hint of the base color underneath. This distressing technique gives the pumpkin a beautiful, aged plaster look that fits right into a shabby-chic aesthetic.
8. Rustic Twine-Wrapped Pumpkins
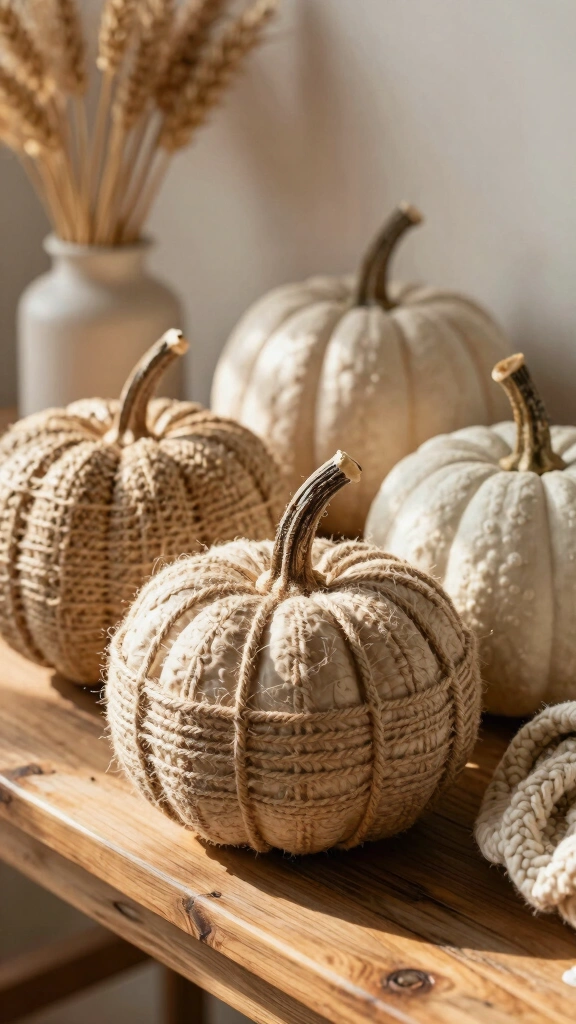
If you love the warmth of neutral, organic textures, this twine-wrapped project is a must-try. It turns a bright orange plastic eyesore into a cozy, textured masterpiece that complements any neutral farmhouse style.
To recreate this look, start at the bottom of the pumpkin and wrap jute twine tightly around the form, securing it with hot glue as you go. You can wrap the twine horizontally around the circumference, or vertically along the natural ridges of the pumpkin. Pair it with a thick twig for the stem to complete the rustic look.
9. Elegant Pressed Flower Pumpkins
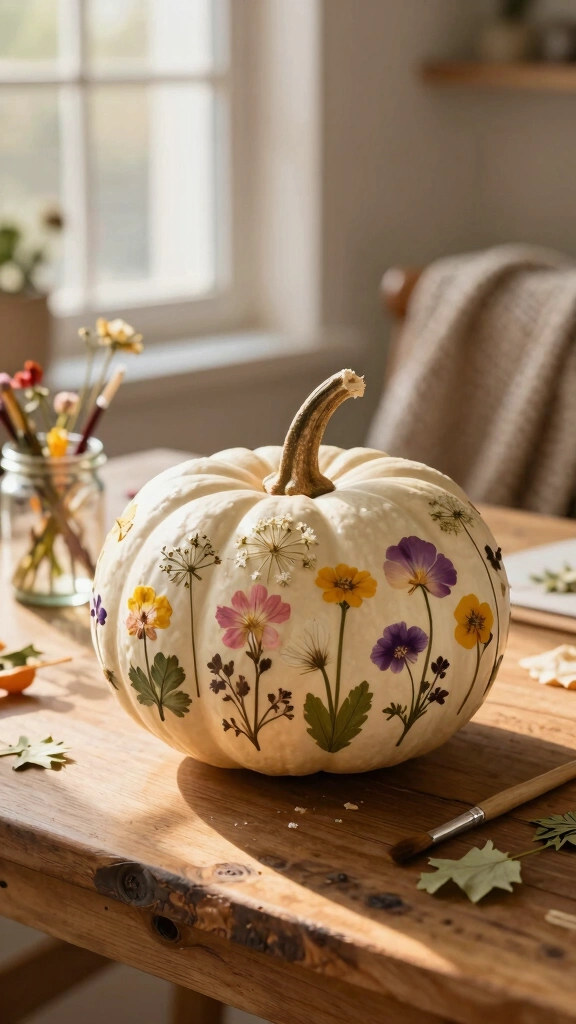
Bring the beauty of late summer gardens into your autumn decor by decorating your foam pumpkins with real pressed flowers. This delicate, botanical design looks incredibly artistic and costs next to nothing if you forage flowers from your own backyard.
First, paint your foam pumpkin a solid matte white or cream color. Arrange your dried, pressed flowers on the surface, and use a soft brush to gently apply Mod Podge over them. Work slowly so you do not tear the delicate petals, and seal the entire pumpkin with a matte clear coat to protect your artwork.
10. Whimsical Watercolor Pumpkins
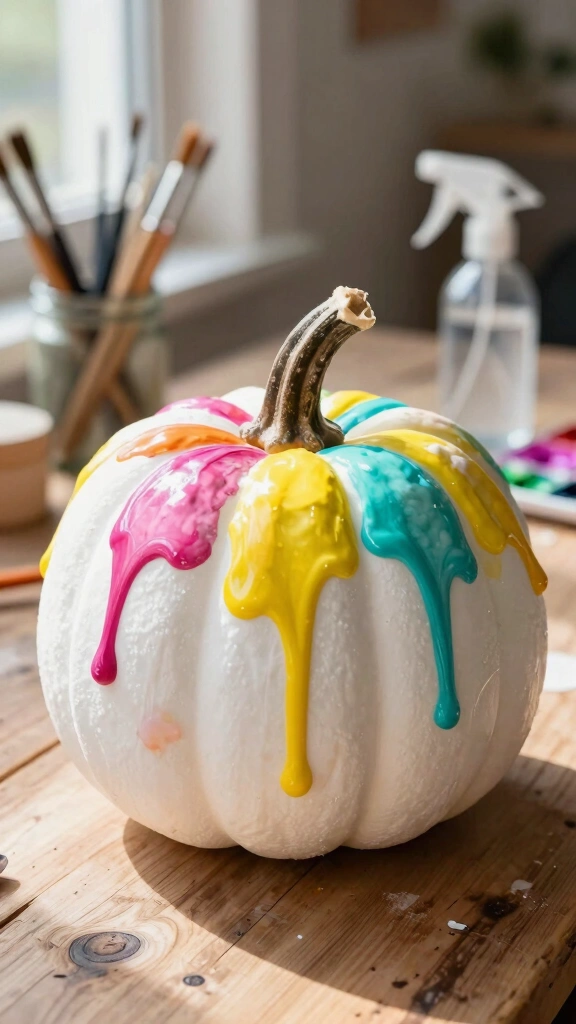
Want to try a fun art project with the kids? Watercolor-effect pumpkins are incredibly easy to make and look like beautiful marble sculptures once they dry. This abstract style adds a playful, colorful pop to your autumn displays.
First, paint your foam pumpkin with a base coat of white acrylic paint. While the paint is still wet, drop diluted acrylic paint or liquid watercolors onto the surface and let them run down the sides. Spray the pumpkin lightly with water to blend the colors together, creating a dreamy, fluid design.
11. Bold Buffalo Plaid Painted Pumpkins
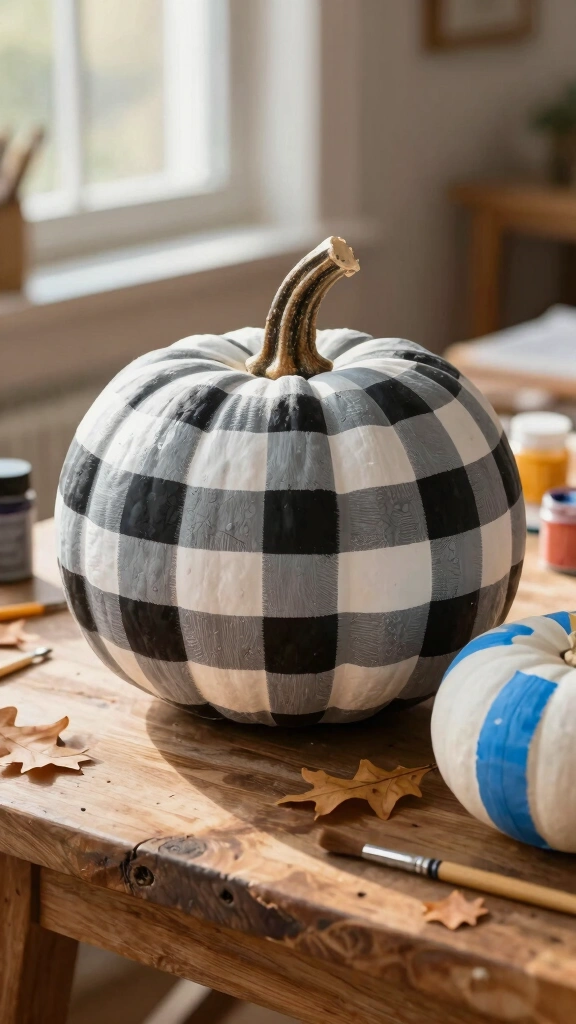
Buffalo plaid is a classic fall pattern that never goes out of style. While it looks complicated to paint, you can easily master this design using a simple grid system and a steady hand.
How to Paint Buffalo Plaid:
- Paint the entire pumpkin with a solid white base coat.
- Use painter’s tape to mark out vertical and horizontal stripes.
- Paint the open lines with a light gray paint.
- Paint the intersecting squares with a dark charcoal gray or black paint to finish the plaid effect.
12. Glitz and Glam Rhinestone Pumpkins
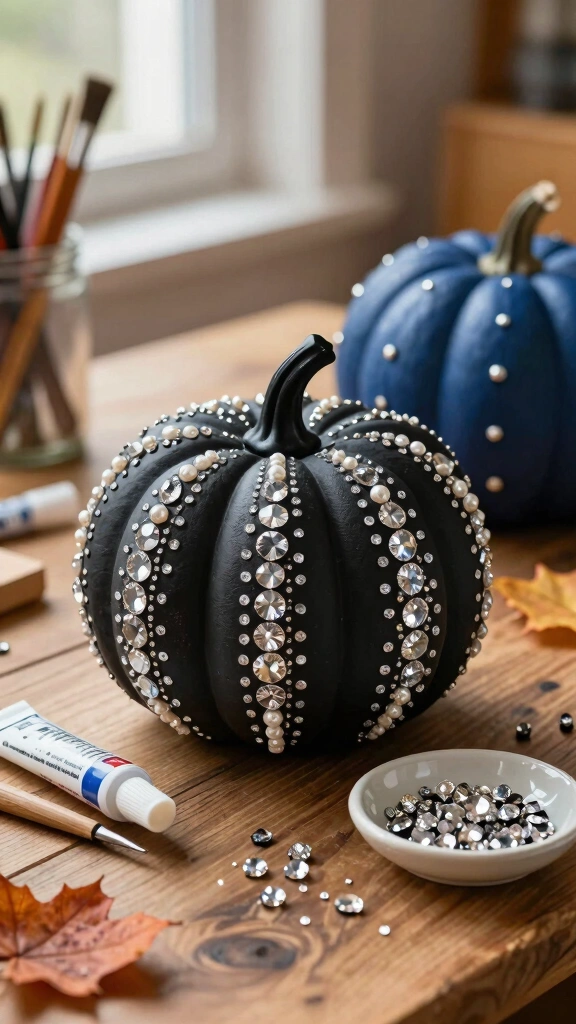
Do you want your fall decor to sparkle? You can easily create a show-stopping piece by embellishing a painted foam pumpkin with flatback rhinestones, pearls, or metal studs. It is a fantastic way to add some punk-rock edge or glamorous shine to your space.
Paint your pumpkin in a contrasting color, like matte black or navy blue, so the rhinestones stand out. Use a jewel picker tool and strong craft glue to apply the gems along the vertical ridges of the pumpkin. FYI, a little patience goes a long way with this project, but the dazzling results are absolutely worth it!
13. Driftwood and Twig Stem Upgrades
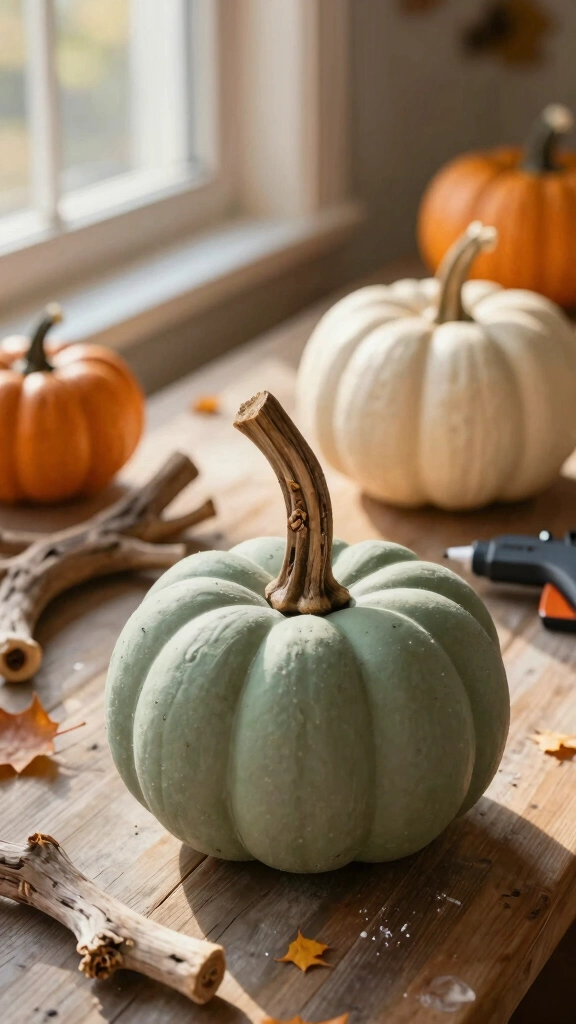
Sometimes, the easiest way to make a fake pumpkin look real is to replace the cheap plastic stem. Upcycling your foam pumpkins with natural elements like driftwood, thick twigs, or real dried pumpkin stems instantly elevates their appearance.
Pull out the fake plastic stem that comes attached to your dollar-store pumpkin. Hunt around your yard for thick, twisty twigs, or search the beach for interesting pieces of weathered driftwood. Cut the wood to size, apply a generous amount of hot glue, and press it firmly into the top of the foam pumpkin.
14. Modern Terrazzo-Effect Pumpkins
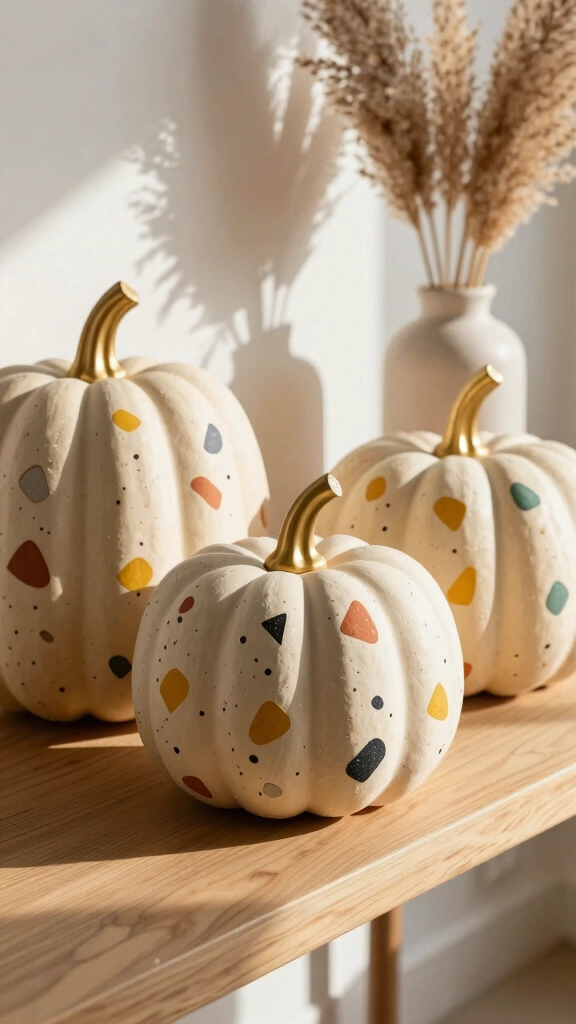
Terrazzo patterns are incredibly trendy in modern interior design. You can easily replicate this Italian stone look on a foam pumpkin using small paint flecks and a neutral base color.
Paint the pumpkin a solid cream or light gray color. Once dry, use a small brush to paint irregular, organic shapes in contrasting colors like terracotta, mustard yellow, charcoal, and sage green. Space the shapes out unevenly to mimic the natural look of composite stone flooring.
Start Crafting Your Fall Masterpiece Today
As you can see, you do not need to spend a fortune to have beautiful, magazine-worthy autumn decor. With a little imagination and these 14 creative foam pumpkin crafts, you can easily customize your decorations to match your personal style. Which project will you try first this weekend?
Gather your paintbrushes, heat up your hot glue gun, and start transforming those budget-friendly foam pumpkins today. Happy crafting, and may your home be filled with cozy, creative vibes all autumn long!