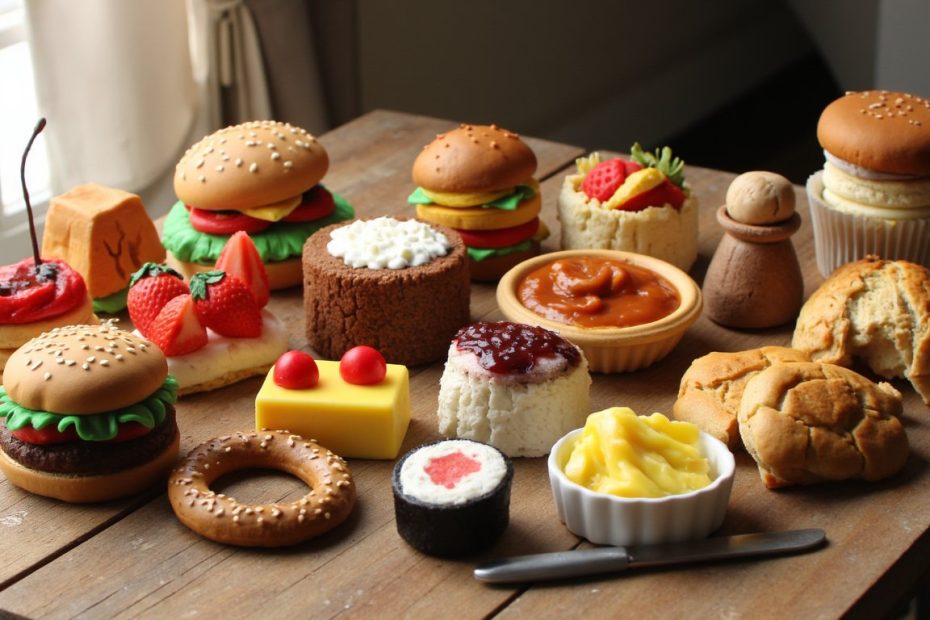
Let’s be honest, you’ve seen those adorable, hyper-realistic clay food charms and miniatures all over social media and thought, “I could never make that.” Well, guess what? You totally can. Working with air dry clay is like being a culinary god of a tiny, inedible universe. It’s forgiving, it’s fun, and the only skill you really need is a willingness to get your hands a little messy. So, grab your clay and let’s squash that doubt. Here are 13 incredibly satisfying air dry clay food ideas to spark your next crafting session.
1. The Quintessential Donut

Every clay food journey should start with a donut. It’s the perfect beginner project. Roll a ball of clay, poke your finger through the center to form the ring, and smooth out the shape. The real magic happens with the texture and paint.
Use a toothpick or a needle tool to create those tiny, porous bread-like dimples across the surface. For the icing, mix your paint with a bit of white glue or mod podge to get a glossy, thick consistency that you can drizzle on. Don’t forget a few tiny sprinkle balls!
2. A Slice of Watermelon
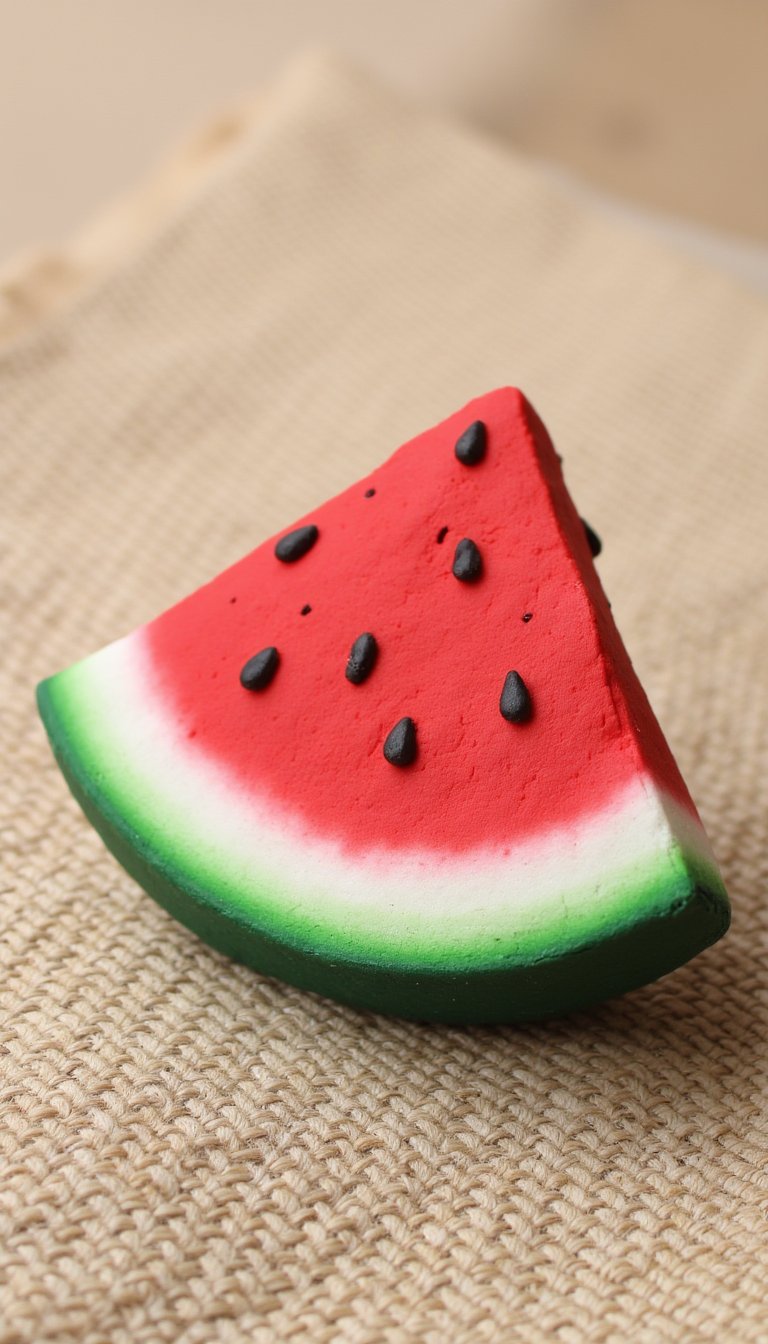
This idea is a masterclass in simple color blocking. Start with a green log of clay for the rind, then wrap a thinner layer of white clay around it for the white part. Finally, form your main red (or pink) clay into a triangle and attach it.
Once dry, painting is a breeze. Use a fine brush for the iconic black seed shapes. Pro tip: make a few seed holes with a pin before painting for a more 3D effect. It instantly adds realism.
3. A Bento Box of Sushi
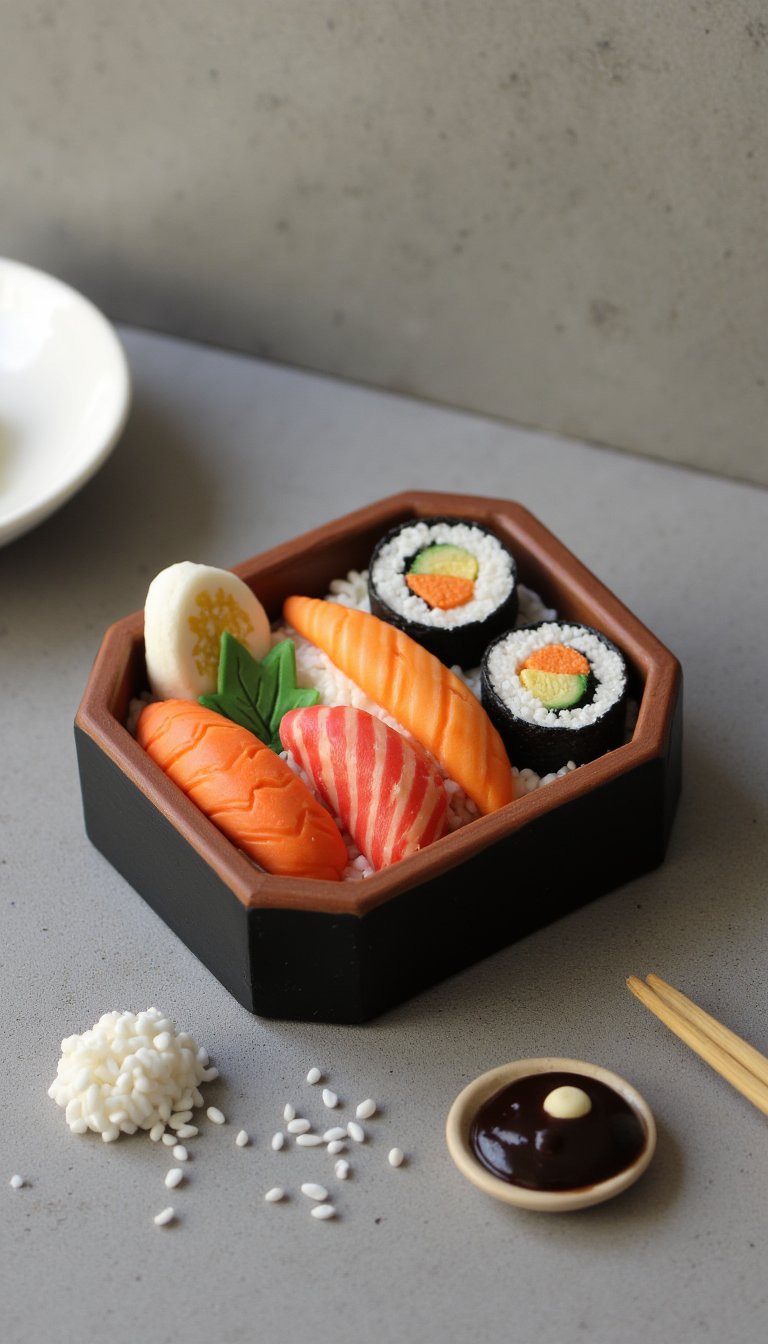
This project lets you create a whole miniature meal. For nigiri, form tiny rice ovals and top them with thin, rolled-out slabs of clay painted to look like salmon (orange), tuna (red), or avocado (green).
Maki Rolls are Easier Than They Look
Create a log of white clay for the rice, flatten it, and wrap a super thin sheet of black or dark green clay around it as the seaweed. Then, roll tiny “fillings” like orange (fish) or yellow (egg) to place in the center before you roll it all up. Slice with a sharp blade for perfect pieces.
4. A Cheesy, Gooey Pizza Slice
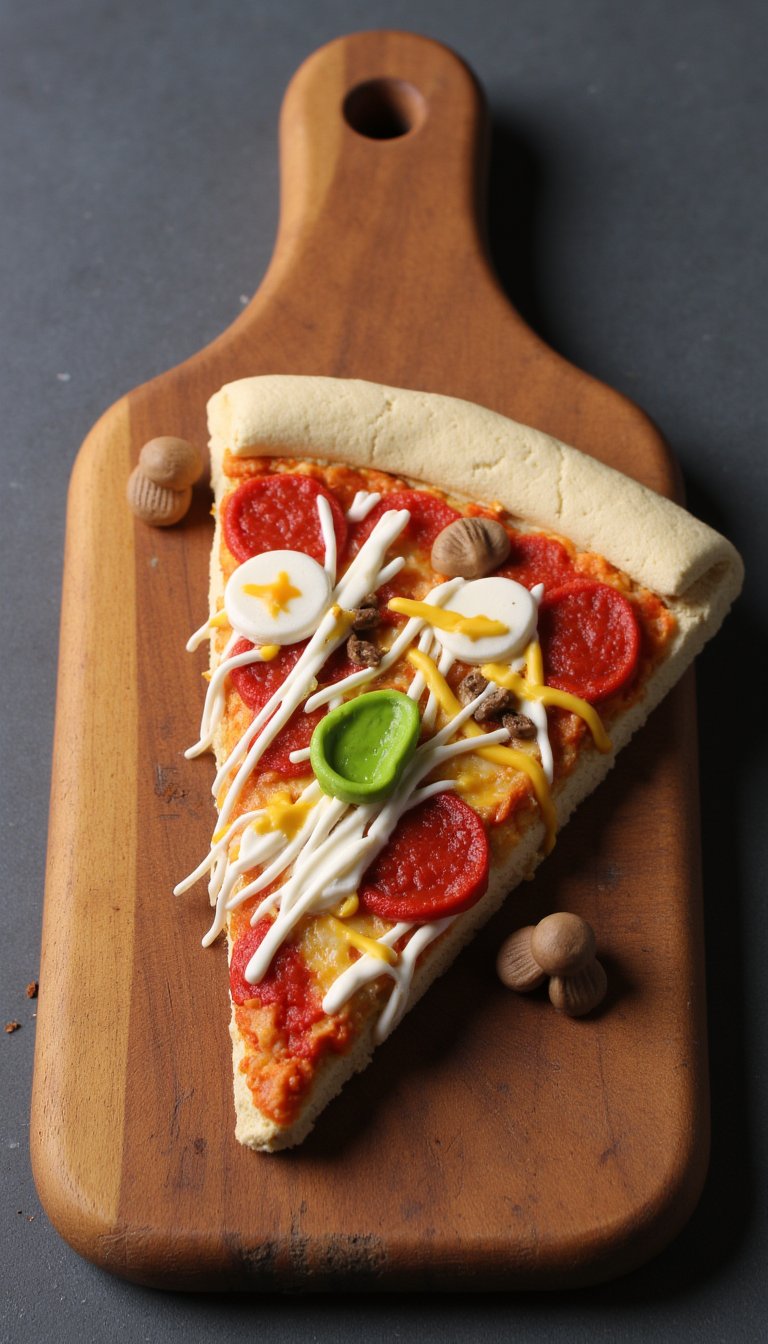
Who’s hungry for a slice that will never get cold? Start with a triangle of beige clay for the crust and base. Use a rounded tool to press in the crust edge and create a fluffy texture.
The key is layering. First, paint on a tomato sauce base. Then, use a mix of white, yellow, and tiny bits of orange clay for the melted cheese—stretch and pull it for those delicious cheese pulls. Finish with tiny clay pepperonis, mushrooms, and green pepper bits.
5. A Bunch of Realistic Bananas
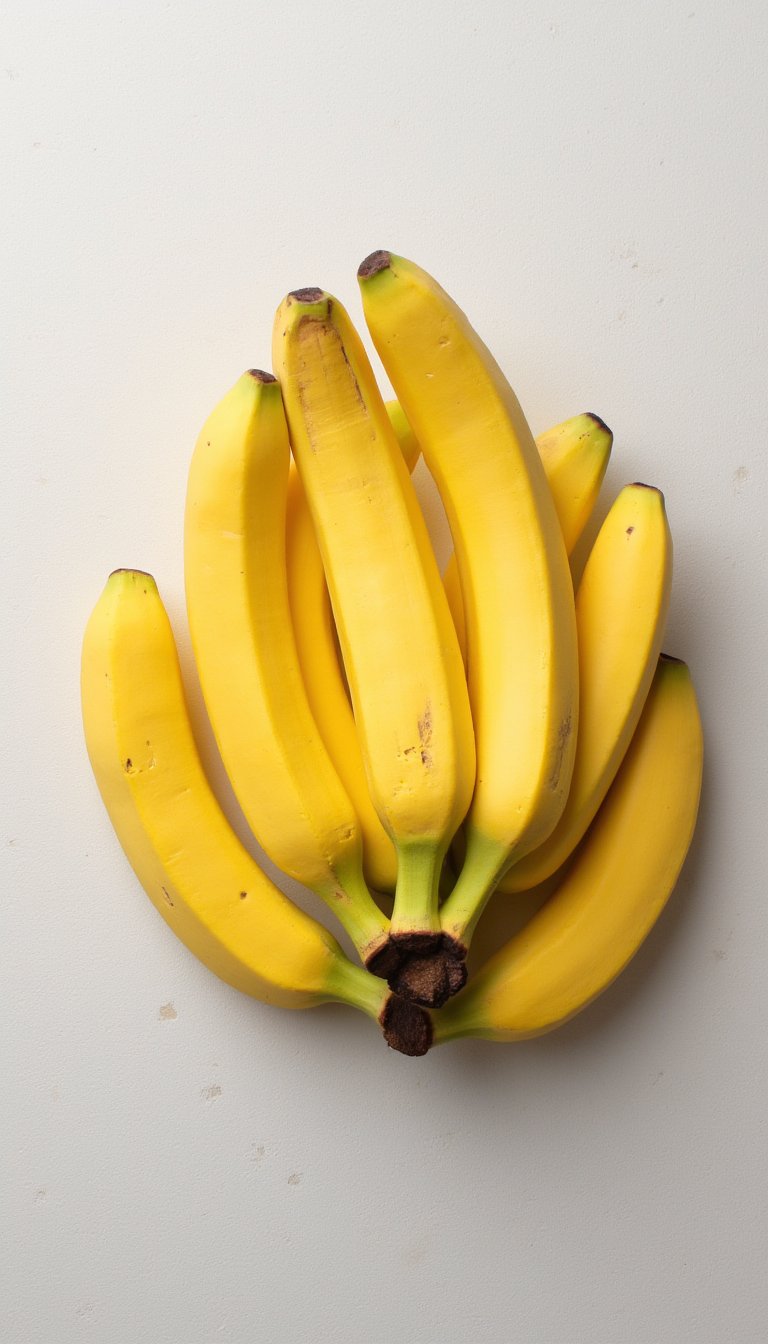
This is fantastic for practicing organic shapes and gradients. Form several banana shapes with yellow clay. Before they dry, gently press the ends together to form a bunch.
Use a brown pastel or very thinned brown paint to shade the ends and any bruised spots. A touch of green at the stem end makes them look freshly picked. They’re perfect for a miniature fruit bowl charm.
6. A Carton of Fries
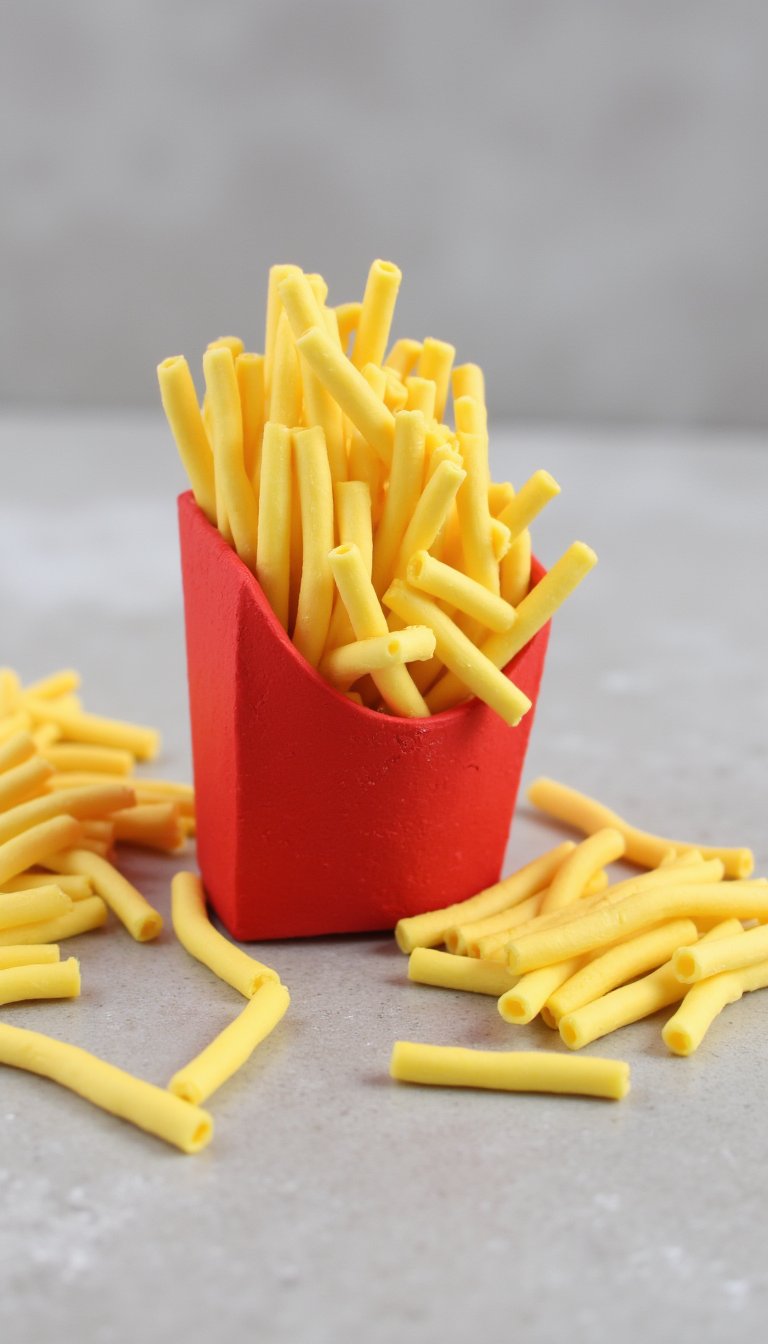
The charming contrast between the container and the food makes this a winner. Create a small, hollow cone or a little box from red clay to mimic a classic fry carton.
For the fries, roll out countless tiny, thin logs of pale yellow clay. Let them dry completely. The fun part is stuffing them haphazardly into the carton and gluing them in place, with a few “spilling” out for effect. It’s messy in the best way.
7. A Perfectly Iced Cupcake
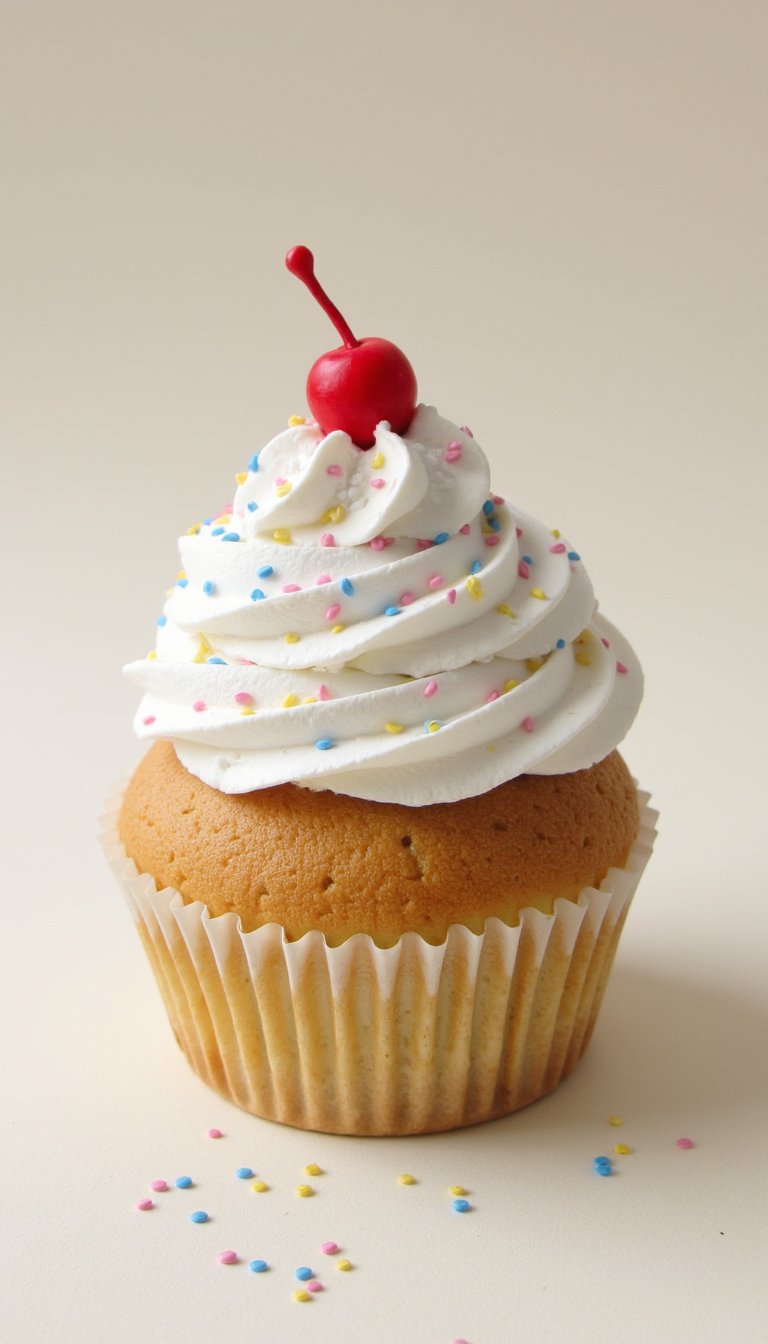
This idea is all about texture and decadence. Create a simple clay cupcake liner (crinkle the edges with a tool) and a rounded top for the cake base.
Now, unleash your inner pastry chef. Use a star-shaped tool or just a fork to create swirly buttercream frosting from thick white clay. Add a tiny cherry or sprinkle on some miniature clay sprinkles. It’s pure, sculptural joy.
8. A Baguette with Detailed Scoring
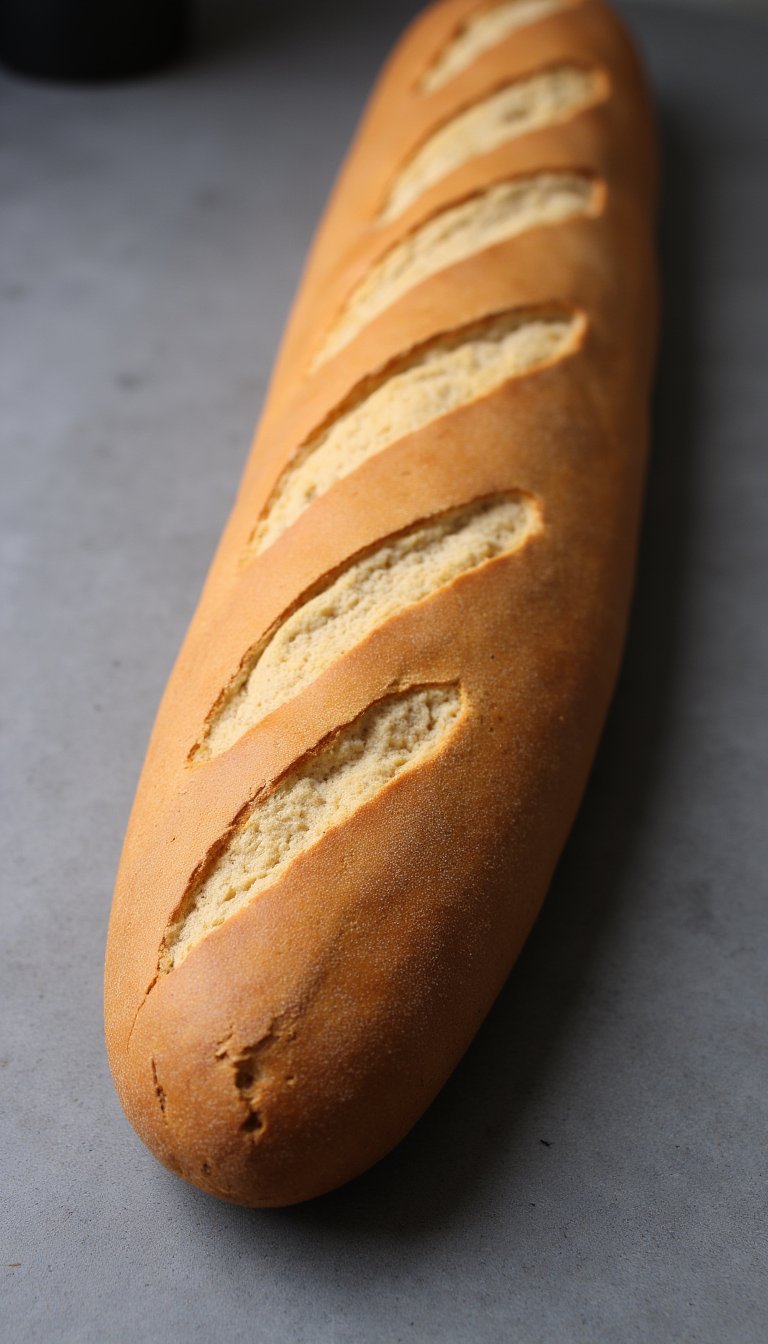
Sometimes, the simplest foods are the most satisfying to recreate. Form a long, slightly tapered log from a tan or off-white clay. The magic is in the surface detail.
Use a razor blade or a sharp craft knife to create those classic diagonal slashes along the top. Then, take a small ball tool or the end of a paintbrush to stipple the entire surface, creating that classic, rustic bread texture before it dries.
9. A Plate of Bacon & Eggs
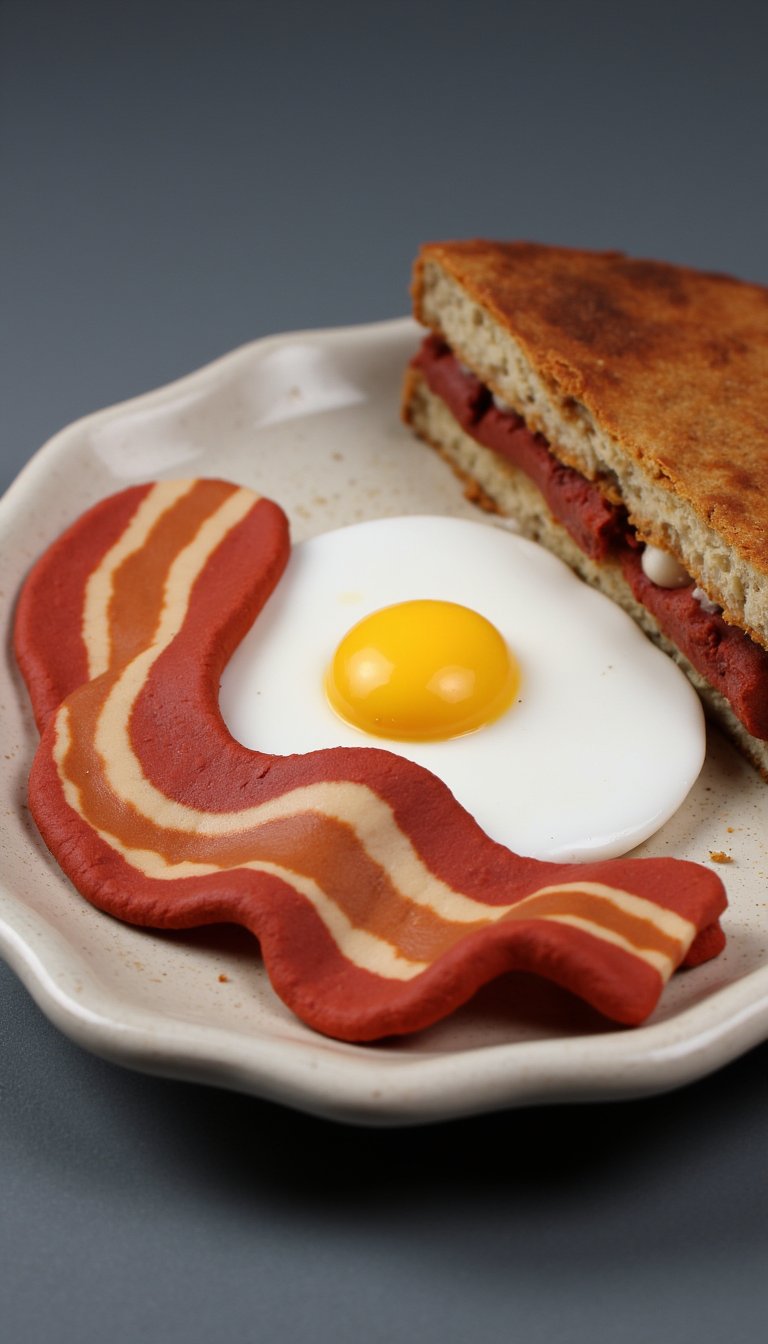
Breakfast, anyone? This combo is fantastic for playing with color blending and wavy shapes. For the bacon, layer thin strips of red and white clay, twist slightly, and then flatten to create the marbled, wavy effect.
For the sunny-side-up egg, a circle of white clay with a perfectly rounded yellow yolk in the center is instantly recognizable. Arrange them on a tiny clay plate for a complete mini-meal.
10. A Pint of Berries
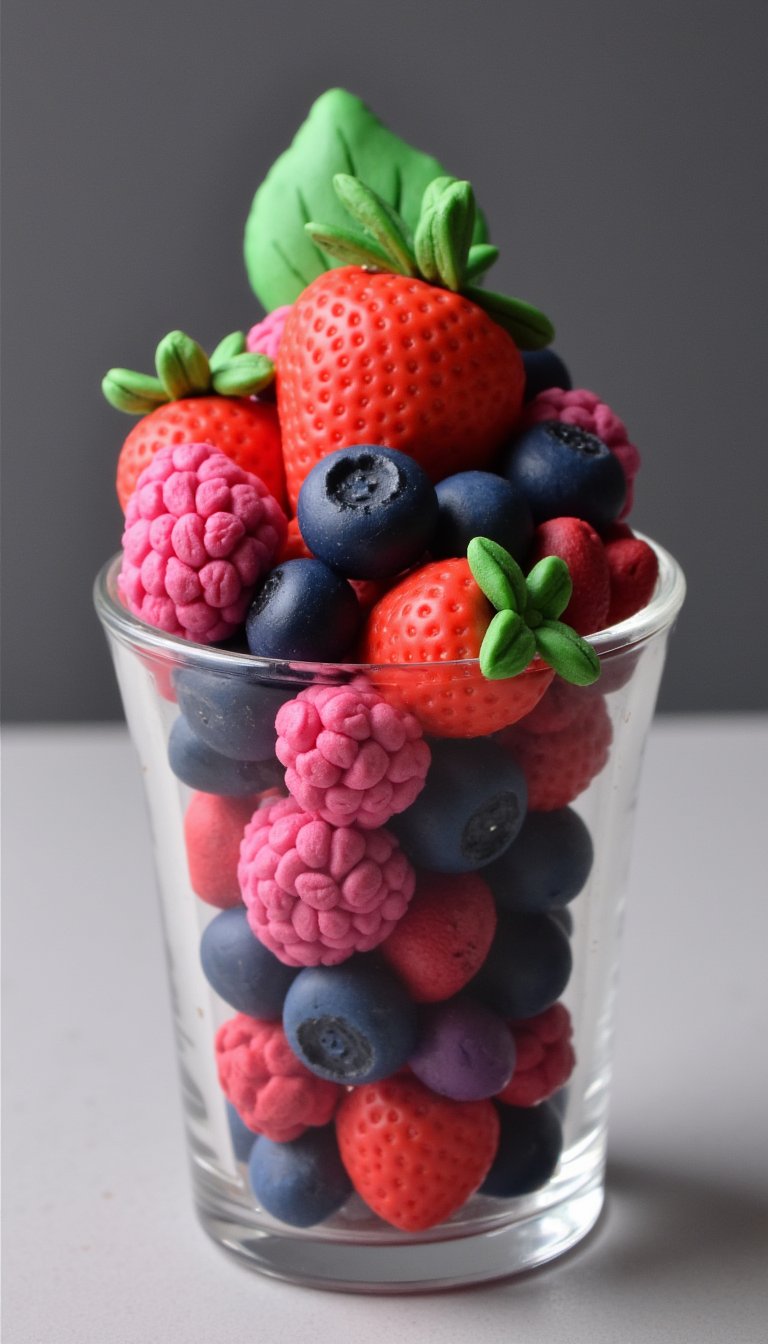
Strawberries, blueberries, raspberries—they’re all little gems. For strawberries, form a heart shape and use a toothpick to poke tiny seed indentations all over. A tiny green clay leaf cap completes it.
Cluster your berries in a tiny, transparent resin “container” or just next to a miniature clay basket. The variation in size and color creates a beautifully organic display.
11. A Wedge of Detailed Cheese
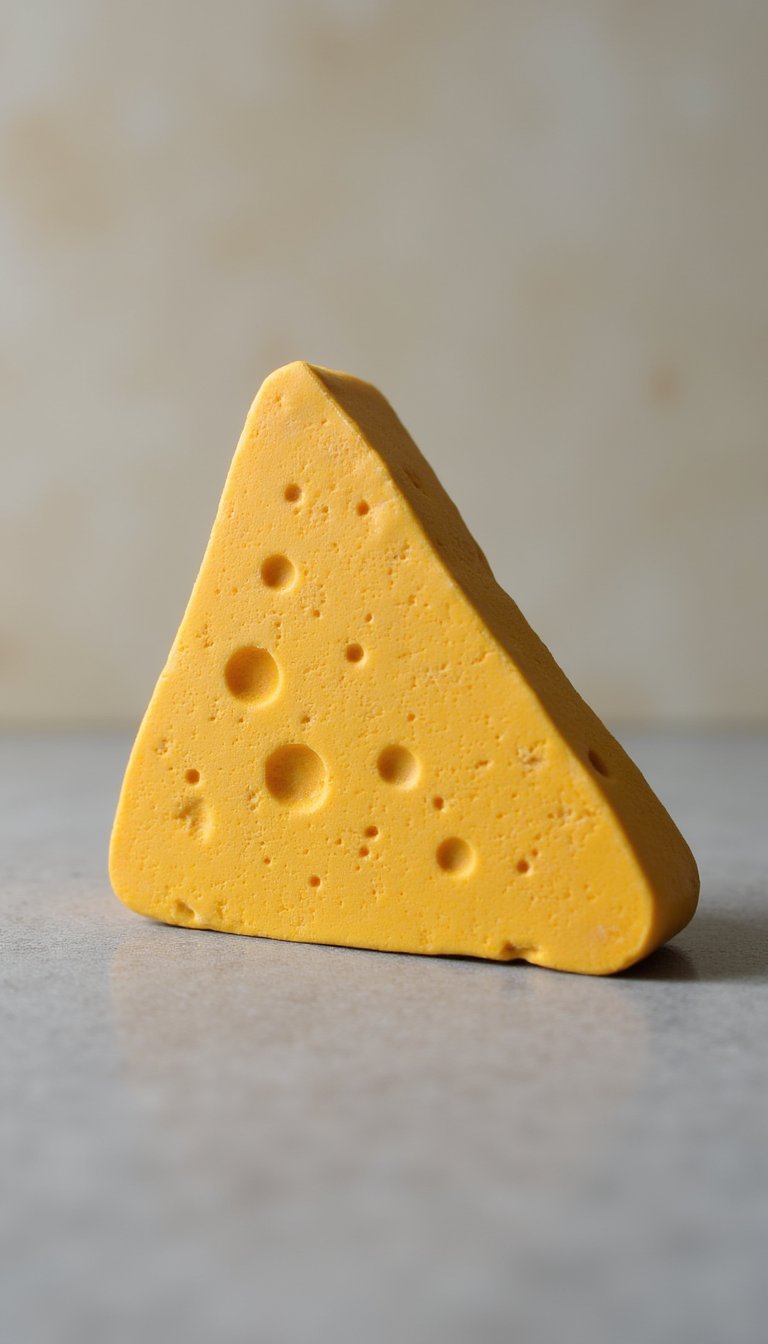
Cheese is another texture superstar. Form a triangle of yellow or orange clay. For a Swiss cheese, use a straw or a small tube to punch out clean holes.
For a parmesan or cheddar wedge, use a toothpick or a fine needle tool to create dozens of tiny, uneven holes and lines across the surface to mimic its crumbly, aged texture. It’s oddly therapeutic.
12. A Bowl of Steaming Ramen
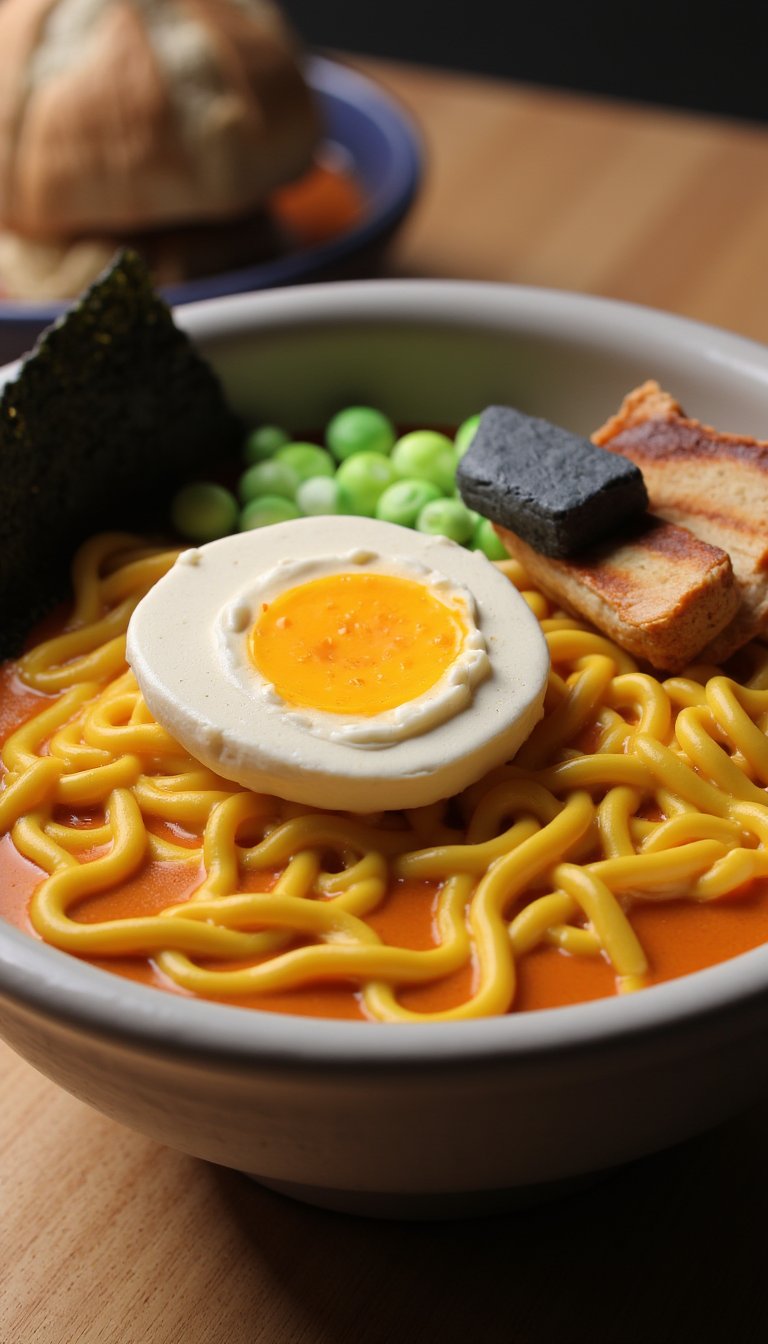
This is your chance to build a complex, layered scene. Start with a bowl form. Create dozens of thin, wavy noodles from yellow clay and coil them inside.
Then, accessorize! Add a slice of clay pork (with fat details), a halved soft-boiled egg (white with yellow center), a rectangle of nori seaweed, and tiny green clay scallions. The detail possibilities are endless.
13. A Classic Apple with a Bite Mark
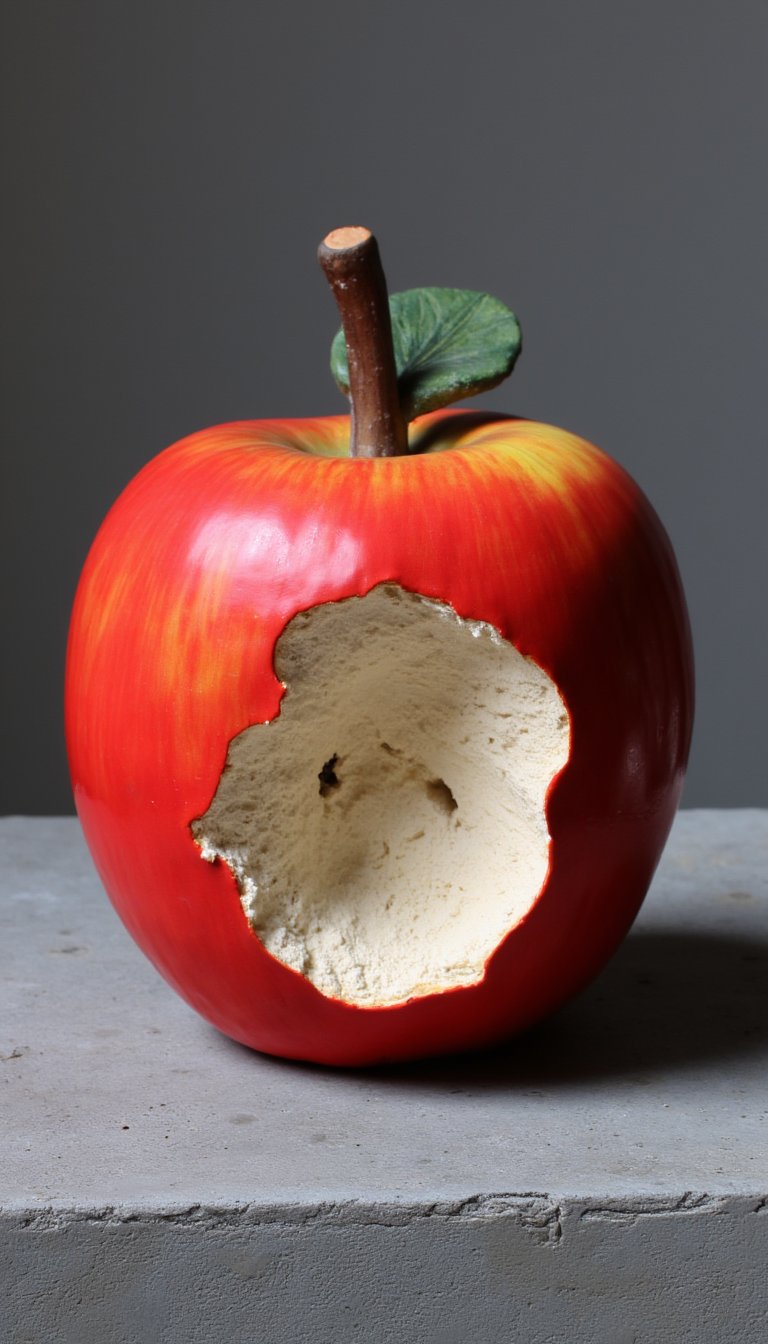
End with a timeless icon. Form a sphere and indent the top and bottom. Add a small brown stem and a green leaf. Paint it a classic red, with hints of yellow and green for realism.
But here’s the personality: take a real bite out of the *dry, unpainted* clay apple with your teeth! It creates a perfectly organic, surprising bite mark. Seal it well after painting. It’s a hilarious and fantastic conversation starter.
See? You’ve just planned 13 entire projects without even getting your hands dirty yet. The beauty of these air dry clay food ideas is that there are no rules—only delicious, tiny inspiration. Whether you’re making charms, jewelry, dollhouse food, or just cute desk decor, the process is all about playing, experimenting, and embracing the imperfections (wonky fries are still adorable, trust me).
So, what are you waiting for? Your miniature kitchen is open. Pick an idea, smash some clay, and remember: the only thing better than food you can eat is food you can create forever. Happy crafting! 😊