Okay, let’s be real. You’ve seen those stunning air dry clay creations all over social media and thought, “I could never do that.” I used to think the same thing. But what if you could? What if you could unlock a world of beautiful, handmade projects without a kiln, a fancy studio, or even a single ounce of prior experience? That’s the magic of air dry clay. It’s forgiving, affordable, and endlessly versatile. I’ve put together this ultimate list of 21 ideas that aren’t just beautiful—they’re genuinely doable, even if your last craft project was a lumpy ashtray in middle school art class. Get ready to roll up your sleeves; your new creative obsession starts right here.
1. Boho-Inspired Coiled Vase
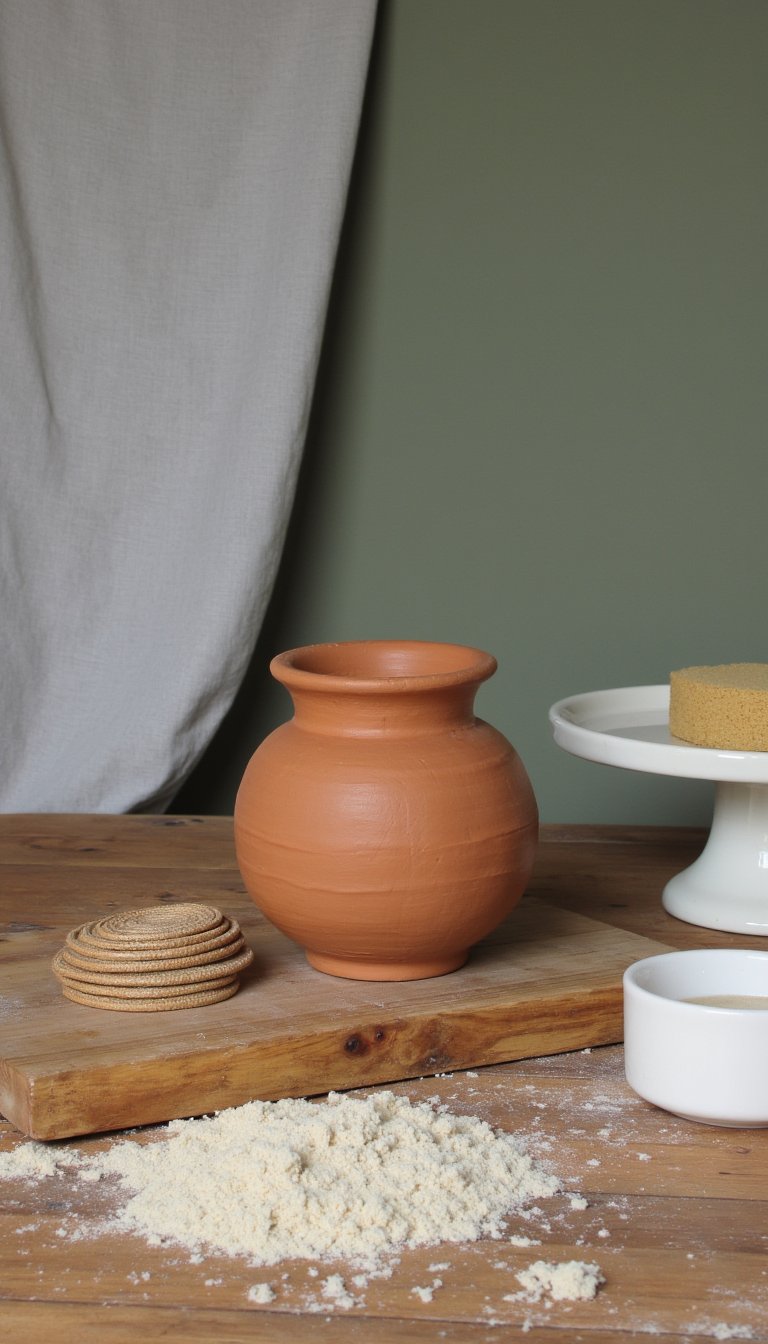
We’re starting with a classic for a reason. This project teaches you the fundamental feel of the clay and creates a stunning, organic centerpiece. Roll several long “snakes” of clay of uniform thickness. Coil them on top of each other, gently blending the inner seam with your finger as you build upwards. Smooth the outside for a modern look, or leave the coils visible for rustic texture.
Pro Tip:
Place your vase on a revolving cake stand while you work. It lets you easily turn the piece without lifting it, preventing distortion.
2. Textured Leaf Dish
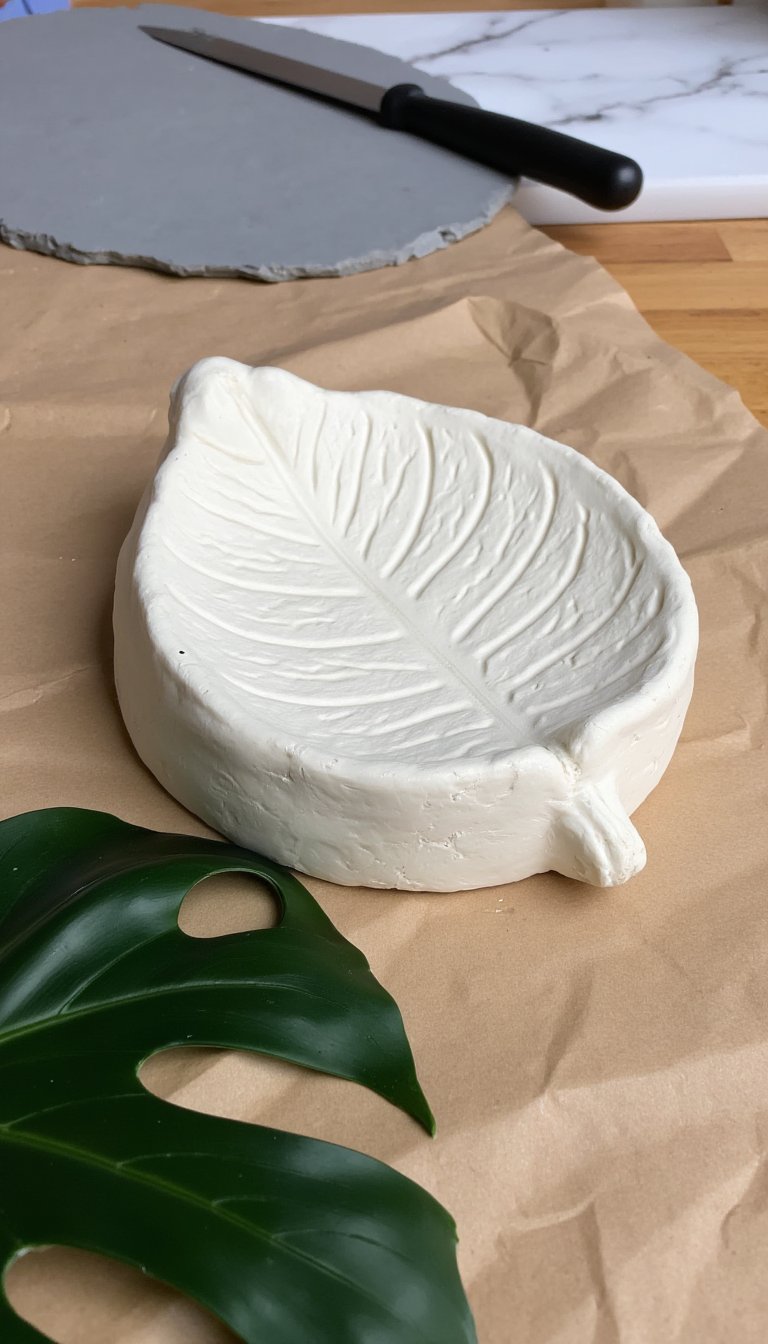
Nature provides the best texture tools. Find a large, sturdy leaf with prominent veins (like a monstera or maple). Roll out a slab of clay, press the leaf vein-side down firmly, then carefully peel it away. Use a knife to cut around the leaf shape, then gently drape it over a crumpled paper towel or small bowl to create a shallow dish shape as it dries.
3. Minimalist Geometric Earrings
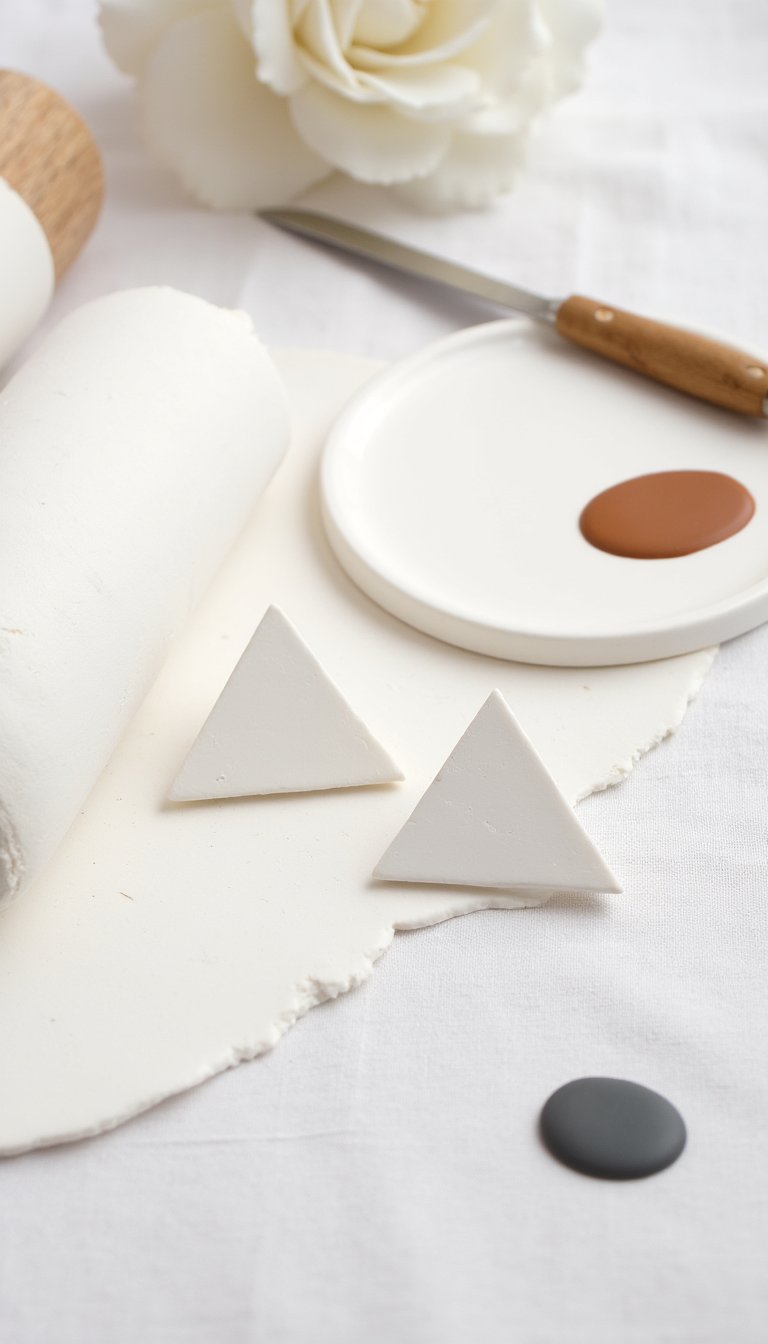
Welcome to instant-gratification clay crafting. Roll your clay out thinly (about 2mm) and use a craft knife or tiny cookie cutters to create triangles, circles, or abstract shapes. Pierce a small hole for the earring hook with a toothpick before drying. Sand lightly once dry, paint if desired, and seal with a varnish for a waterproof, glossy finish.
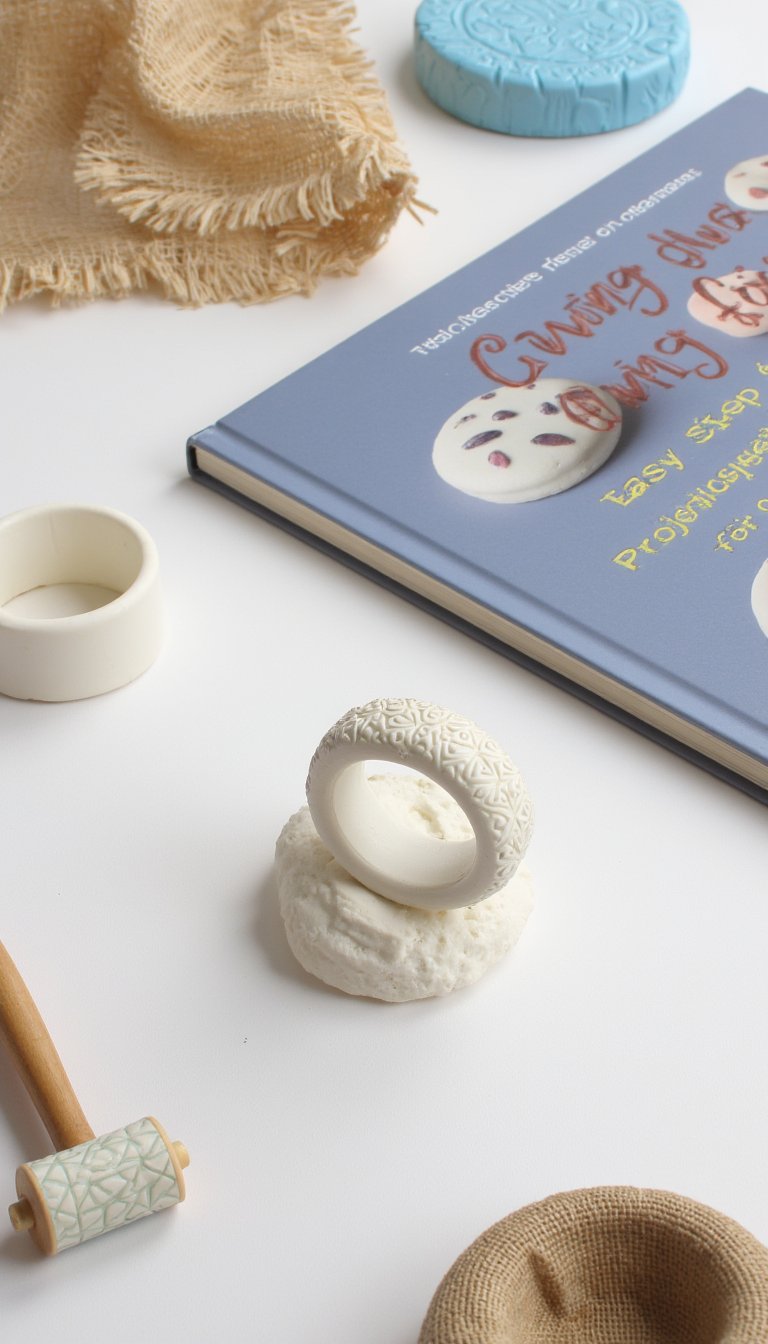
4. Custom Stamp-Coated Ring Dish
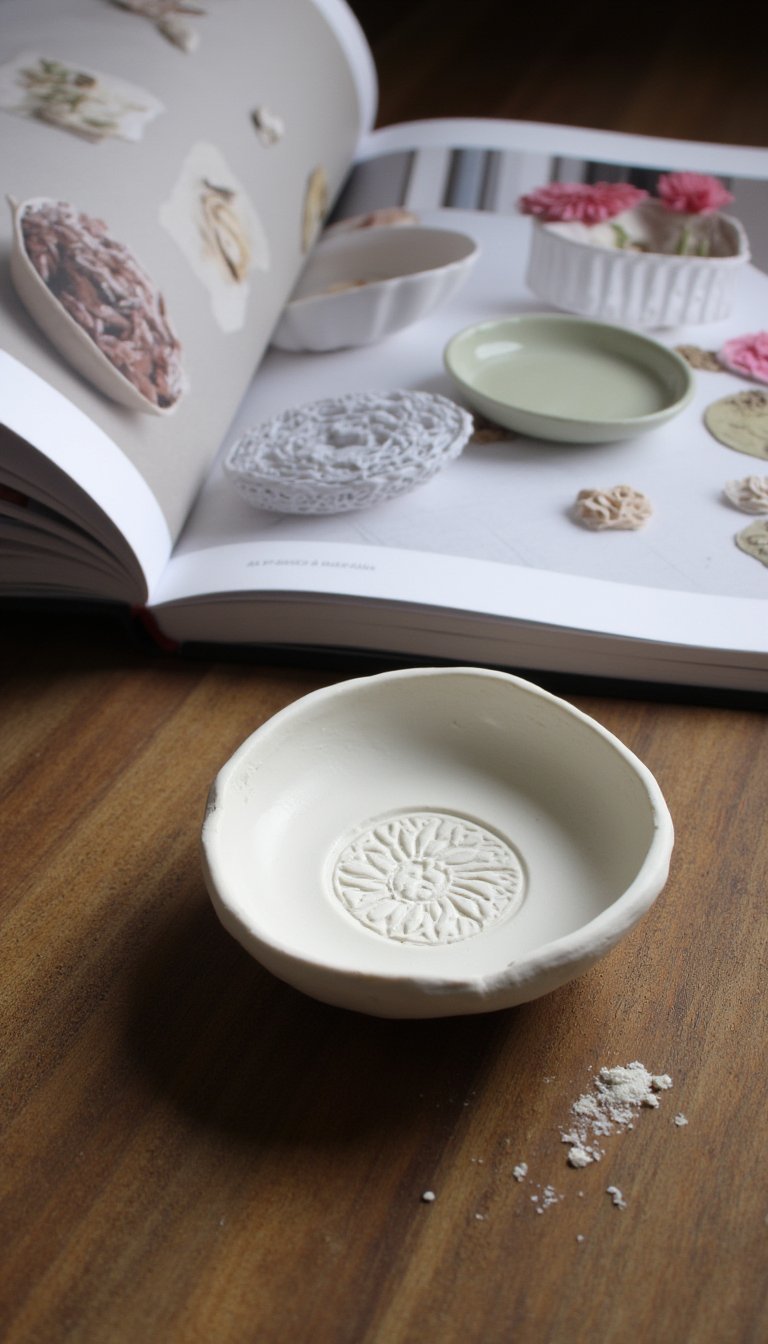
This is where you can get deeply personal. Roll a ball of clay, flatten it into a thick disc, and use a store-bought or handmade stamp to press a monogram, symbol, or pattern into the center. Use your thumbs to gently pinch and raise the edges to form a shallow bowl. The stamped impression will stay crisp and beautiful.
5. Wavy-Rimmed Catch-All Bowl
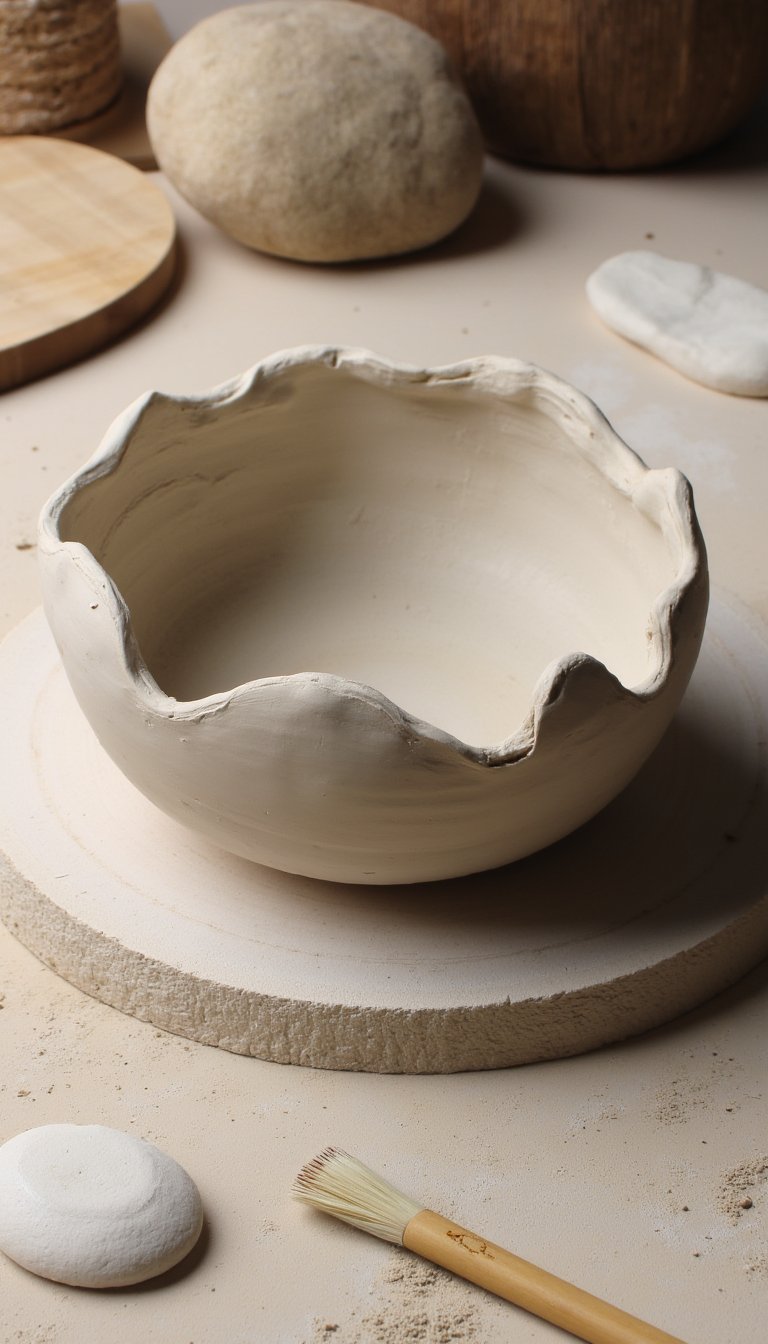
Embrace the imperfect, wobbly aesthetic that’s so trendy right now. Form a basic bowl shape over an upside-down bowl covered in plastic wrap. Then, instead of smoothing the rim, use your fingers to gently push and pull the clay into soft, irregular waves. The key is to work quickly and confidently for the most natural look.
6. Faux Terracotta Plant Markers
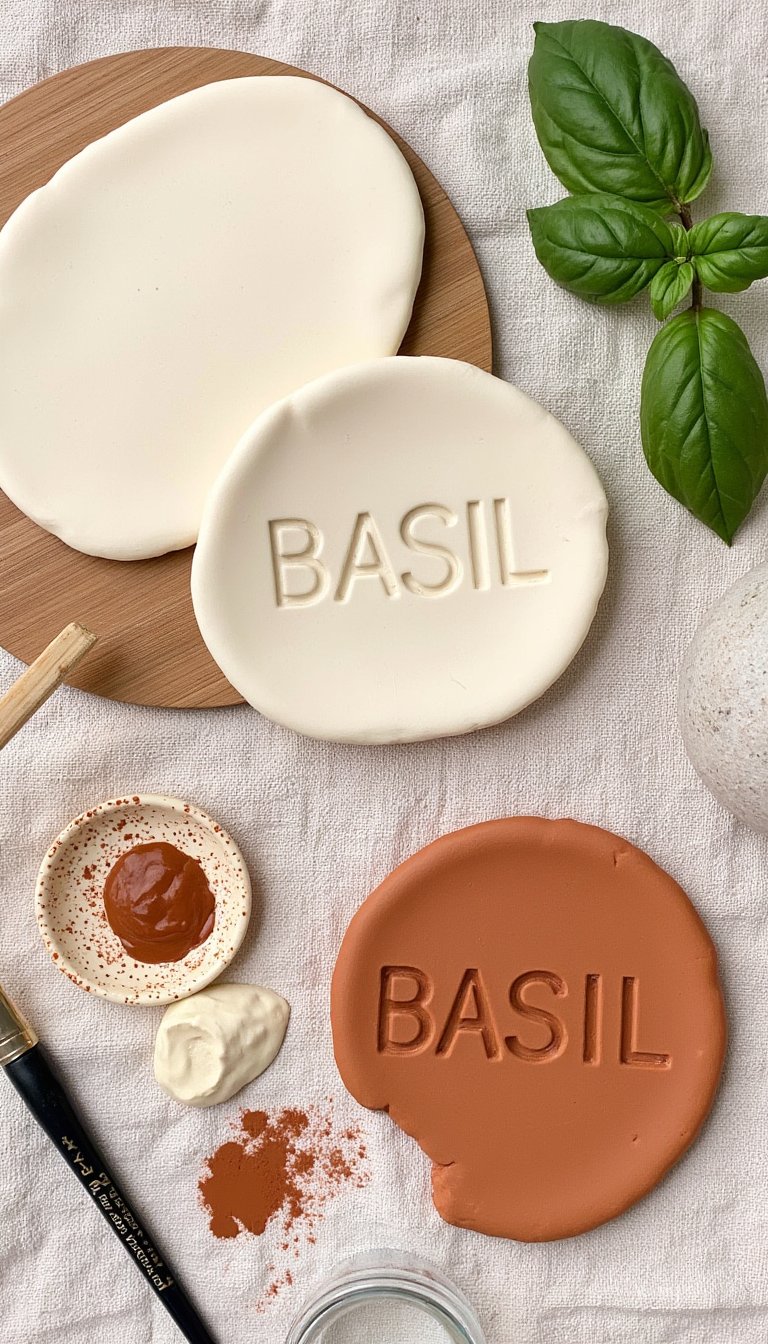
Keep your herb garden organized with these charming markers. Roll clay into short, flat paddles. Use a pencil or skewer to write the plant names in cursive or print. For a true terracotta look, mix a tiny drop of red and brown acrylic paint into your white clay before starting, or paint them after drying.
7. Chunky Bead Necklace

Channel your inner jewelry designer. Create beads by rolling clay into spheres, cylinders, or cubes. Before drying, thread a large needle or skewer through the center to create the hole—this is crucial! You can roll them in glitter, imprint them with lace, or keep them smooth and painted.
8. Animal-Shaped Bookends
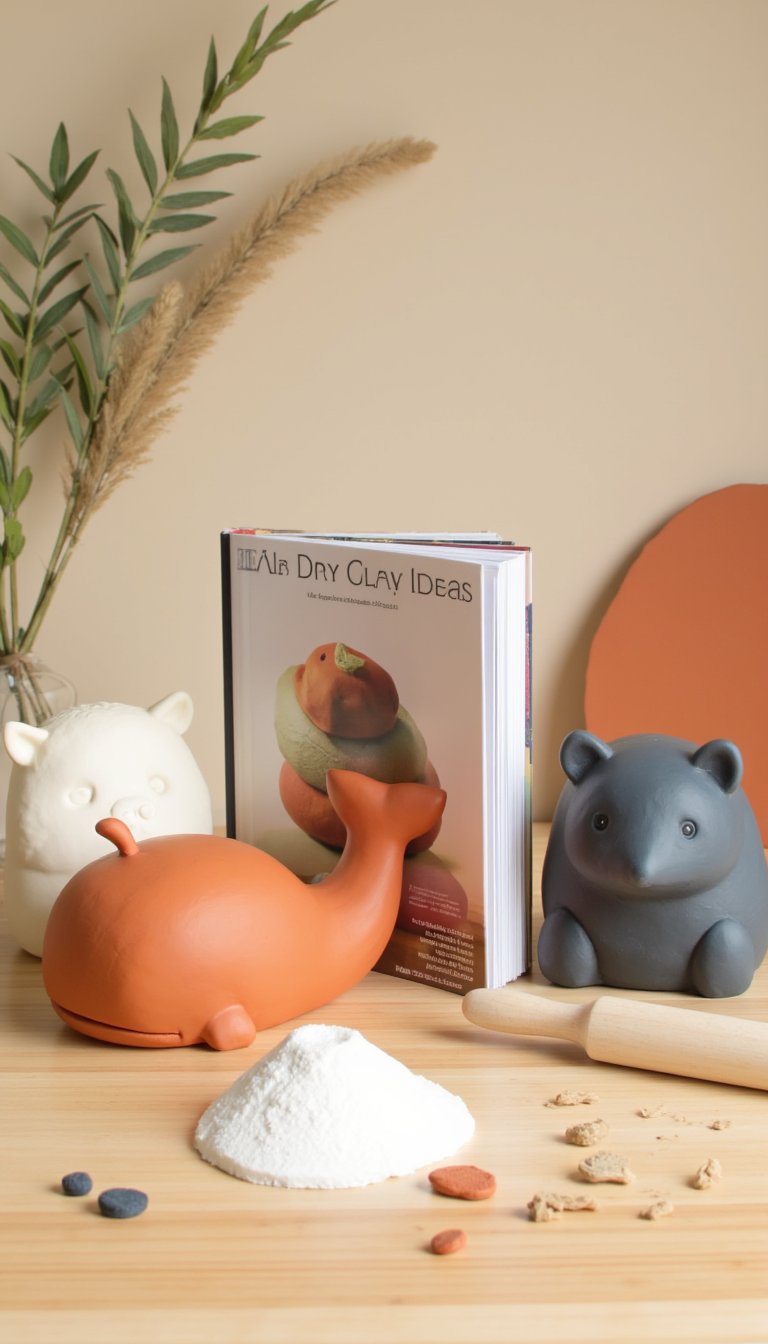
Add whimsy to your shelves. Start with a solid, heavy base shape (a thick slab or a built-up mound). Sculpt a simple animal form like a resting cat, a whale, or a hedgehog on top. Keep the shapes blocky and modern for stability and easier sculpting. Let them dry for several days, as they’ll be thick.
9. Pressed Flower Trinket Tray
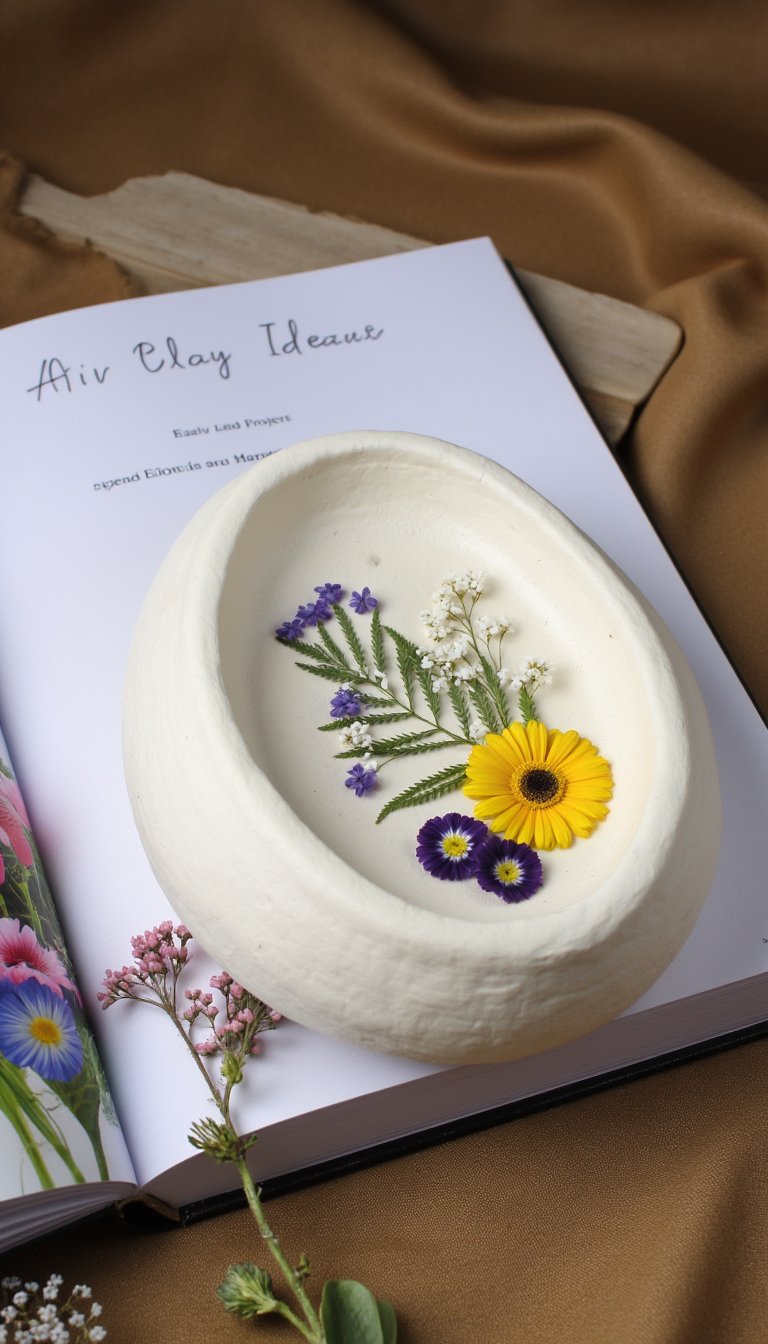
Preserve the beauty of summer blooms. Roll a slab and arrange delicate pressed flowers (pansies, ferns, baby’s breath) on the surface. Gently roll over them once more with your roller to embed them just below the surface. Cut your shape, form the edges, and dry. The flowers become part of the clay itself.
10. Modern Wall Hooks
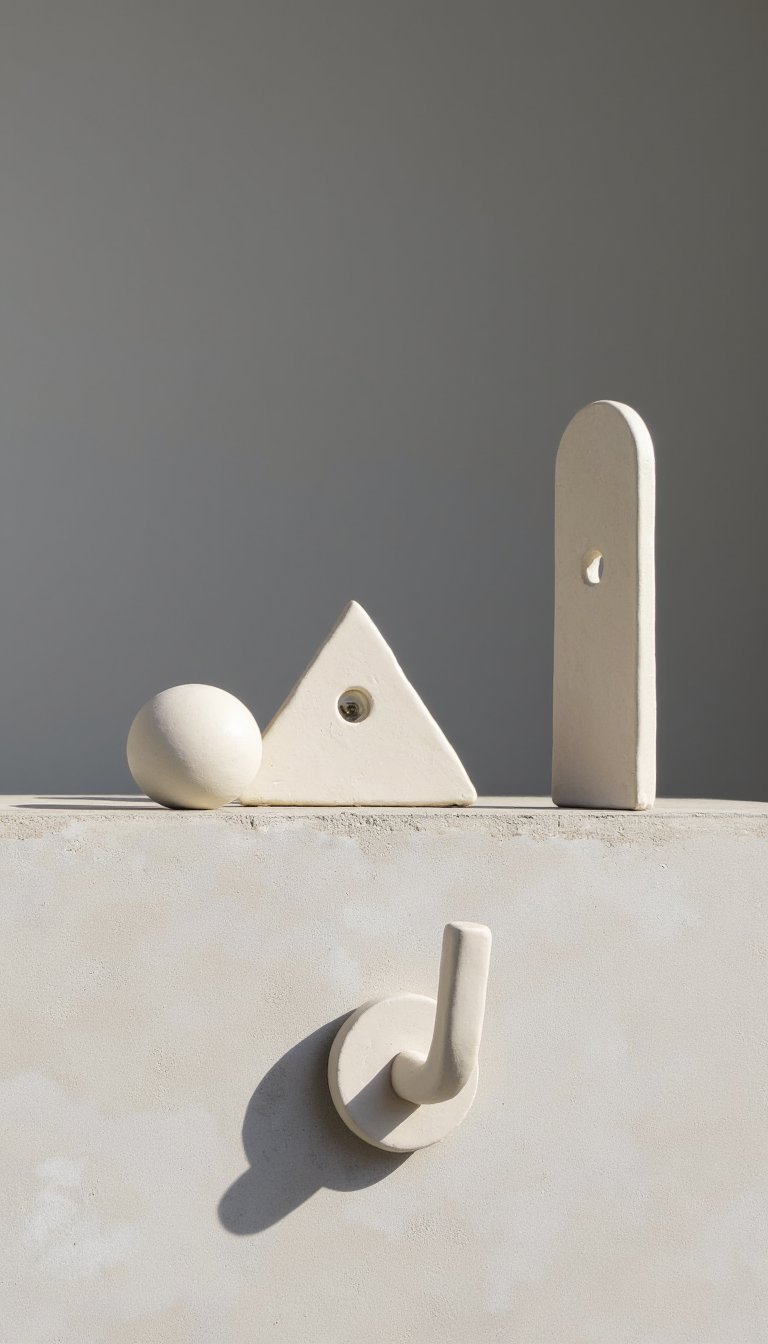
Functional art? Yes, please. Sculpt simple, elegant hook shapes—think sweeping curves or minimalist triangles. Ensure the back is flat and embed a sturdy wall hook or keyhole hardware into the clay before it dries. Once sealed, they’re surprisingly strong for hanging lightweight coats or keys.
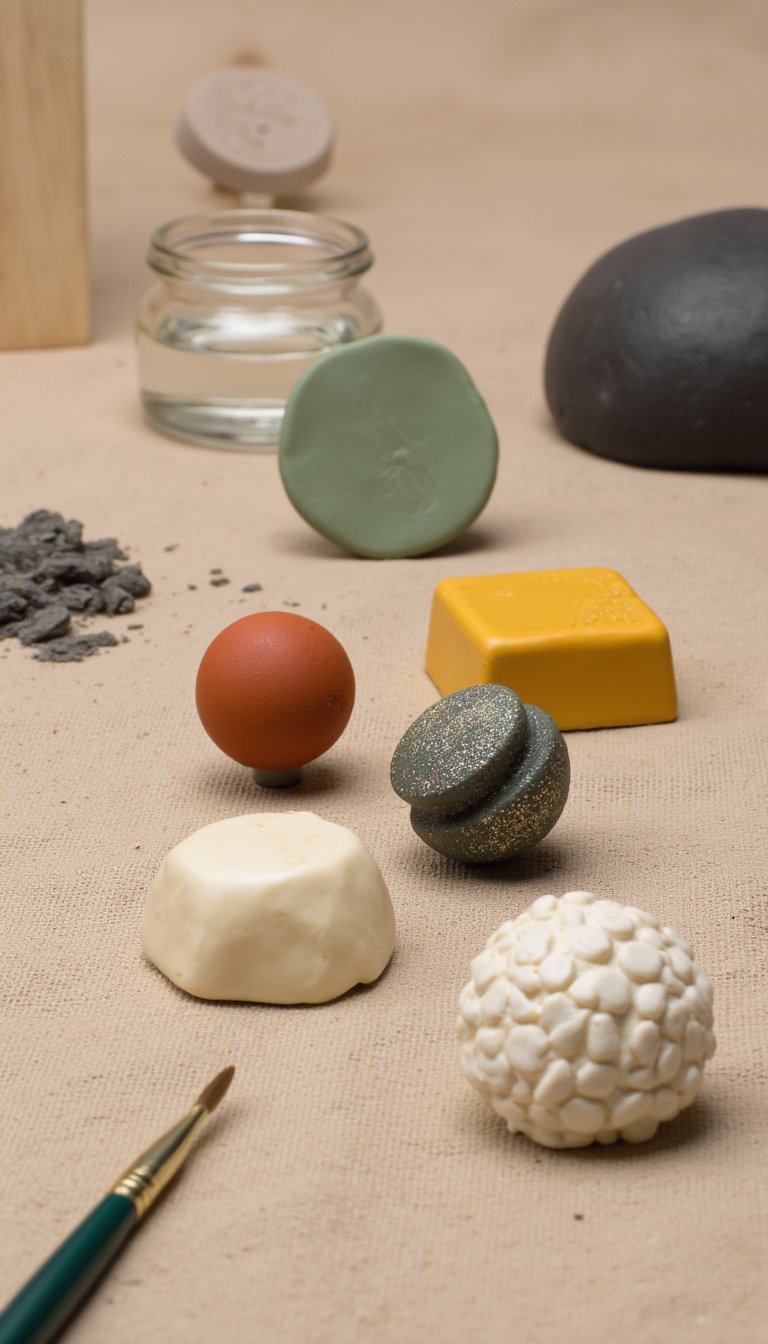
11. Marbled Clay Magnets
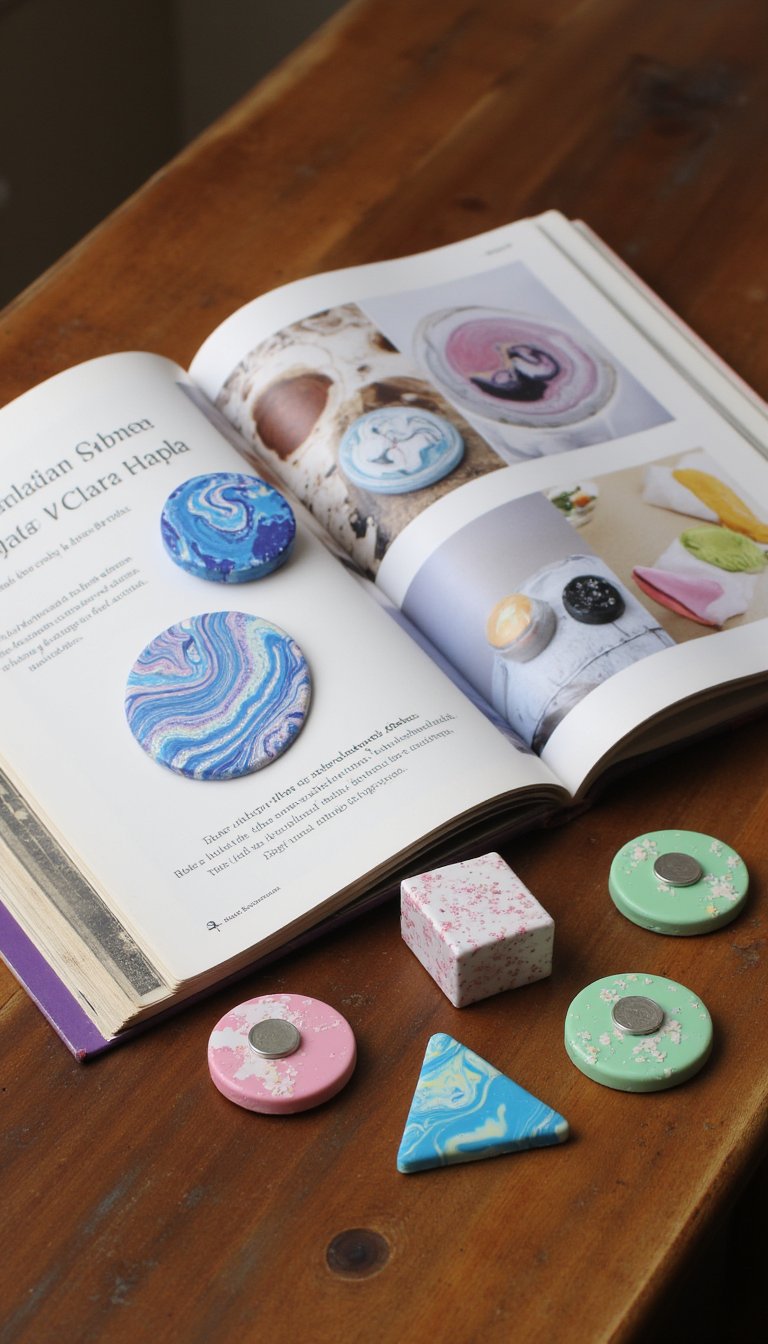
This technique is mesmerizingly simple. Take small balls of two different colored clays (or paint two batches before starting). Knead them together just 3-4 times until the colors swirl but don’t fully blend. Flatten, cut into shapes, glue a magnet to the back, and voilà—fridge art upgrade complete.
12. Hanging Planter with Macramé
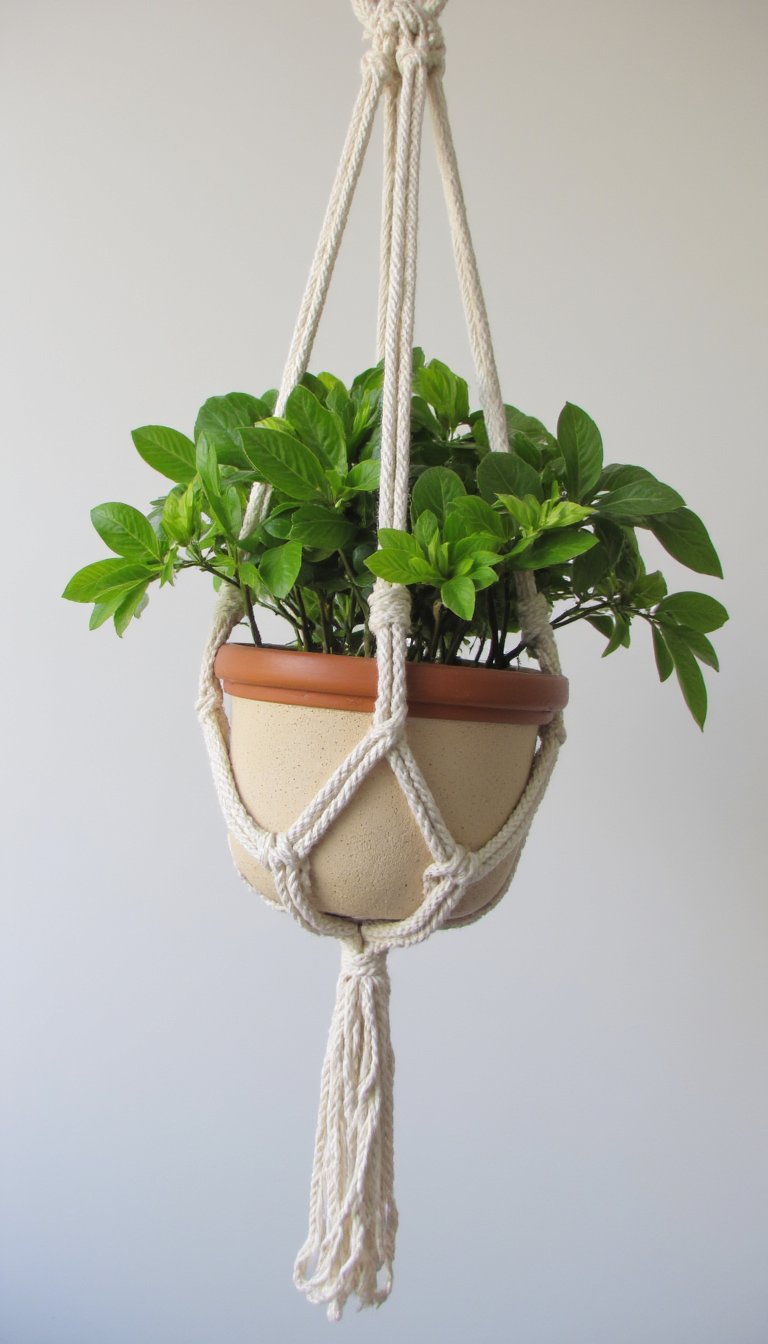
Create a lightweight planter bowl. As you form it, remember to poke three or four evenly spaced holes near the rim before it dries. Once hardened, thread macramé cord or leather strips through the holes to create a hanger. It’s perfect for air plants or small succulents.
13. Stamped Napkin Rings
Elevate your next dinner party in under an hour. Roll clay into cylinders long enough to wrap around a napkin. Seal the seam by blending the clay. Then, roll a patterned rubber stamp or a piece of textured fabric around the cylinder to create a continuous design. Easy elegance.
14. Faux Ceramic Candle Holder
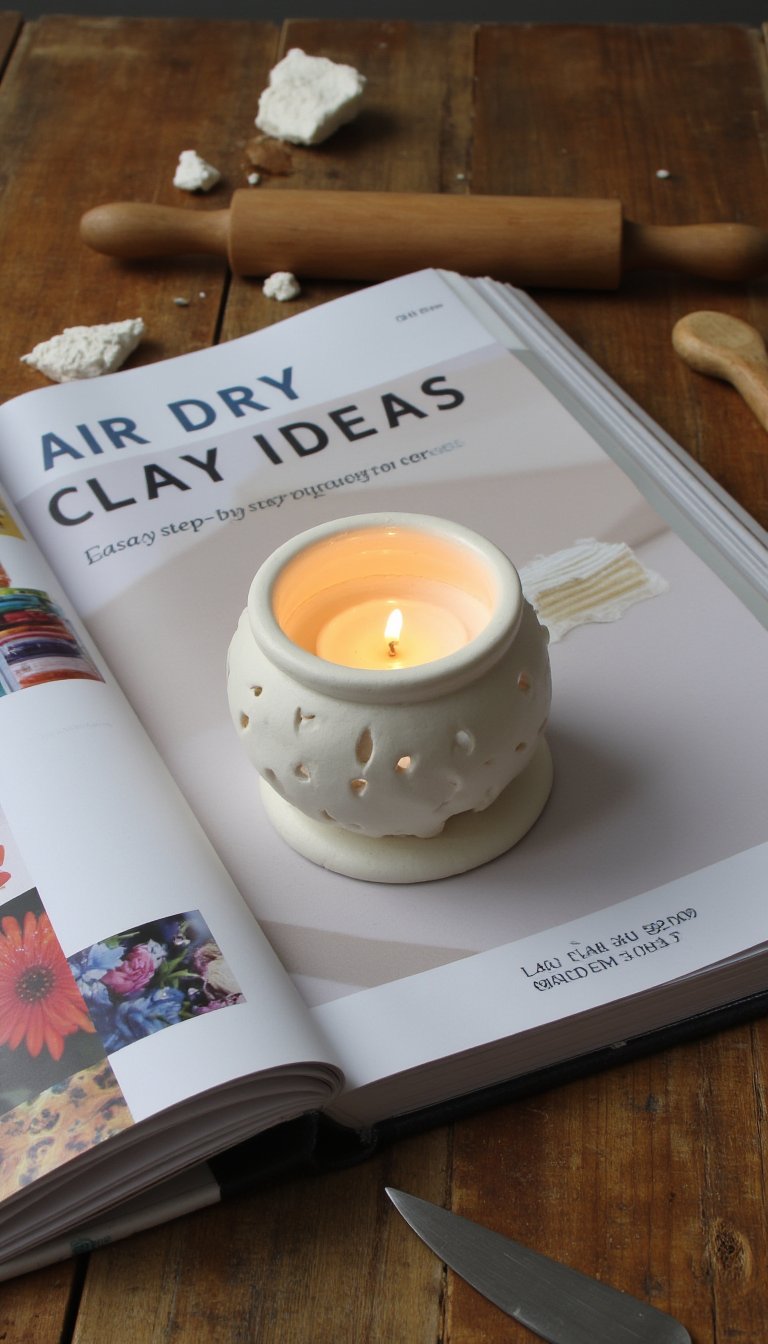
Safety first: this is for pillar candles or LED tea lights only. Create a thick, stable base. Then form walls by coiling or using a slab, ensuring the opening is wider than your candle. Poke decorative holes with a straw for a lovely glow. Seal thoroughly inside and out to protect from wax.
15. Kid-Friendly Dinosaur Fossils
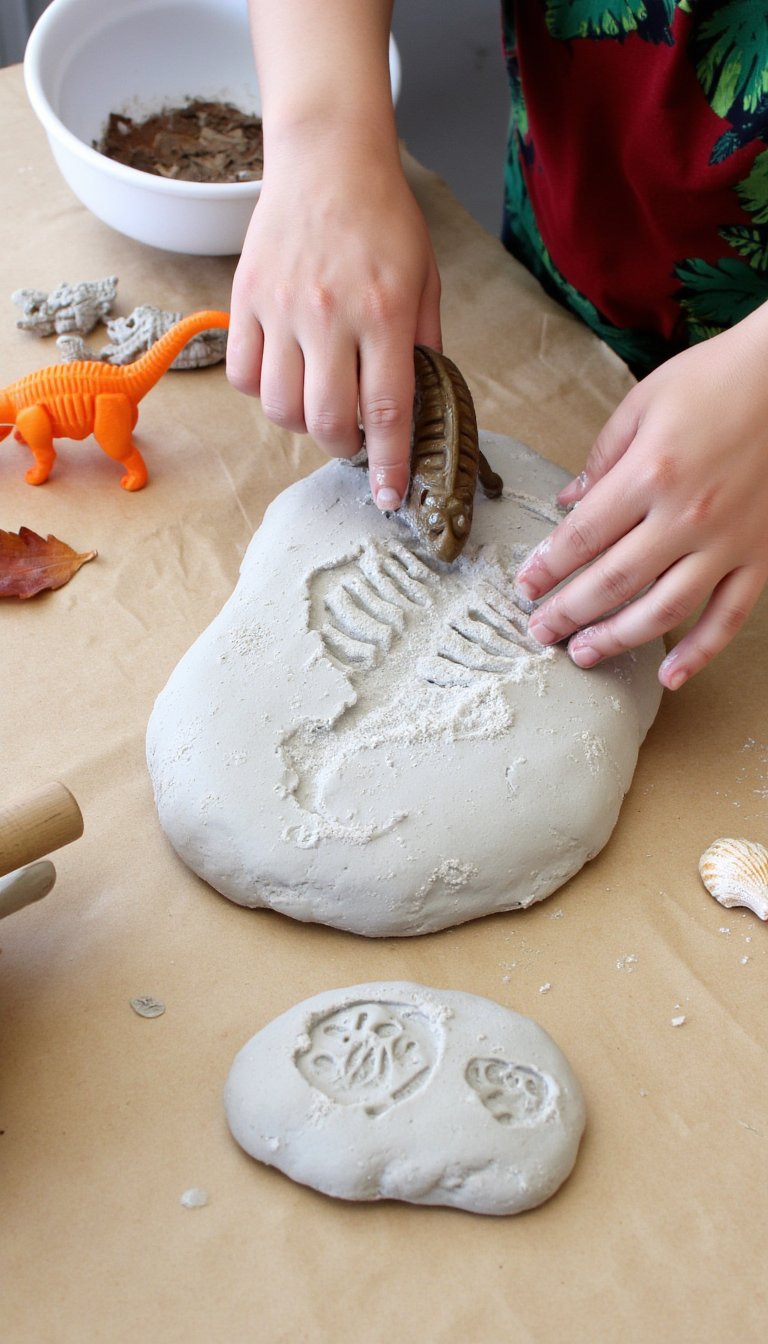
The ultimate craft for a rainy day. Flatten clay into a “rock” slab. Let the kids press small plastic dinosaur skeletons, shells, or leaves deep into the clay to create an imprint. Peel out the object. Once dry, they can paint it and have their own archaeological dig site.
16. Decorative Drawer Knobs
Customize your furniture in a weekend. Sculpt clay balls, pyramids, or custom shapes around the screw of a basic knob base. Remove the knob to let the clay dry, then reattach. Seal with a durable varnish to handle daily grimy fingers. Talk about a statement piece for a dresser or cabinet.
17. Layered Pendant Necklace
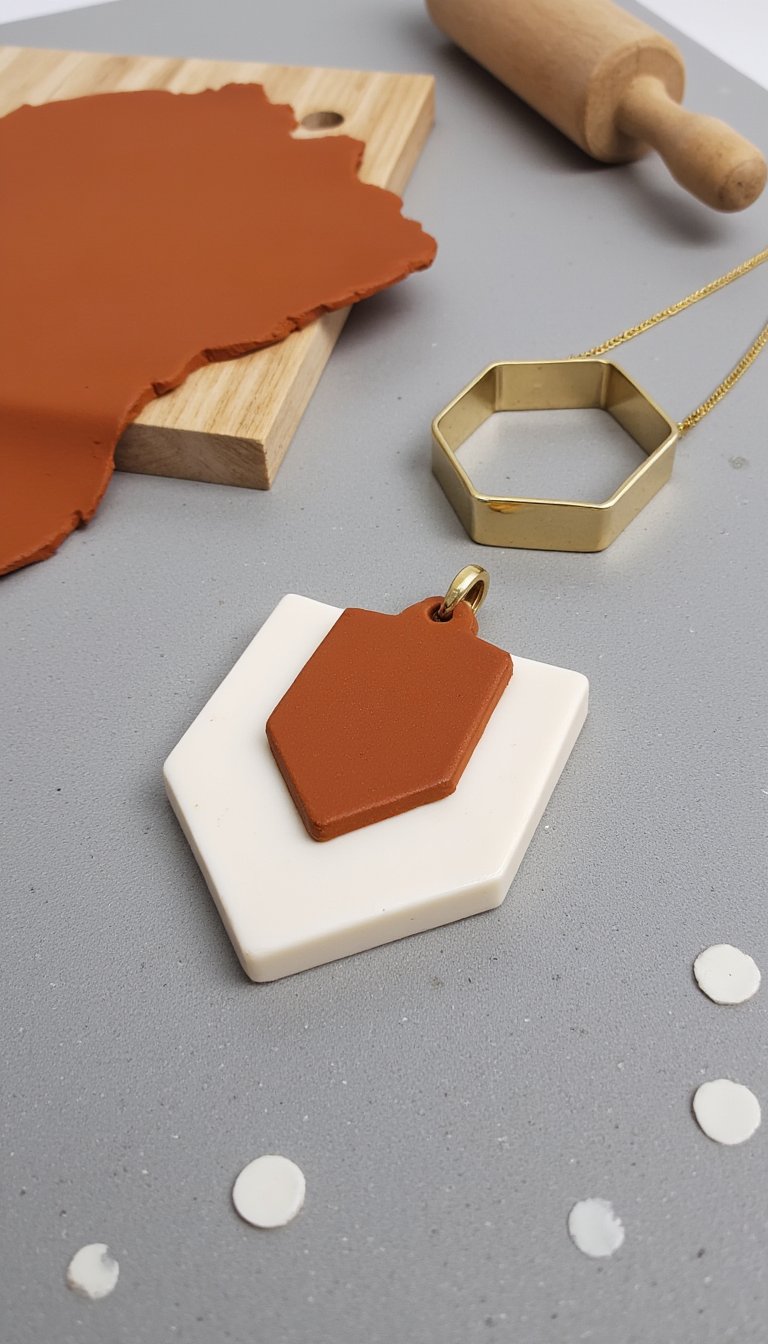
Create depth and dimension. Roll out two contrasting colors of clay very thinly. Cut identical shapes from each. Layer them with a slight offset, and use a rolling pin to gently press them together. Add a hole, dry, and seal. The layered effect looks professional and incredibly chic.
18. Mini Succulent Pots with Feet
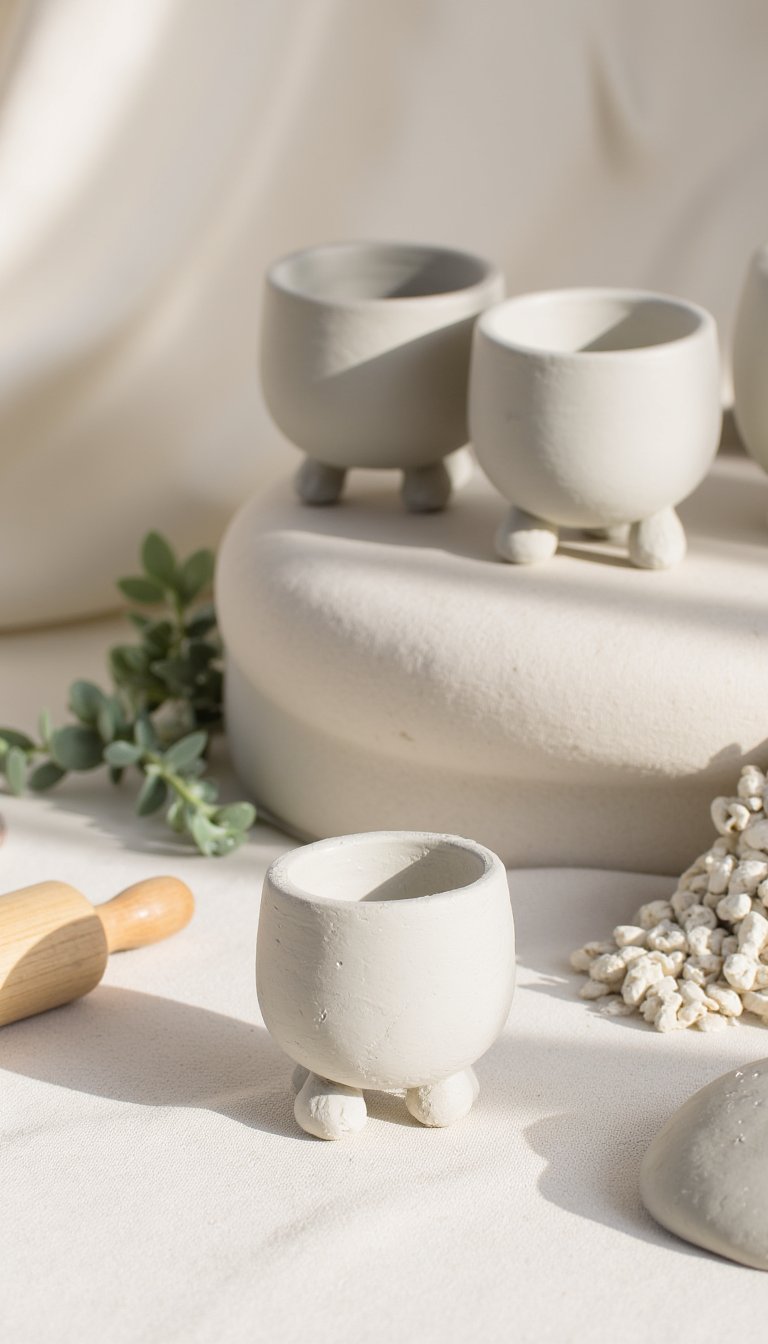
Tiny pots for tiny plants! Hand-form a small pot, then roll three or four tiny balls of clay. Attach them to the bottom as little feet. Don’t forget a drainage hole in the base! These add such a cute, finished look to your propagating station.
19. Etched Coasters
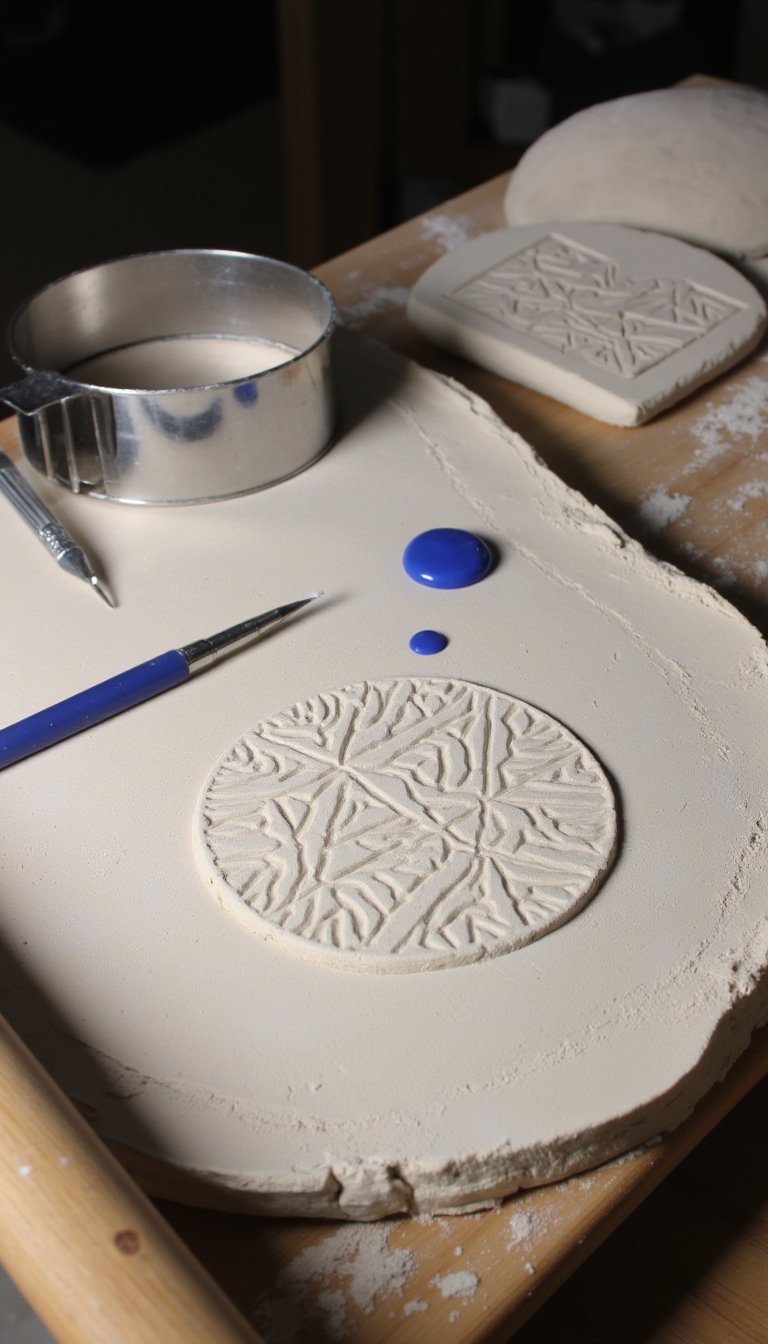
Roll out a thick, even slab. Use cookie cutters for perfect circles or squares. Then, use a pencil, toothpick, or silicone tool to etch a geometric pattern or free-form design into the surface. The etched lines catch paint beautifully for a pop of color.
20. Heart-Shaped Wall Pocket
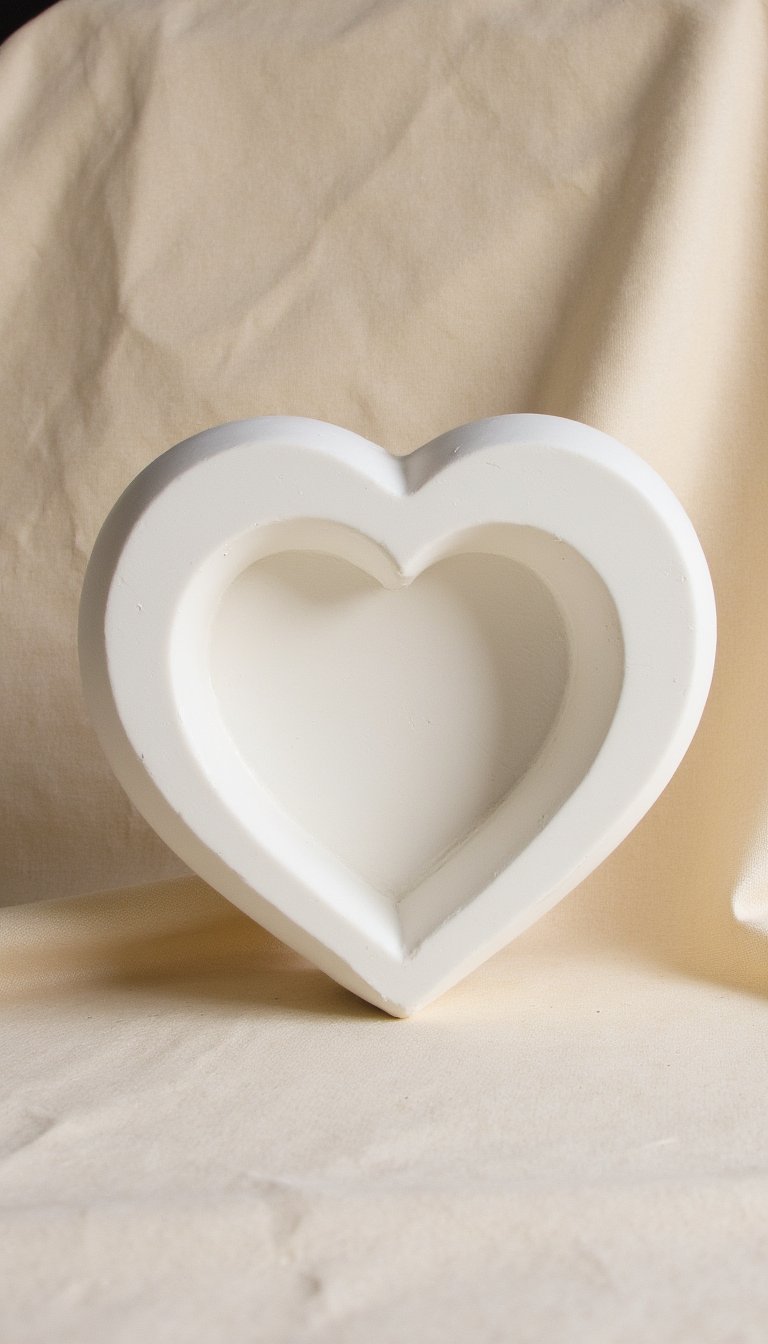
Part sculpture, part organizer. Create a large, chunky heart shape. Before it dries, gently press a jar or bowl against the center to create a deep indent, forming a pocket. Smooth the edges. Once mounted on the wall, it holds notes, dried flowers, or your daily jewelry.
21. Your Signature “Thing”
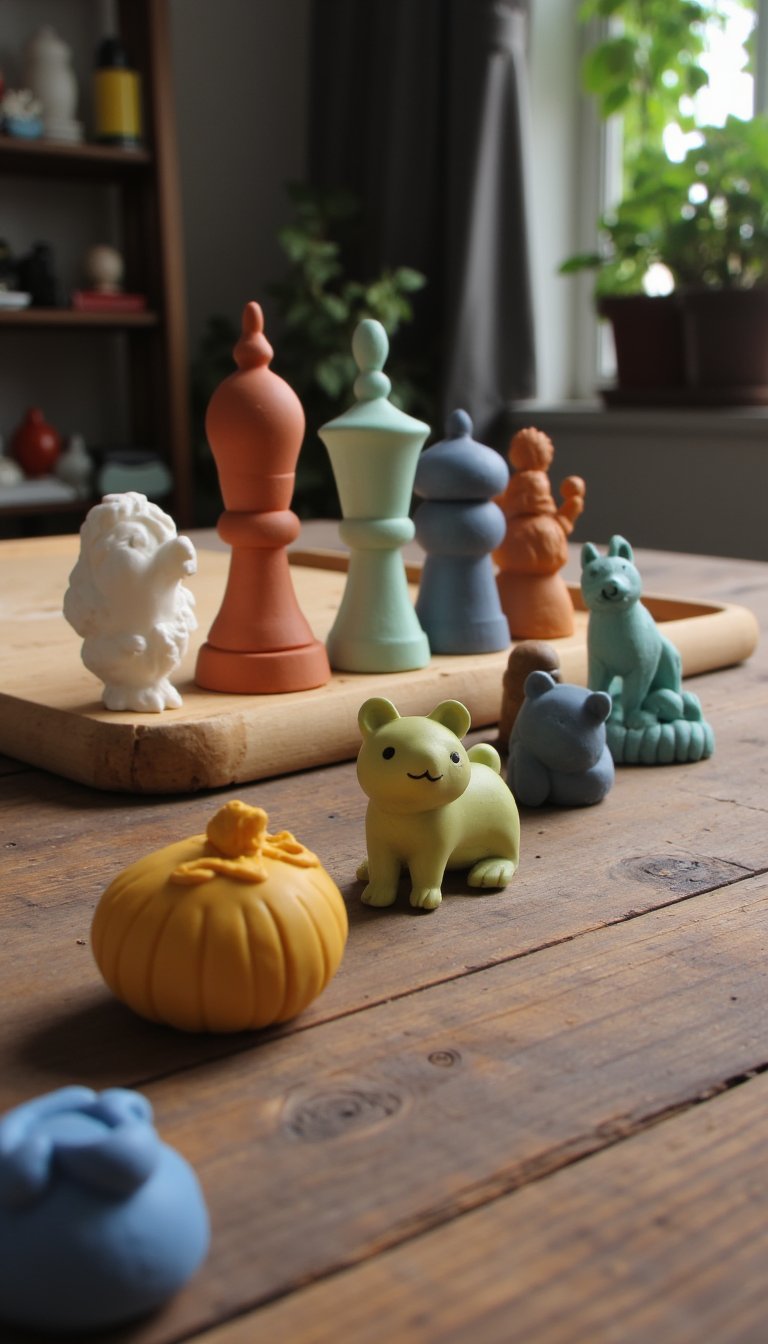
This is your wild card. By now, you’ve learned to roll, coil, stamp, and sculpt. What’s the one little object you’ve been dreaming of making? A tiny trophy for your desk? A custom chess piece? A ornament for your pet? Use the skills from the previous 20 ideas and just go for it. The only rule is to have fun and see what happens. This is where you truly become a clay artist.
And there you have it—21 air dry clay ideas that take you from “total beginner” to “confident crafter.” The real secret? It’s all about jumping in and getting your hands dirty. Each of these projects builds a fundamental skill, from simple imprinting to basic sculpting. Before you know it, you’ll be looking at everyday objects and thinking, “Hmm, I could make a clay version of that.” So grab that pack of clay, forgive yourself for any wobbles (they add character!), and start creating. Your unique, handmade world is waiting. What will you make first? 😊