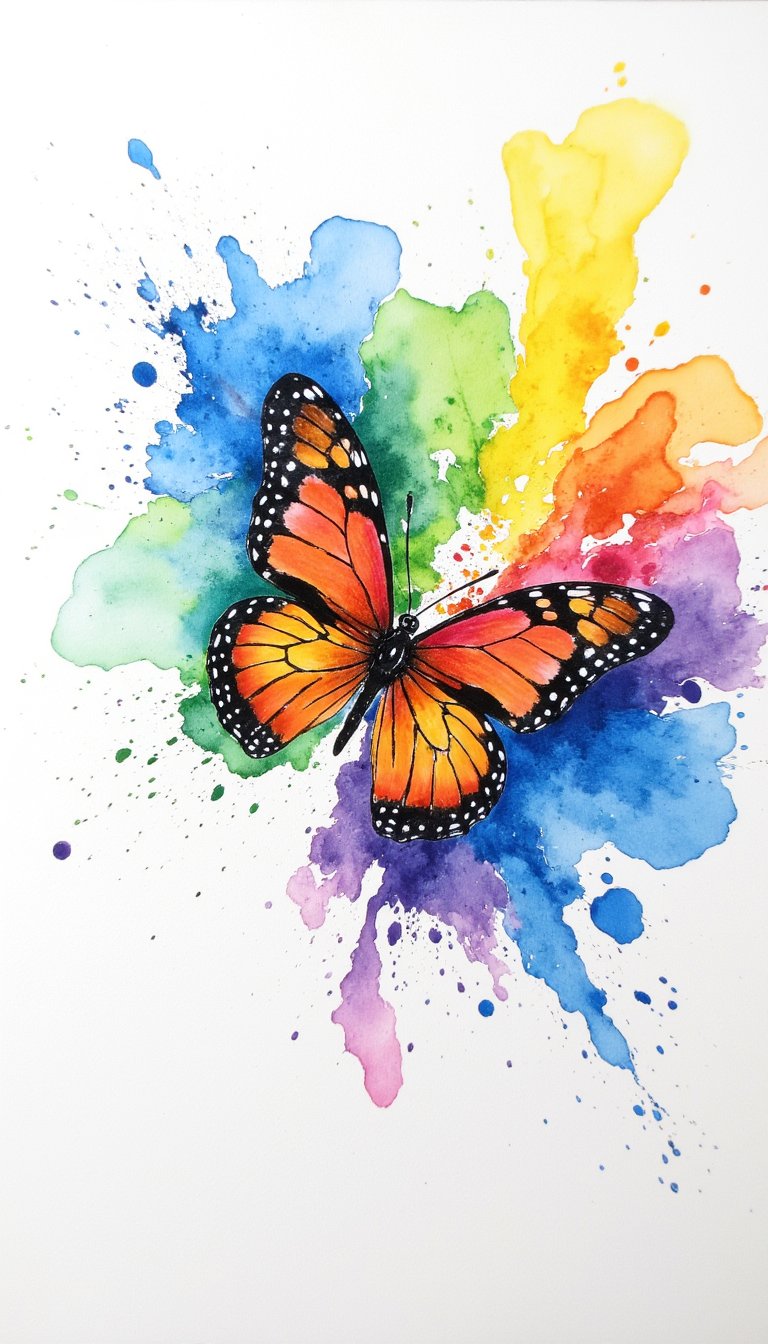
Butterflies. They’re nature’s confetti, a symbol of transformation, and quite frankly, the easiest way to add instant magic to any space. But chasing real ones with a net? Messy. Creating your own beautiful butterfly craft? Now that’s where the real fun begins. Whether you’re a parent dodging glitter-glue disasters, a teacher planning the perfect spring unit, or just someone who needs a hit of colorful creativity, you’ve landed in the right spot. We’ve curated 29 stunning, doable, and downright delightful butterfly projects. From coffee filter watercolors to upcycled masterpieces, get ready to make your imagination take flight.
1. The Classic Coffee Filter Butterfly
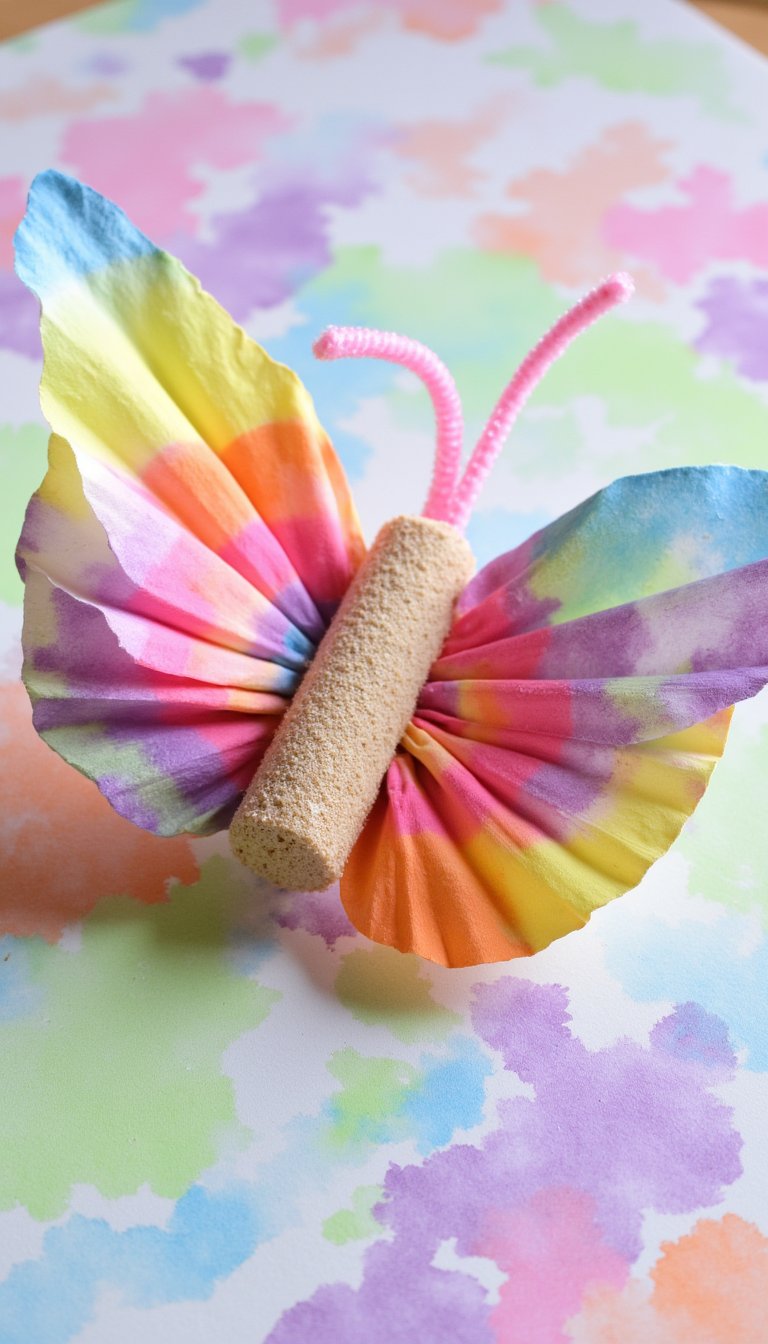
Let’s start with a legend. This is the butterfly craft that lives in classrooms and craft rooms for a reason. It’s cheap, it’s easy, and the results are always spectacular.
Grab some white coffee filters, washable markers, and a spray bottle of water. Let the kids go wild coloring the filters—the more color, the better. Then, give it a light spritz and watch the colors bleed into a beautiful, marbled masterpiece. Once dry, pinch the center, wrap a pipe cleaner around it for antennae, and fluff out the wings. Instant magic with supplies you probably already have.
2. Clothespin & Painted Wing Butterflies
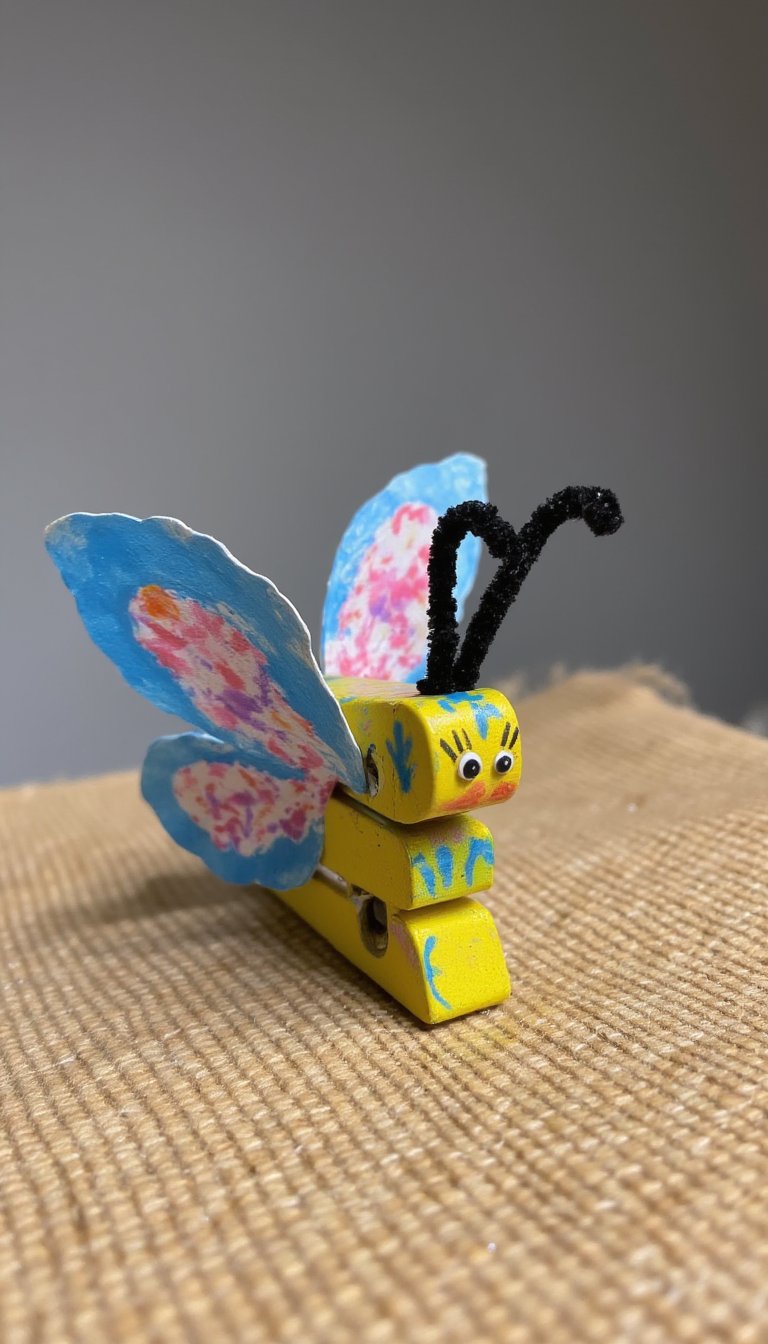
This project adds a beautiful, dimensional touch. You use a wooden clothespin as the body, which gives you a perfect little clip. It’s fantastic for decorating curtains, planters, or gift bags.
Paint your clothespin however you like. For the wings, cut shapes from thick cardstock, painted paper, or even patterned scrapbook paper. Glue the wings to the back of the clothespin, add some googly eyes or drawn details to the “head,” and you’re done. You can even curl small pieces of black pipe cleaner for fancy antennae.
3. Pasta Butterfly Symmetry Art

This is a sneaky two-for-one: a gorgeous craft and a hands-on math lesson. The concept of symmetry has never been prettier. You’ll need bow-tie pasta (farfalle) for the wings and something like rotini or a small piece of penne for the body.
Glue the pasta pieces onto construction paper or cardboard. Then, let the kids paint them. The rigid pasta shape forces them to think about making both sides match, teaching symmetry in the most tactile way. It’s a standout piece for any fridge gallery.
4. Paper Plate Swirl Butterfly
Don’t toss those leftover party plates! A simple paper plate is a perfect canvas for a butterfly. Cut the plate into a wing shape (fold it in half first for perfect symmetry).
Now for the fun part: create colorful swirls using paint, crayons, or markers. You can use the marble-rolling technique by dipping a marble in paint and rolling it around a box containing the plate. The chaotic, swirly patterns look incredibly dynamic and artistic once you add a pipe cleaner body.
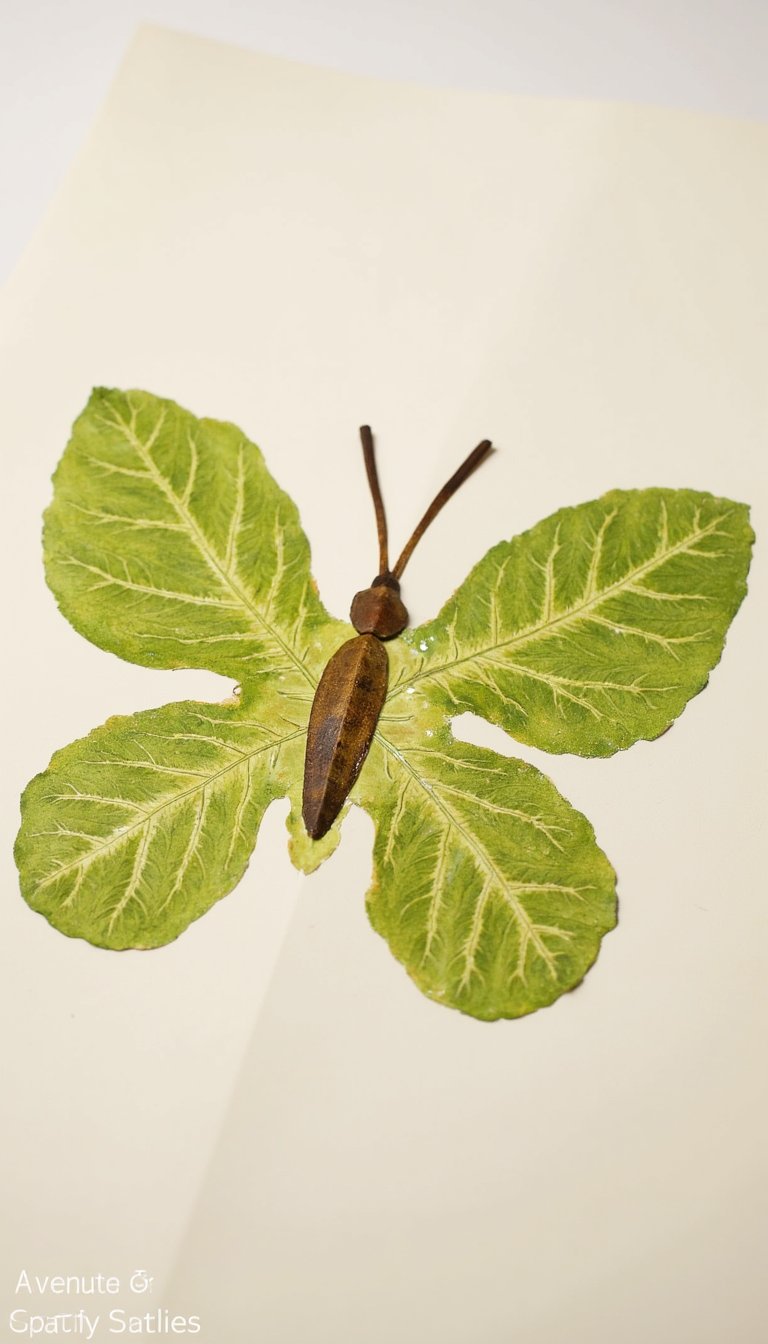
5. Nature Collage Butterfly
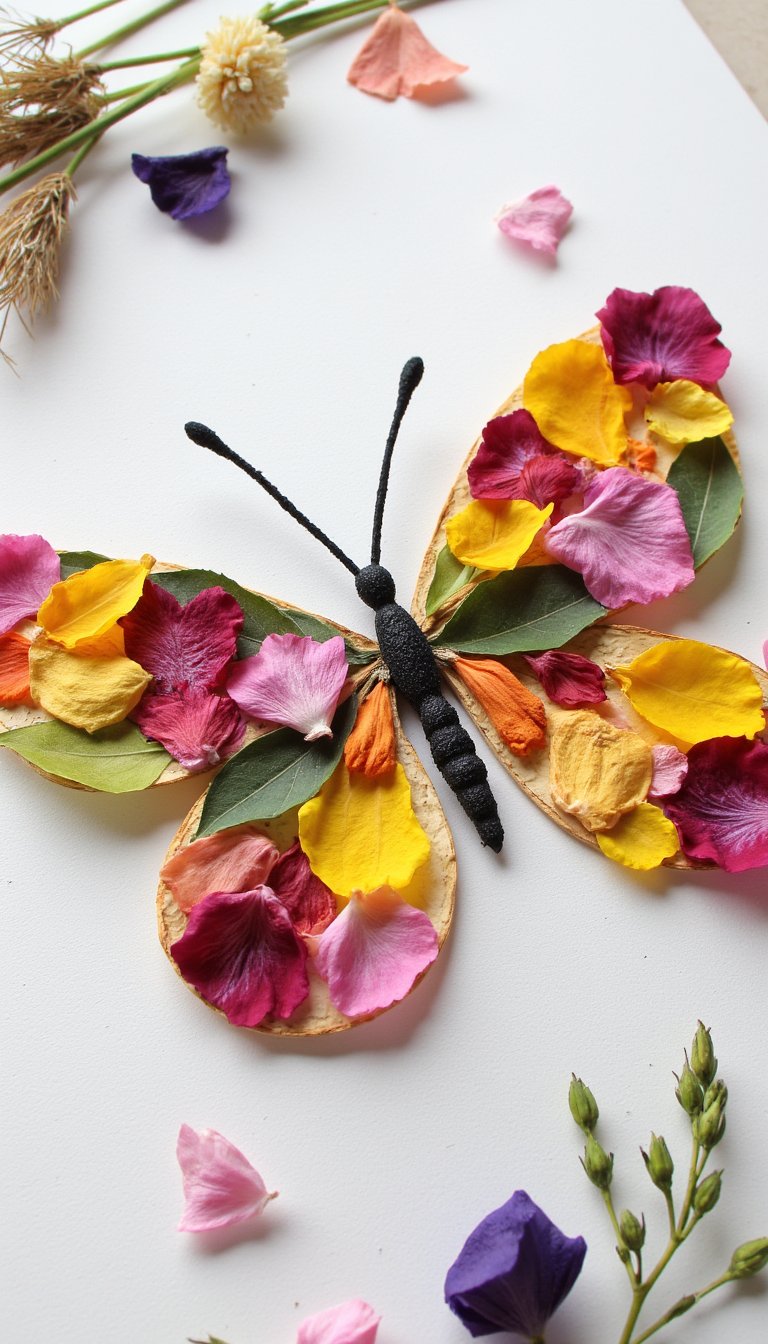
Take your crafting outdoors! This butterfly craft connects kids with nature and encourages observation. Go on a hunt for lightweight treasures: fallen petals, small leaves, flower buds, and delicate grasses.
Arrange your finds on paper or cardboard in the shape of butterfly wings. The variety of textures and colors from real flora creates a stunning, ephemeral piece of art. It’s a wonderful way to celebrate the seasons.
6. Stained Glass Tissue Paper Butterfly
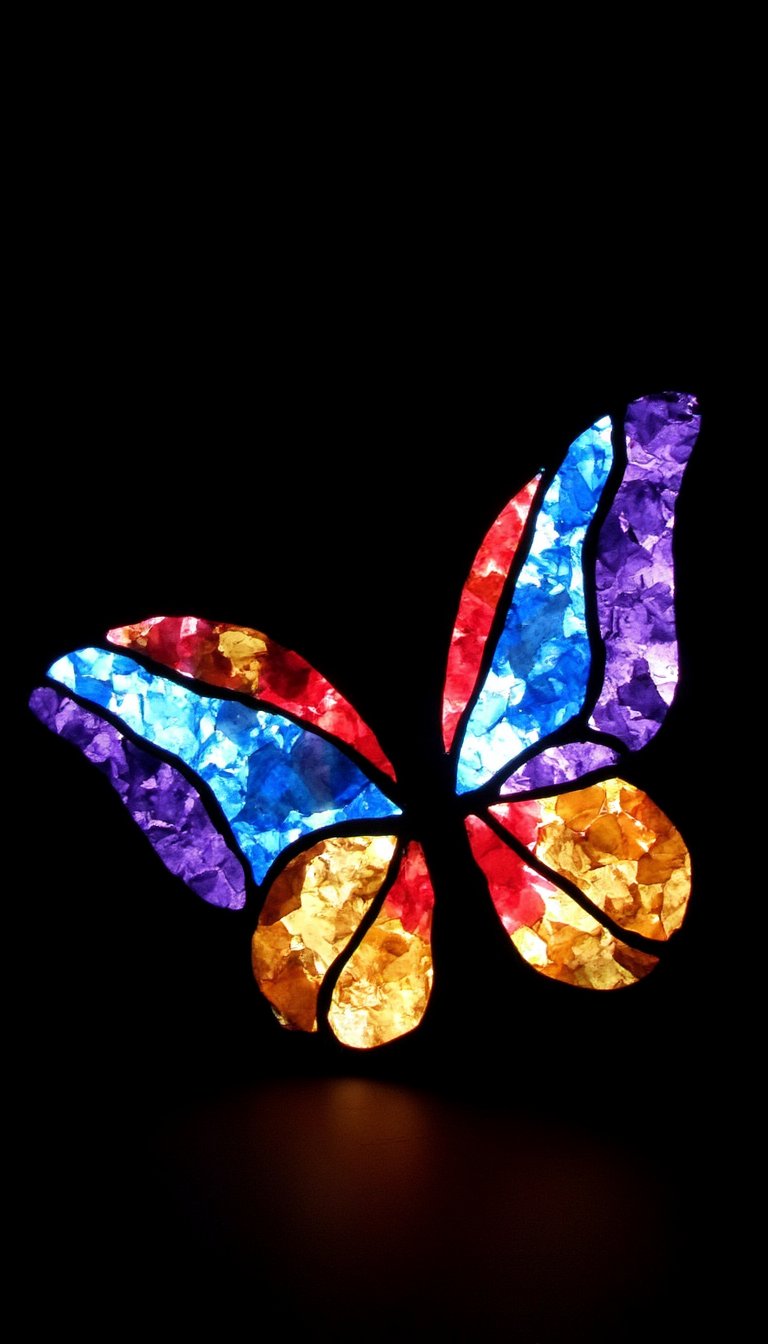
Want to catch the light? This “stained glass” effect is breathtaking when hung in a window. You’ll need clear contact paper or a laminating pouch. Cut out a butterfly outline from black construction paper to make a frame.
Stick the frame onto the sticky side of the contact paper. Then, fill the open spaces with tiny, torn pieces of colorful tissue paper. Seal it with another layer of contact paper, trim the edges, and watch the sun shine through. It’s pure, colorful joy.
7. Toilet Paper Roll Stamp Butterfly
Upcycling at its finest! Flatten a toilet paper roll and pinch the center to create a figure-eight shape. Secure the pinched center with a rubber band or tape. This now becomes your stamp.
Dip the ends in paint and stamp them onto paper to create perfect, symmetrical wing shapes. Once dry, connect the wing sets with a painted body and add details. It’s a fantastic, low-mess way for toddlers to create recognizable art.
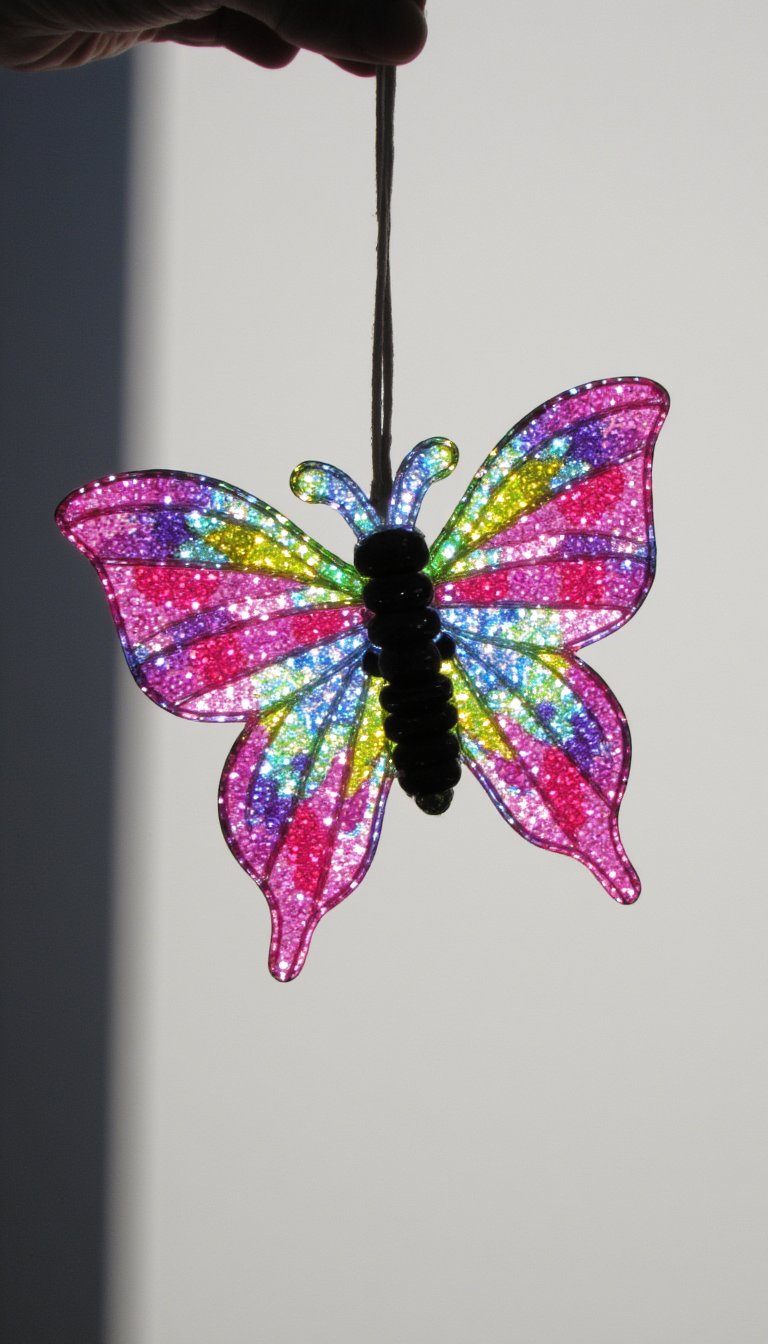
8. Beaded Pipe Cleaner Butterfly
This craft is all about fine motor skills and sparkle. Take a pipe cleaner and fold it in half. String beads onto both ends, leaving a small section at the folded top for the head.
Twist the ends to secure the beads and shape them into wings. Then, use a separate, shorter pipe cleaner to wrap around the center, forming the body and leaving two ends free to curl into antennae. These make adorable jewelry, bag charms, or suncatchers.
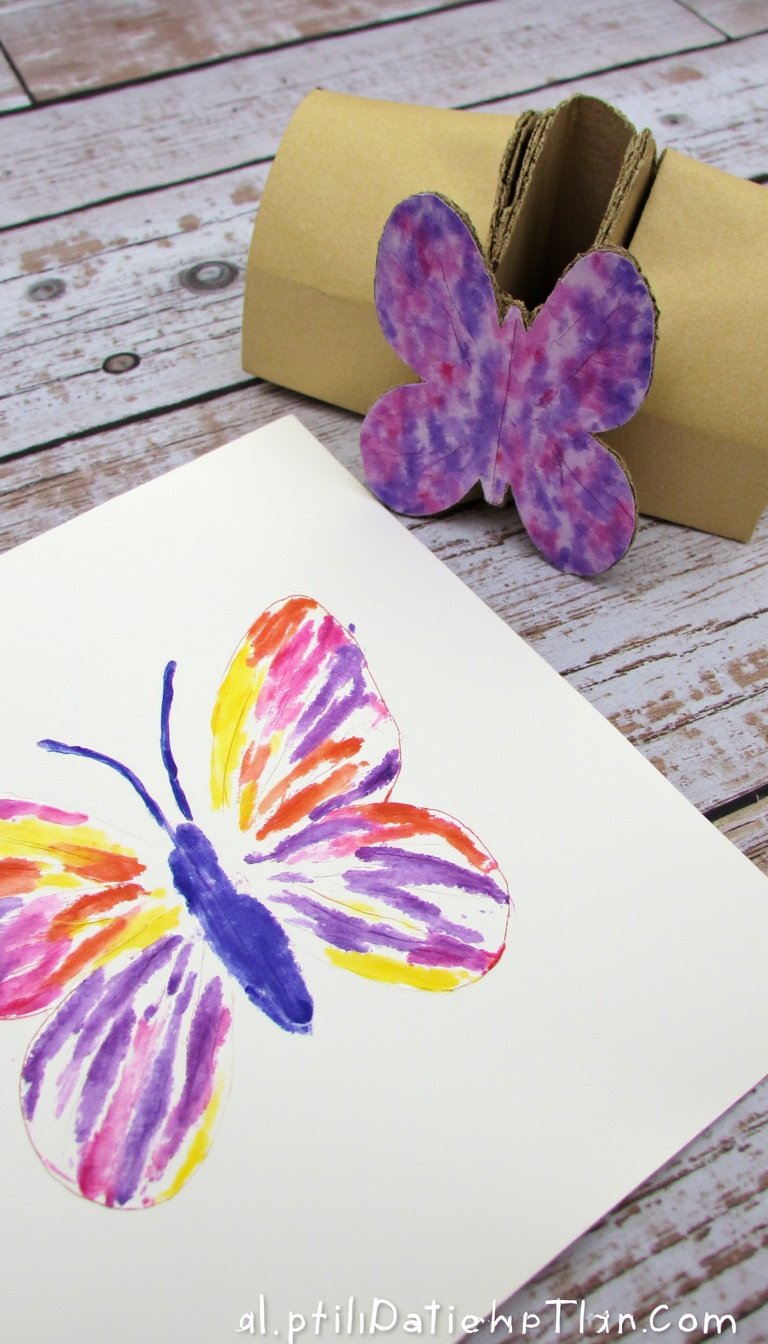
9. Watercolor Resist Butterfly
The “resist” technique always feels like a magic trick. Draw a bold butterfly outline on watercolor paper using a white crayon or a oil pastel. Press hard! To the naked eye, it will seem almost invisible.
Then, let your child wash over the paper with liquid watercolors. Like magic, the white drawing will resist the paint and pop right out. Their faces when this happens? Priceless. It teaches a cool art technique while creating a beautiful, professional-looking piece.
10. Pine Cone Butterfly Friend

Give a foraged pine cone a whole new life. This is a wonderfully rustic, 3D butterfly craft. The pine cone serves as the body. Simply choose a large, open one.
Cut wings from felt, craft foam, or colorful cardboard and hot glue them to the sides of the pine cone. Add some felt antennae and googly eyes to the tip. These make adorable table decorations or additions to a nature-themed centerpiece.
11. Fingerprint Butterfly Invitation
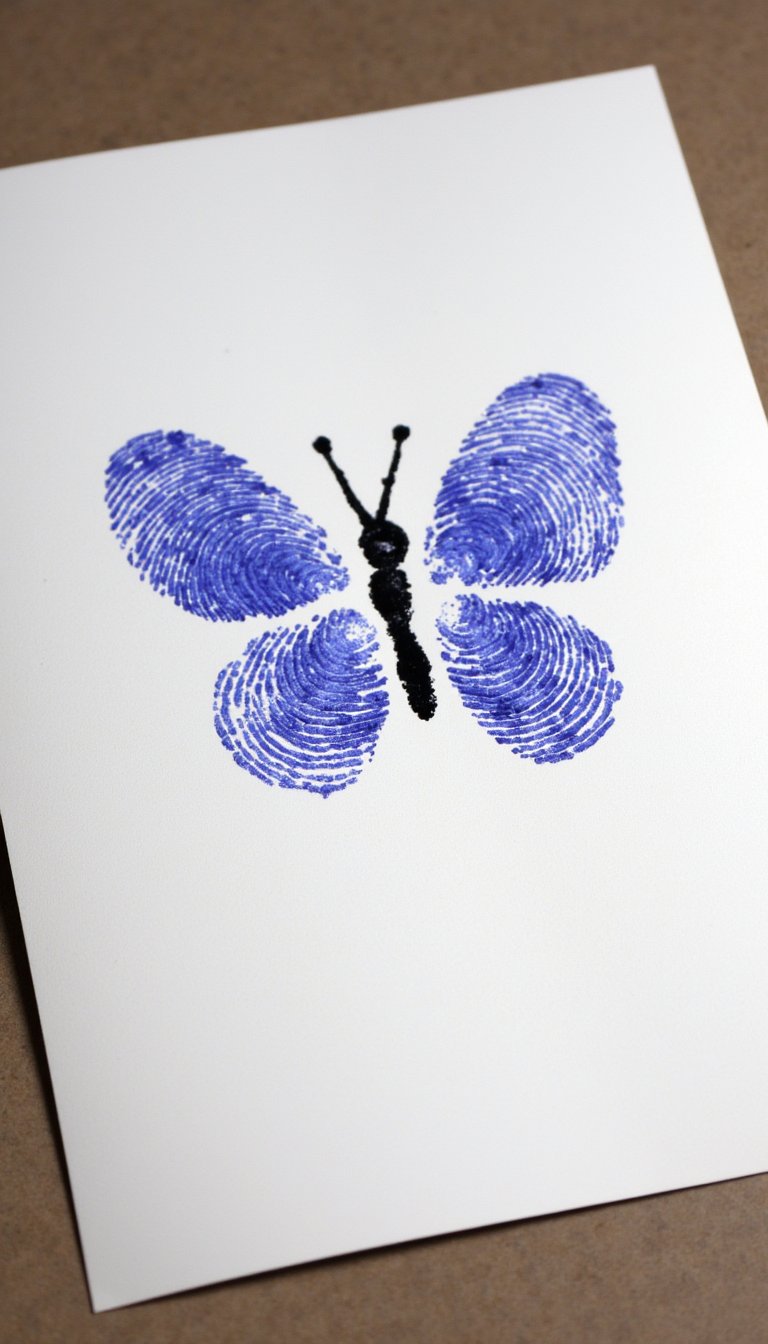
Personalized and precious. This is a perfect craft for party invitations, thank-you cards, or grandparent gifts. On a blank card, use paint or an ink pad to make four fingerprints in a wing formation.
Let the prints dry, then use a fine-tip marker to add a body, antennae, and decorate the wings. You can turn each fingerprint into a tiny flower or pattern. It’s a craft that literally has your personal stamp on it.
12. Chalk Pastel Smudge Wings
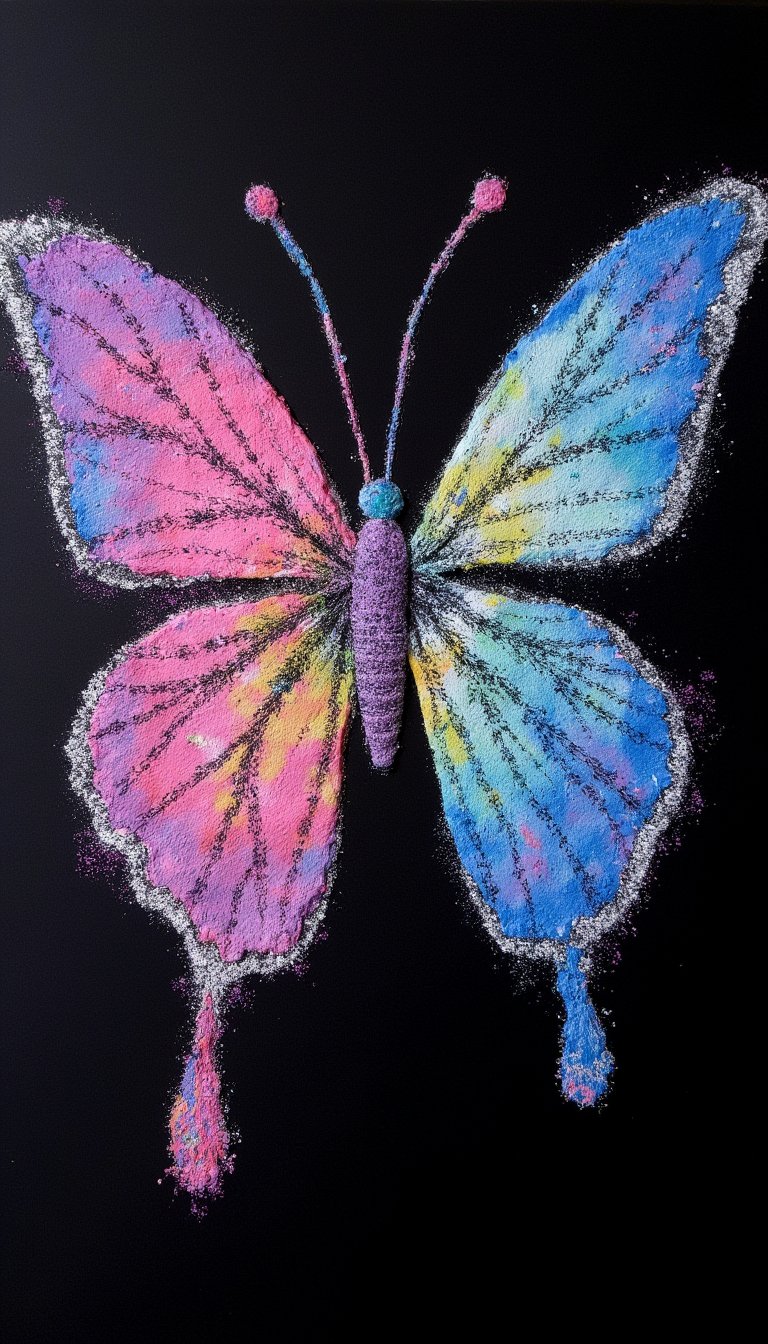
For a soft, dreamy, and ethereal look, chalk pastels are your best friend. Draw a butterfly outline on black or dark blue construction paper. The dark background makes the colors pop.
Use your fingers or a blending stump to smudge and blend vibrant pastel colors inside the wings. The effect is like a soft, powdery sunset or a galaxy. A fixative spray will keep the masterpiece from smudging further.
13. Bubble Wrap Print Butterfly
Who knew packaging material could be so artistic? Cut a piece of bubble wrap into a wing shape. Paint over the bubbles with one or multiple colors.
Carefully press it onto your paper to create a fantastic textured print. Make two prints side-by-side, add a body, and you have a butterfly with incredibly cool, patterned wings. It’s a sensory and artistic win.
14. Yarn-Wrapped Butterfly
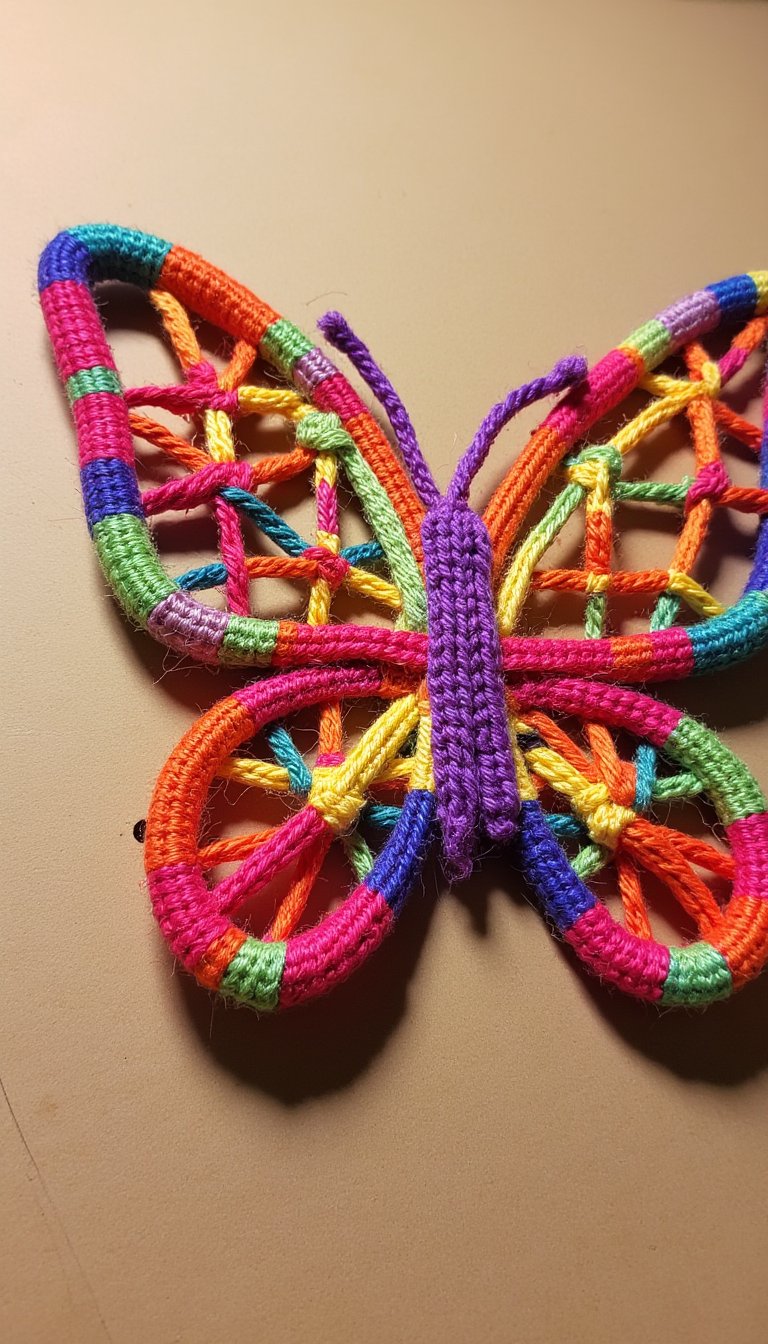
This craft is wonderfully tactile and great for building hand strength. Cut a butterfly shape from sturdy cardboard. Punch holes around the edges.
Let kids “sew” and wrap colorful yarn through the holes, crisscrossing the center to create unique patterns. The process is calming, and the finished product is a textured, homey piece of art.
15. Mason Jar Lid Sun Catcher
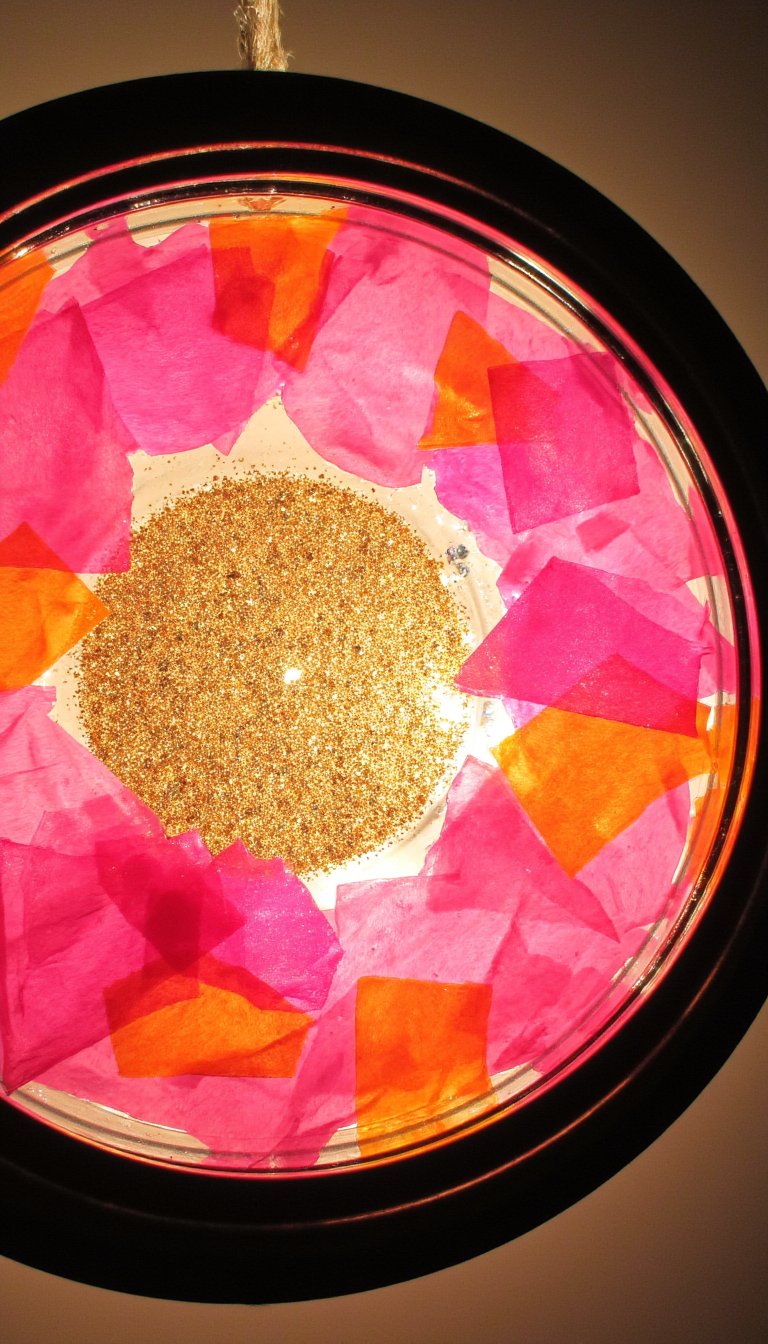
Upcycle those metal mason jar lids! Remove the inner seal and you have a perfect circular frame. Glue the lid to a piece of clear cellophane or a laminating sheet.
Fill the center with tissue paper pieces, glitter, or sequins. Seal the back with another clear sheet. Attach a string and hang it in the window. The metal frame gives it a finished, rustic-chic look.
16. Rock Pet Butterflies
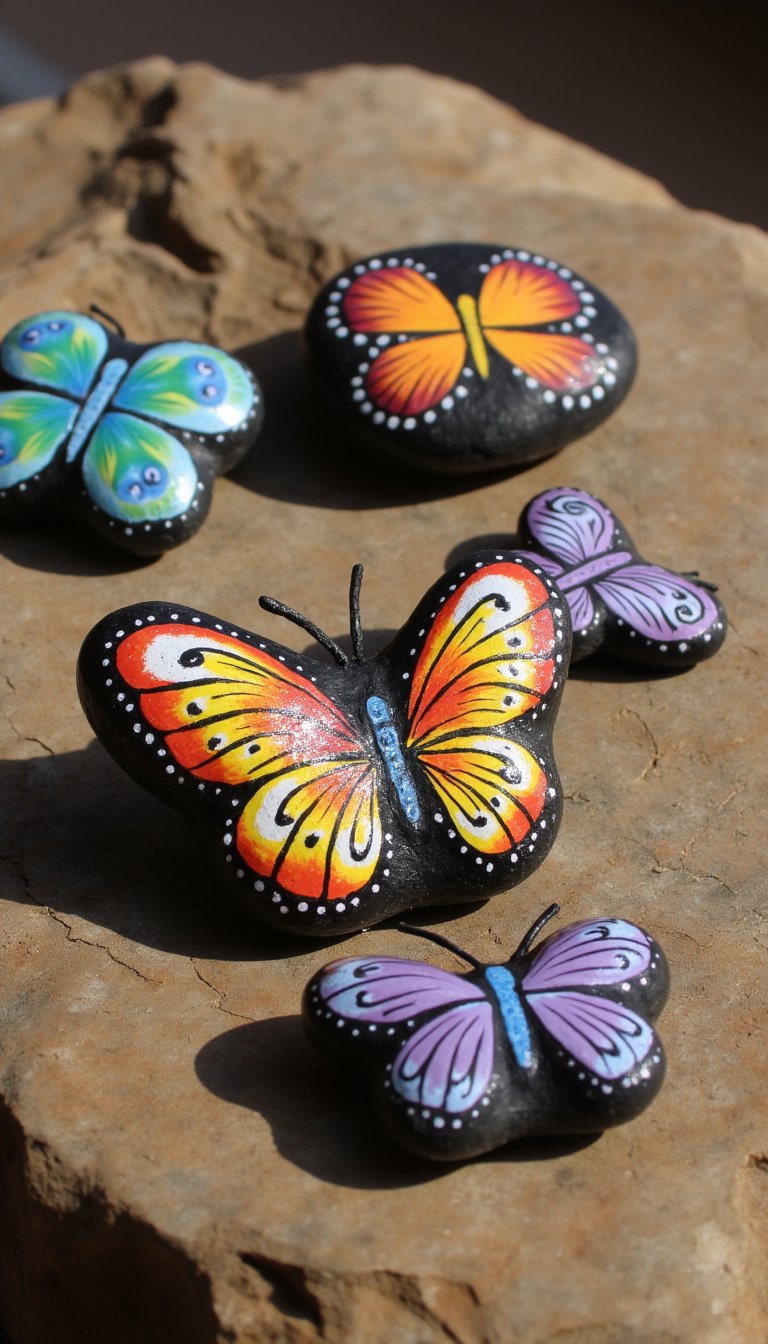
Find some smooth, flat-ish rocks next time you’re out. Give them a wash and let them dry. Then, paint them with acrylics into the most beautiful butterflies you can imagine.
These make adorable paperweights, garden decorations, or “pet rocks” with personality. Seal them with a clear varnish if they’ll live outdoors. They’re permanent little pieces of charm.
17. Paper Bag Puppet Butterfly
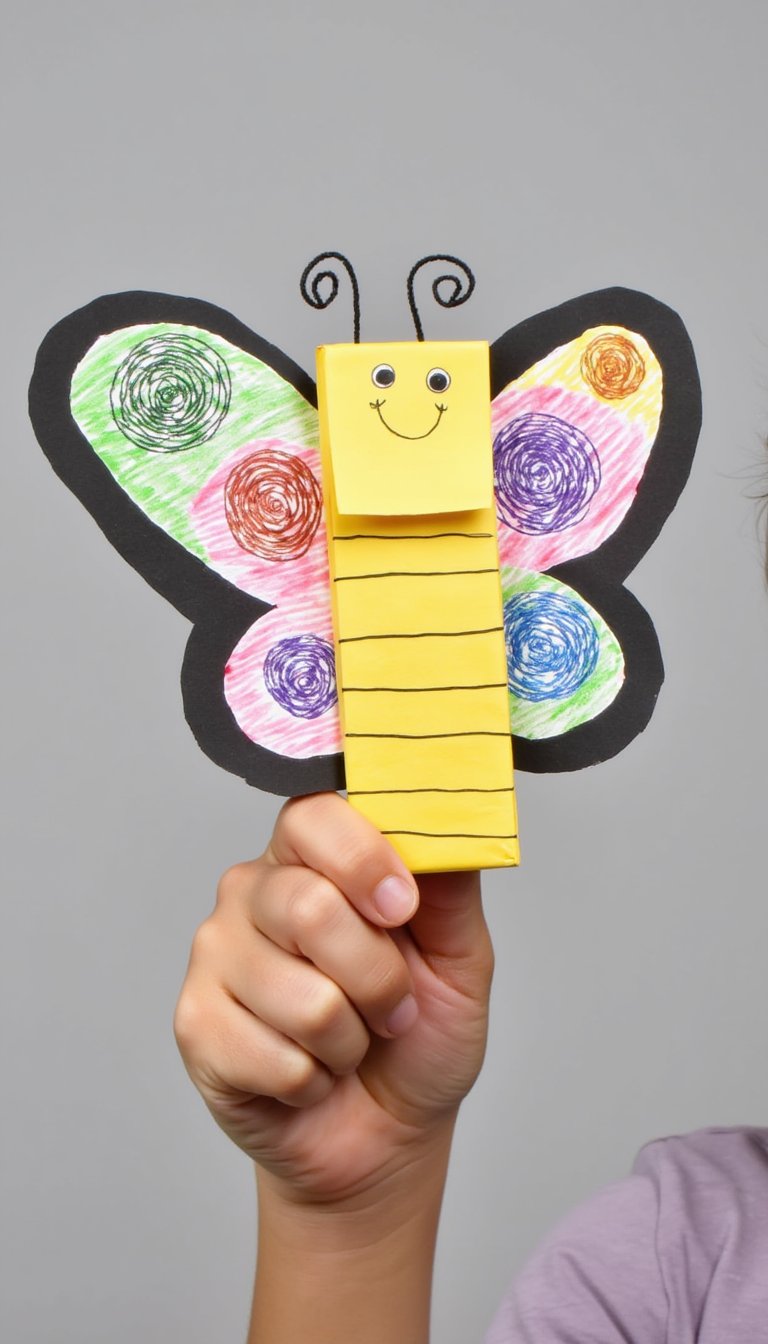
Craft meets playtime. Take a small paper lunch bag. The folded bottom flap becomes the perfect head. Decorate it with eyes and antennae.
Glue or draw magnificent wings on the main body of the bag (the part that expands). Kids can then slip their hand inside to make their butterfly “fly” and tell stories. It’s an interactive craft that lives on long after the glue dries.
18. Button Bonanza Butterfly

Got a jar of random buttons? Put them to stunning use. Draw or cut out a simple butterfly shape. Then, glue buttons of all sizes and colors onto the wings.
Fill in every space. The different textures and metallic shines create a stunning mosaic effect. This is a fantastic way to use up craft supplies and create something with incredible visual weight and interest.
19. Leaf Print Butterfly Wings
Another glorious nature craft. Find leaves with interesting veins and shapes. Paint one side of the leaf with acrylic paint.
Press it onto your paper to make a print. Make two symmetrical prints to form the wings. The intricate, natural details from the leaf veins become the wing patterns. Add a body, and you have a butterfly that truly came from the garden.
20. Paper Quilled Butterfly Art
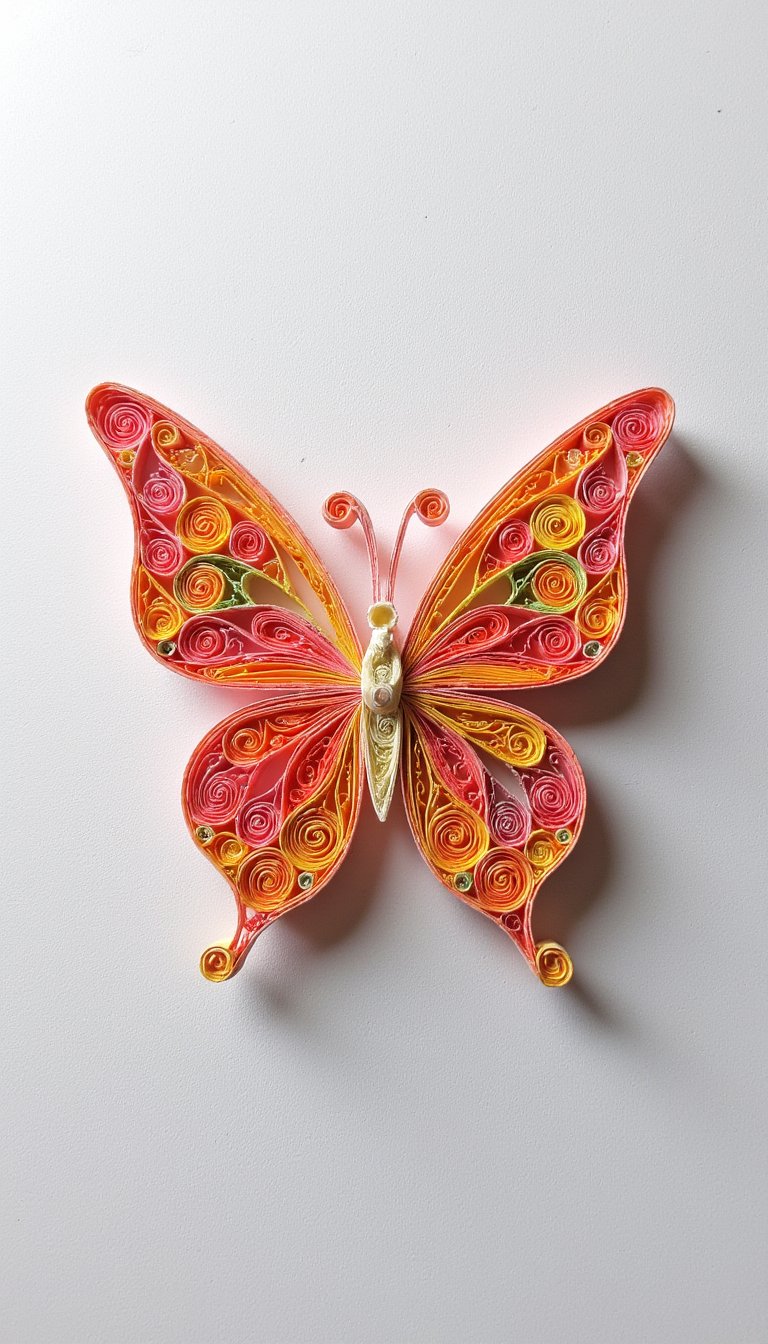
Paper quilling is for older kids, teens, or adults and the results are jaw-dropping. It involves rolling and shaping thin strips of paper.
Create tight coils, teardrops, and marquise shapes, then assemble them into elaborate, delicate butterfly wings on a canvas or cardstock. It’s a meticulous but meditative process that yields a professional, frameworthy piece of art.
21. Melted Bead Suncatcher
Warning: Adult supervision required! This one uses the oven. Arrange plastic pony beads in a butterfly shape in a metal muffin tin or on a parchment-lined baking sheet.
Melt them in the oven according to bead instructions. Once cooled, you have a solid, colorful plastic suncatcher. Drill a small hole at the top to hang it. The translucency is stunning.
22. Cupcake Liner Layers
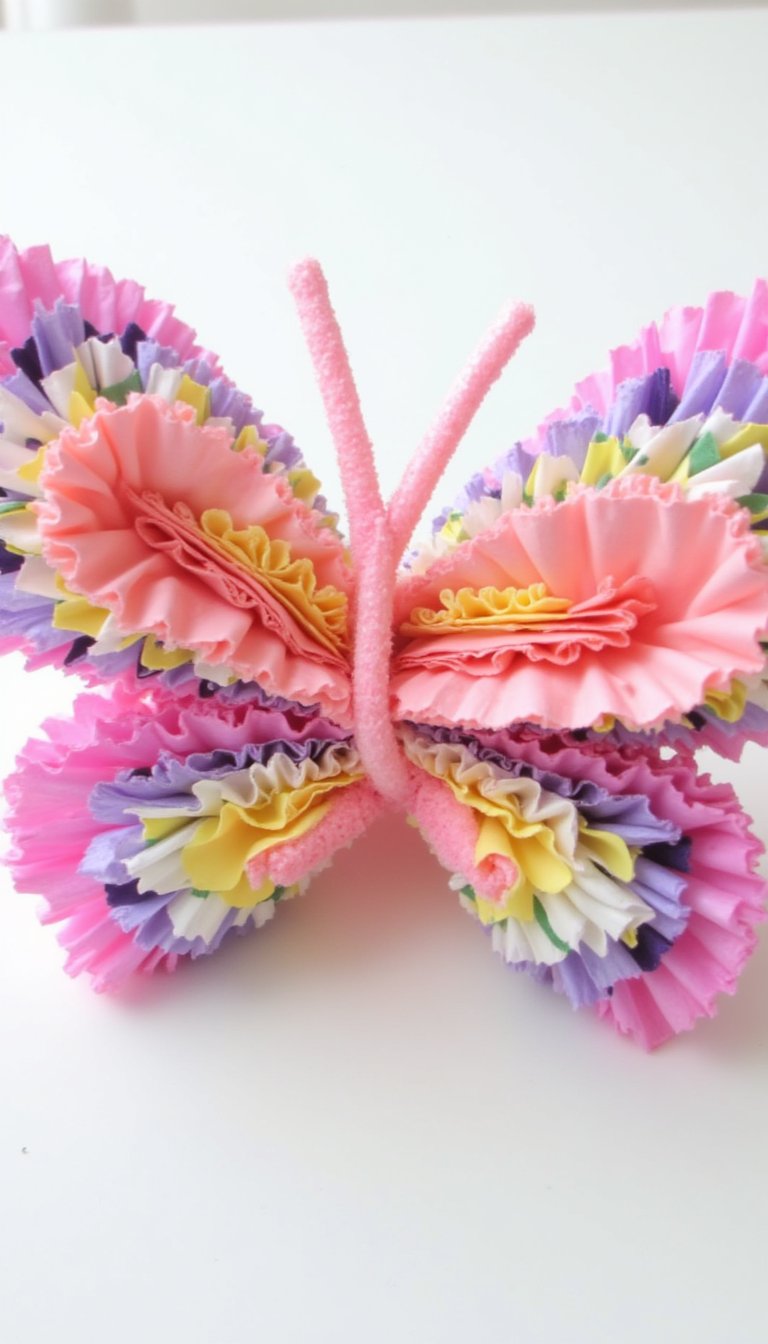
Cupcake liners aren’t just for cupcakes. Flatten colorful liners and layer them in decreasing sizes, gluing them together at the center.
Pinch the center and secure it with a clothespin or pipe cleaner body. The ruffled edges create a beautiful, dimensional, and fluffy butterfly. Using patterned liners takes this to the next level.
23. Salt Dough Butterfly Ornament
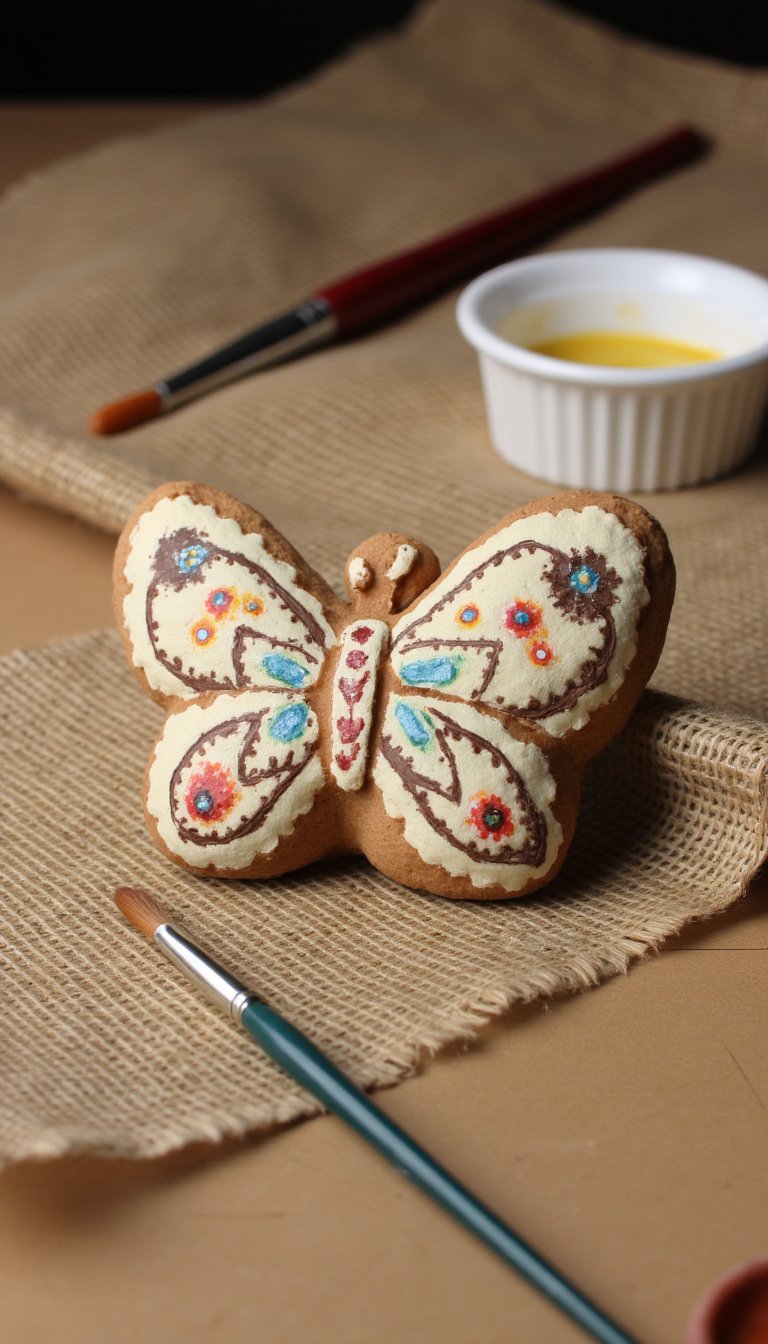
Make a batch of salt dough (flour, salt, water). Roll it out and use cookie cutters or a knife to cut butterfly shapes. Don’t forget to poke a hole for hanging before baking!
Once baked and cooled, paint them with acrylics. Seal with mod podge. These become durable, homemade ornaments or gift tags that last for years. A real keepsake craft.
24. Puzzle Piece Upcycle Butterfly
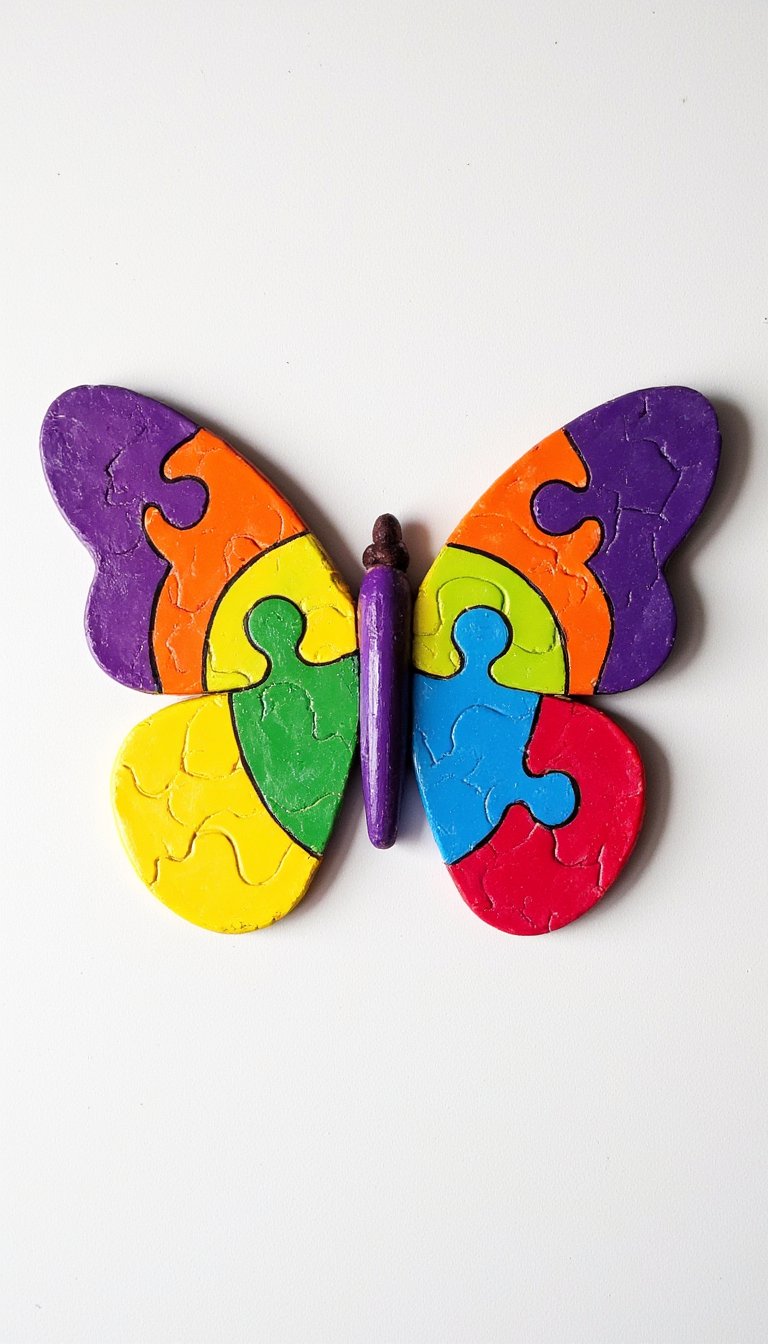
Missing puzzle pieces? Don’t throw the box away! Paint individual puzzle pieces in bright colors. Once dry, arrange four pieces into wing shapes, gluing them onto a background.
The interlocking edges create a cool, geometric pattern. Add a body and antennae. It’s a brilliantly creative way to upcycle something headed for the trash.
25. Glitter Glue Outline Art
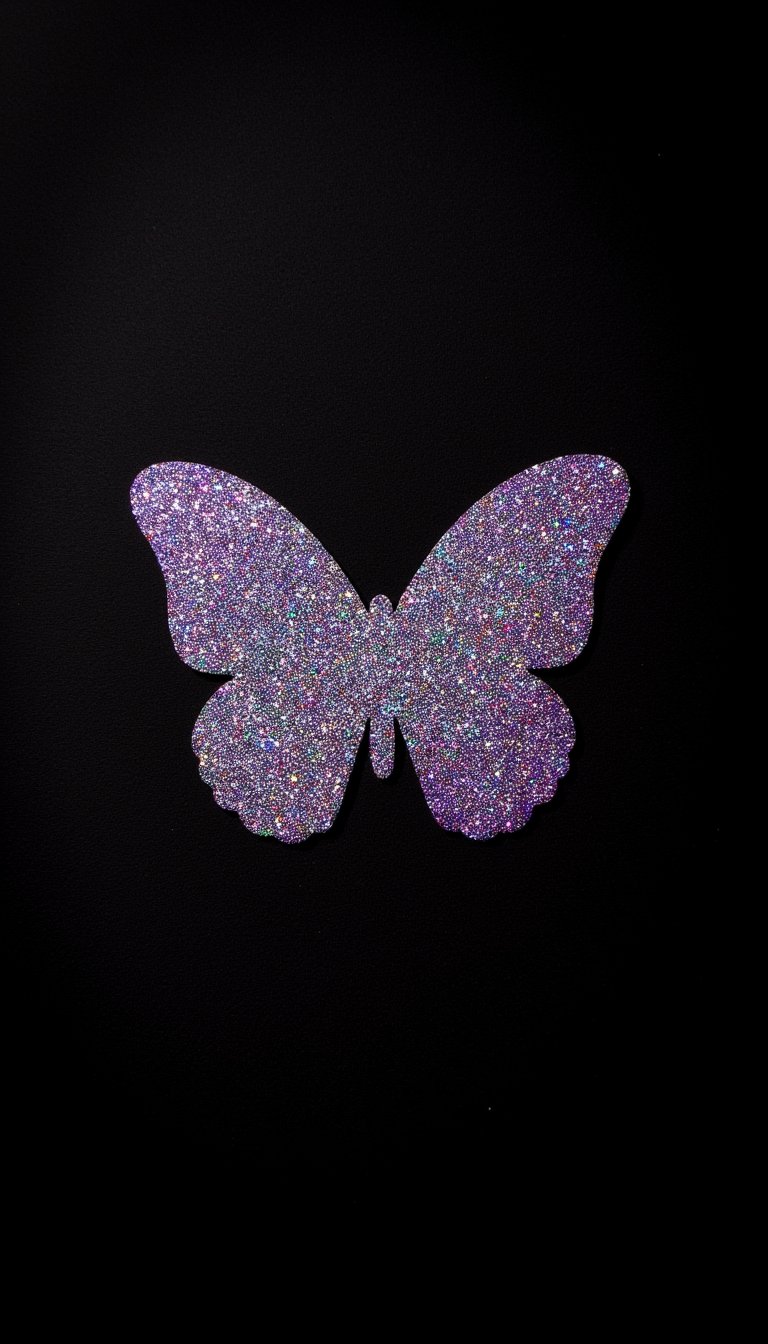
Sometimes, simple is spectacular. Draw a bold, simple butterfly outline on dark paper. Then, trace over every line with glitter glue.
Let it dry overnight. The raised, sparkly outline on the dark background is minimalist and glamorous. It’s low-fuss but high-impact, perfect for a last-minute, dazzling project.
26. Felt No-Sew Butterfly
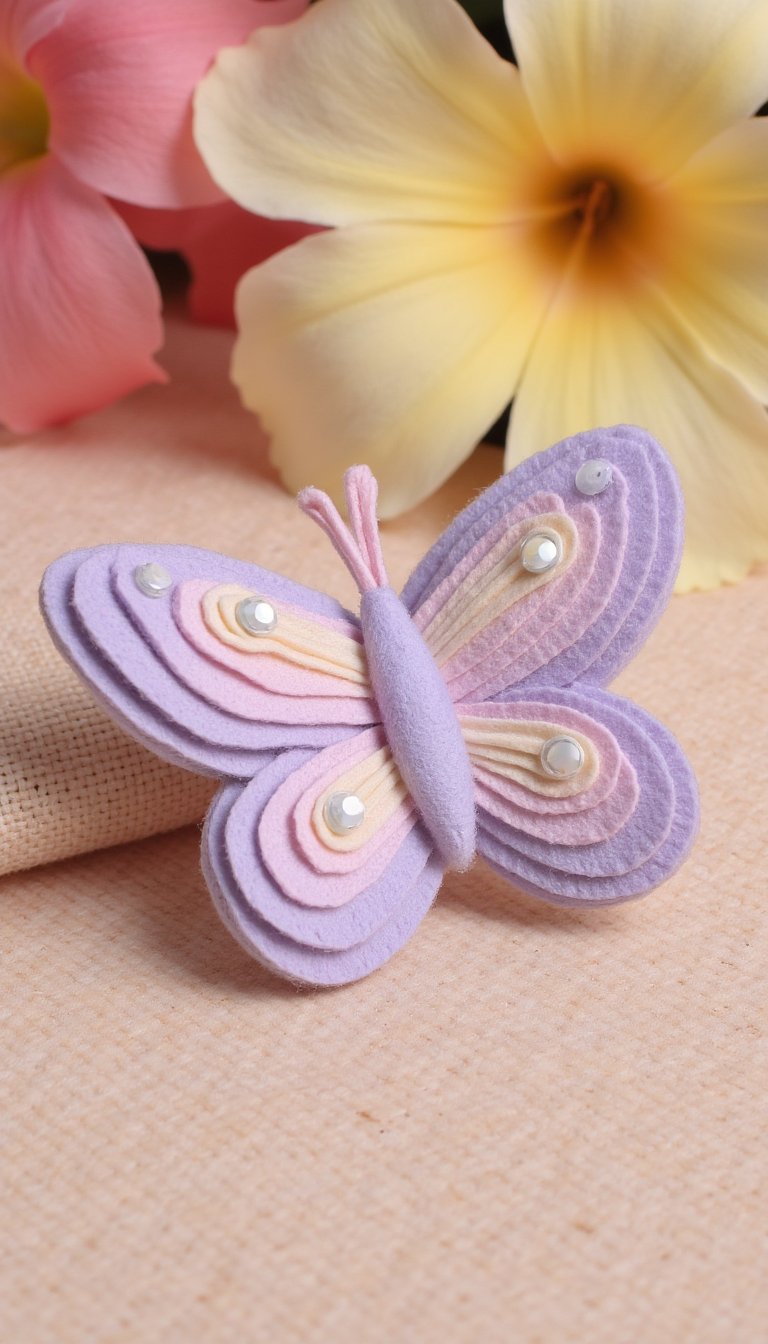
Soft, cute, and no needles required. Cut two identical wing shapes and a small body shape from felt. Use fabric glue to attach them together.
Embellish with smaller felt cut-outs, sequins, or beads. These make adorable hair clips, brooches, or mobile pieces when attached to a string. The texture is so soft and inviting.
27. Magazine Collage Butterfly
Turn old magazines into a vibrant, recycled masterpiece. Cut or tear out pieces of colored pages from ads and articles.
Arrange and glue them within a butterfly outline, creating a collage. The variety of fonts, images, and colors results in a fantastically textured and modern piece of pop art.
28. Pool Noodle Stamp Butterfly

Got a scrap of pool noodle? Cut a small slice. Then, cut a notch out of the center to create a figure-eight stamp.
Dip it in paint and stamp away! The foam creates a great print, and the size is perfect for little hands. This is messy, large-scale fun for outdoor crafting.
29. LED Tea Light Butterfly Jar
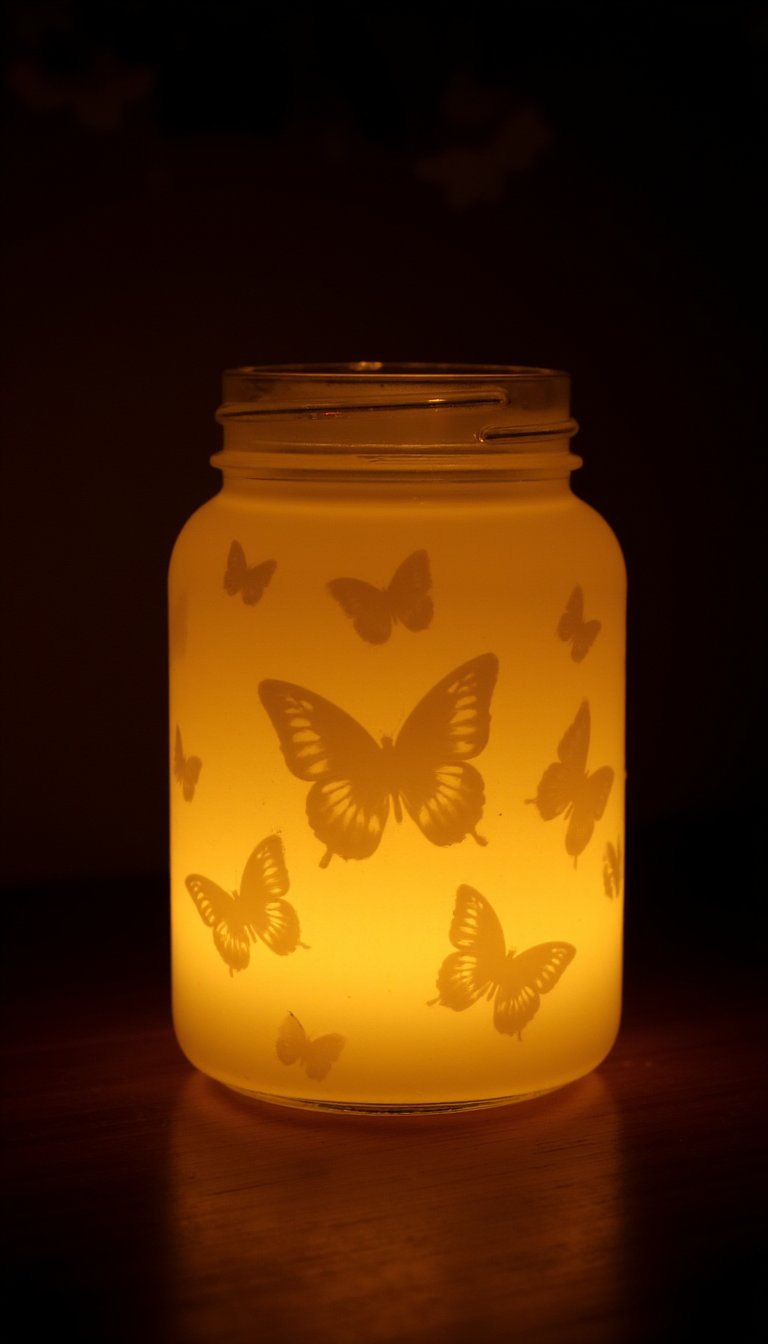
Let’s end with some enchantment. Take a clean mason jar. Cut out butterfly silhouettes from black cardstock or vinyl and stick them to the outside of the jar.
Place a battery-operated LED tea light inside. When you turn it on, the butterflies glow against the walls. It’s a magical nightlight or centerpiece that celebrates your crafting journey in the most beautiful light.
And there you have it—29 butterfly crafts that prove creativity has no limits. From the simple joy of a coffee filter to the intricate beauty of quilling, each project offers its own kind of magic. The best part? You don’t need fancy supplies, just a willingness to experiment and have fun. So, which one will you try first? Pick a project, spread your creative wings, and make something beautiful today. Your flock of paper-and-glue butterflies is waiting.