
Remember staring out the frosted window as a kid, watching a single snowflake land and marveling at its impossible, intricate design? Now imagine creating that same magic with just a piece of paper and a pair of scissors. Forget the lopsided, hole-punched blobs of your childhood. We’re about to level up your cozy craft game with 23 stunning paper snowflakes DIY designs that will transform your home into a winter wonderland. Let’s get cutting.
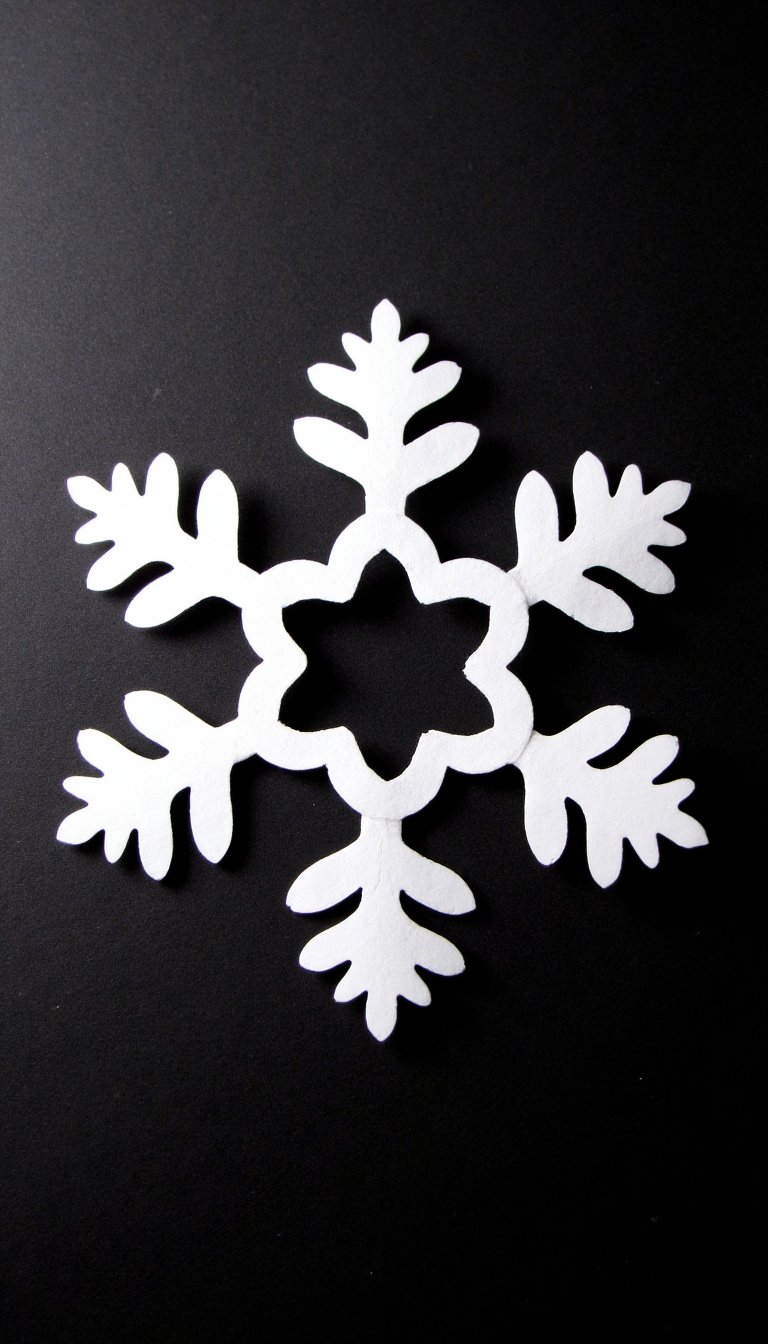
1. The Classic Six-Pointed Star

This is the granddaddy of all paper snowflakes, the one your brain pictures when you hear the word. It all starts with the perfect fold. The secret isn’t just folding in half; it’s about creating six equal sections for that iconic, symmetrical look. Master this fold, and you’ve unlocked the foundation for almost every other design on this list.
The Fold is Everything
Start with a square piece of paper. Fold it into a triangle, then fold that triangle in half again. Now, here’s the tricky part: fold the triangle into thirds, like a pie. It doesn’t have to be perfect, but get it as close as you can. Trim the top off at an angle, and you have your canvas. This is your foundational DIY paper snowflake technique.
2. The Delicate Doily

Want a snowflake that looks like it belongs in a fancy Victorian shop window? This is your design. Instead of big, chunky cuts, you’ll use the tip of your scissors to create tiny holes, slits, and curves. Think of it as drawing with your scissors. The goal is to remove as much paper as possible while keeping the structure intact, resulting in a gorgeous, lace-like effect.
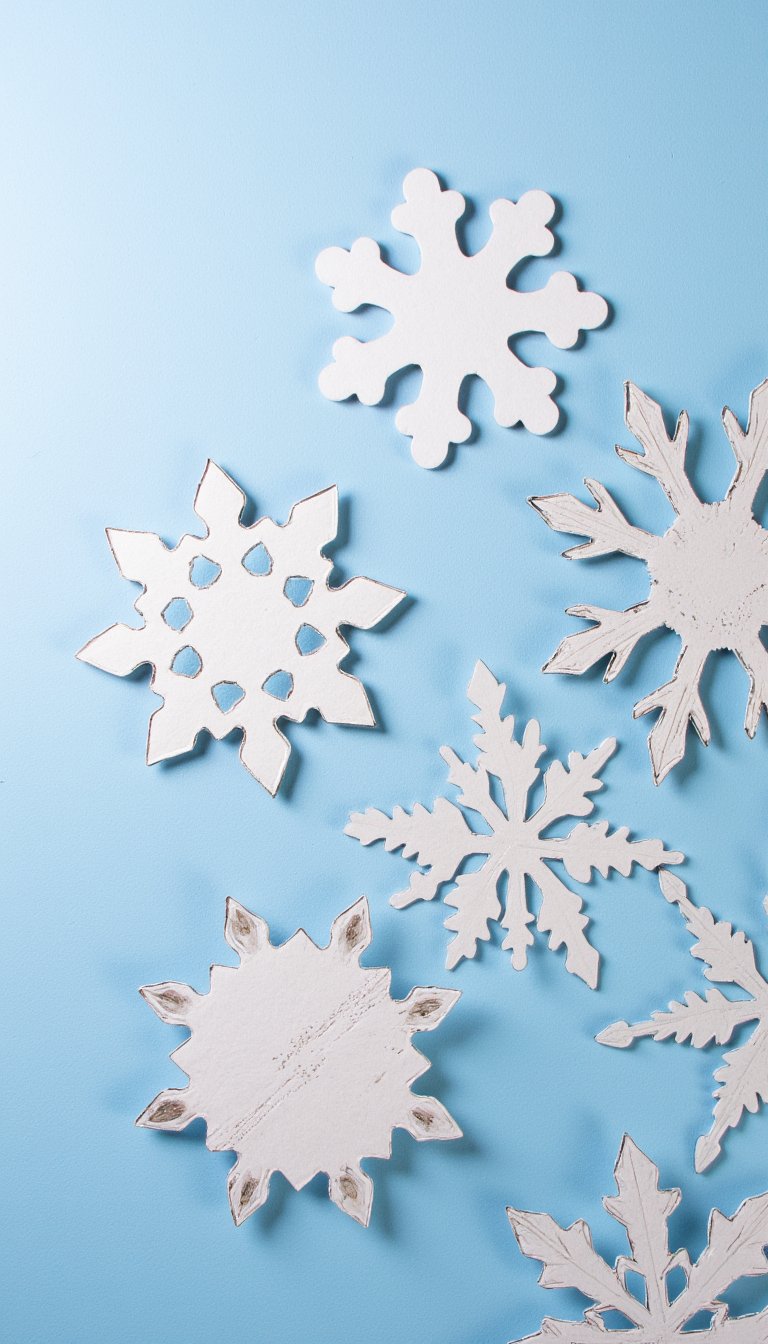
3. The Geometric Marvel

Who said snowflakes have to be soft and flowy? This modern take uses sharp, straight cuts and clean angles to create a snowflake that would make a mathematician proud. Cut triangles, squares, and rectangles out of the folded edges. When you unfold it, you’ll reveal a stunning, abstract pattern that looks more like a piece of graphic art than a simple craft.
4. The Whimsical Animal Parade

Yes, you can make snowflakes with hidden silhouettes! This one takes a little planning. Before you make your final folds, lightly sketch a simple animal shape—like a reindeer, a penguin, or a snowman—along the central spine of your triangle. Then, cut around it. The magic happens when you unfold it to find a circle of adorable critters holding hands. It’s a total showstopper.
5. The 3D Hanging Orb

Why settle for flat when you can have depth? This project combines multiple 2D snowflakes to create a breathtaking 3D centerpiece. You’ll create several identical snowflakes, fold them down the center, and glue them together along their spines. The final result is a stunning orb that seems to float in mid-air, casting incredible shadows around the room.
6. The Monogram Masterpiece

Personalize your winter decor with a snowflake that features your initial. Similar to the animal parade, you’ll carefully plan the placement of a block letter along the central fold of your paper. It requires a steady hand, but the payoff is huge. Can you think of a better DIY gift topper or personalized holiday card addition? I can’t.
7. The Negative Space Wonder
This design flips the script. Instead of the cuts forming the pattern, the paper you leave behind creates the shape. Focus on cutting out large, connected shapes from the edges. When you unfold it, the “empty” spaces will form a bold, striking pattern against the delicate arms of the snowflake. It’s a lesson in seeing the art in what you remove.
8. The Coffee Filter Snowflake

Don’t have fancy paper? No problem. Raid your kitchen cupboard for coffee filters. Their round shape and thin, absorbent material make them perfect for soft, delicate snowflakes. They’re also fantastic for a kid-friendly version of this craft, as the scissors cut through them like butter. Pro tip: add a splash of watercolor for a beautiful, ethereal effect.
9. The Intricate Mandala

Ready for a challenge? This design is for you. It involves incredibly detailed cuts, often using a craft knife for precision. We’re talking tiny teardrops, intricate filigree, and patterns within patterns. Put on some calming music, take a deep breath, and lose yourself in the process. The final product is less of a snowflake and more of a meditative work of art.
10. The Giant Floor-to-Ceiling Statement

Go big or go home, right? For this one, use a full sheet of poster board or a large piece of wrapping paper. The folding gets a bit cumbersome, but the result is a snowflake that can adorn an entire wall or window. It makes an incredible backdrop for a holiday party or a festive photo booth prop. Talk about a grand entrance.
11. The Quilled Paper Snowflake

This technique combines cutting with coiling. Create a simple, more open snowflake shape from sturdy paper. Then, use the art of paper quilling—rolling thin strips of paper into coils, teardrops, and other shapes—to decorate the arms. Glue these delicate paper sculptures onto your snowflake base for a stunning, textured 3D effect.
12. The Color Burst

Who decreed that snowflakes must be white? Use colored construction paper, scrapbook paper, or even pages from an old book or map. You can also create an ombre effect by lightly spraying one end of your folded paper with spray ink or watercolor before you cut. Unfold it to reveal a beautiful gradient of color.
13. The “Stained Glass” Window Cling

Make your snowflakes glow! Create a snowflake as usual, but use clear contact paper or a laminator sheet as your medium. After cutting your design, peel off the backing and stick it to a window. The light will stream through the negative space, creating a beautiful “stained glass” effect that’s simply magical in the afternoon sun.
14. The Snowflake Garland

Don’t stop at one. Create a fleet of smaller, complementary snowflakes and string them together into a gorgeous garland. Use different designs from this list for an eclectic look, or stick with one pattern for a more uniform decoration. Drape it over the mantle, across a bookshelf, or in a doorway for a continuous cascade of winter charm.
15. The Kirigami Cascade

Kirigami is the art of cutting and folding paper (think pop-up cards). Apply this principle by making strategic cuts that don’t fully separate from the paper, allowing parts of the snowflake to fold inward or outward when opened. This creates dynamic, multi-layered snowflakes with incredible depth and movement.
16. The Metallic Showstopper

Grab some gold, silver, or rose gold metallic paper. The reflective quality of the paper takes your snowflake from cute to absolutely elegant. These look phenomenal hanging from the ceiling over a dining table, catching the light from the chandelier and scattering tiny sparkles around the room. It’s an instant party upgrade.
17. The Miniature Mobiles
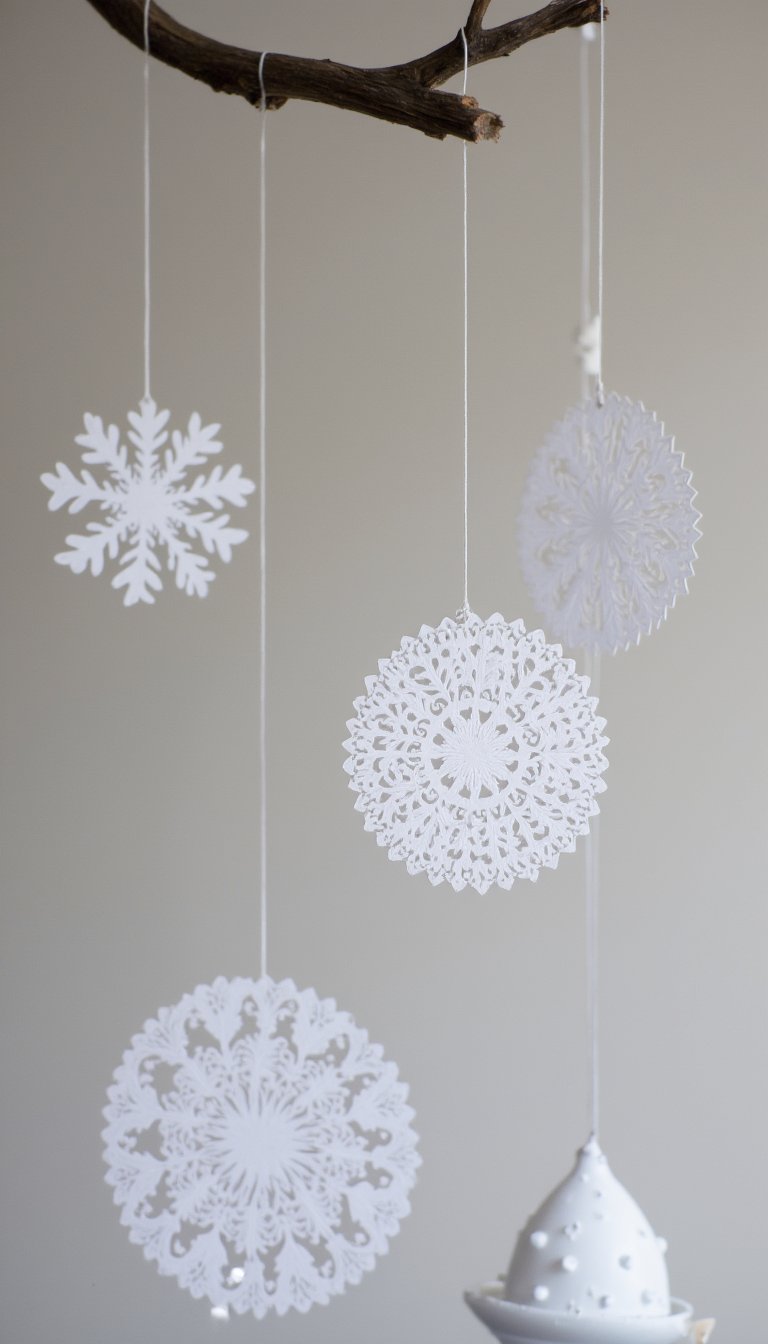
Think small! Using tiny pieces of paper and precision scissors, you can create a collection of miniature snowflakes. Attach them to a fallen twig or an embroidery hoop with clear thread at different lengths to create a delicate mobile. It’s a subtle, beautiful piece of decor for a small corner that needs a festive touch.
18. The Puzzle Piece Snowflake
Got a puzzle with missing pieces? Don’t throw it out! The thick cardboard of puzzle pieces is perfect for creating sturdy, unique snowflakes. Paint them a solid color first, or leave the printed side out for a quirky, eclectic look. This is one of the most creative paper snowflakes DIY projects for upcyclers.
19. The Heart-Themed Flake

Spread a little love during the holiday season. By strategically cutting small heart shapes into your folded paper, you can create a snowflake where every arm ends in a heart. It’s a wonderfully sweet and subtle design that’s perfect for a newlywed’s first home or as a Valentine’s Day decoration that bridges the gap between holidays.
20. The No-Cut Fringe Snowflake

No scissors? No problem. This design is all about folding and fringing. Fold your paper as usual, and then instead of cutting out shapes, make a series of parallel cuts from the open edge towards the folded edge, stopping about an inch short. When you unfold it, you’ll have a beautiful, shaggy, textural snowflake. It’s oddly satisfying to make.
21. The Book Page Literary Flake
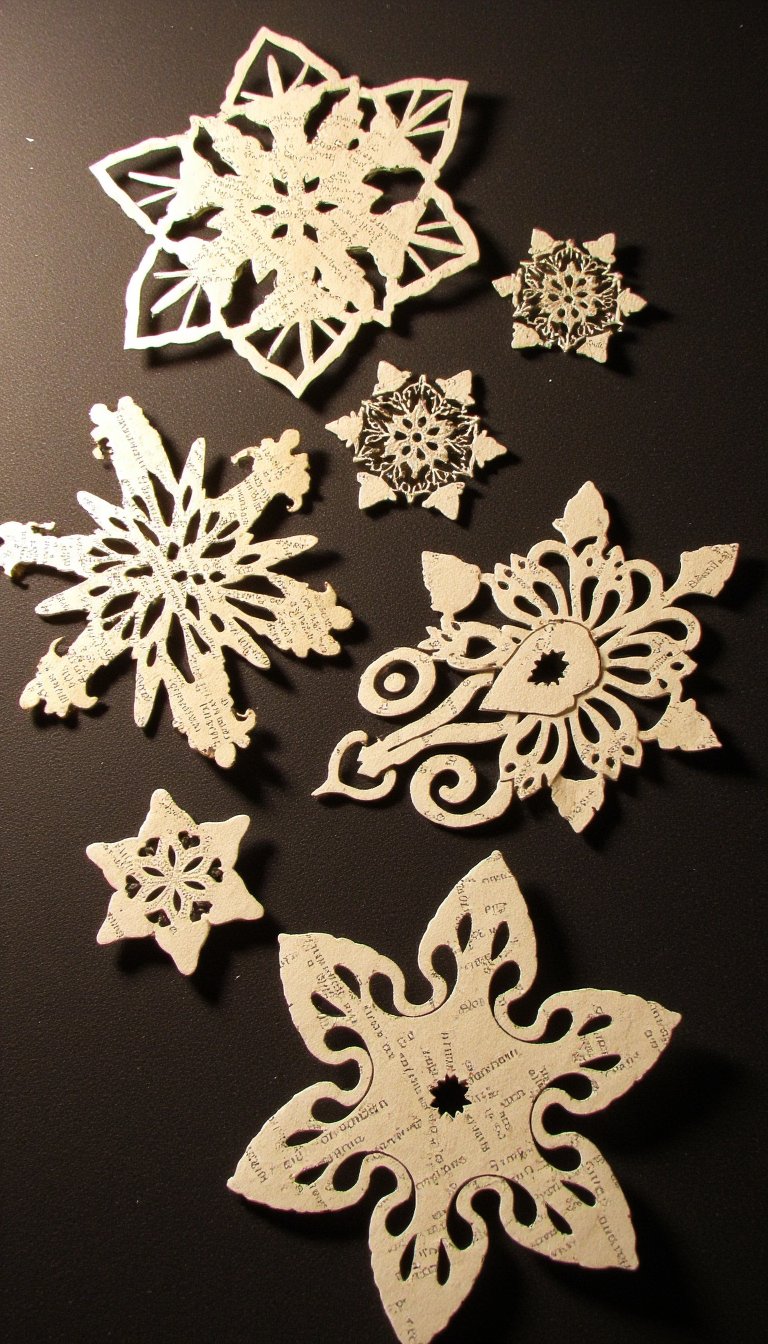
Give your snowflakes a story. Use a page from a damaged old book, sheet music, or a printed recipe card. The text adds a layer of vintage charm and visual texture that plain paper can’t match. These look incredible grouped together on a Christmas tree for a literary-themed holiday.
22. The Glitter Bomb

Embrace the sparkle. 😉 After cutting your snowflake, use a glue stick to trace over the design you want to highlight. Then, sprinkle glitter over the glue, shake off the excess, and let it dry. You get all the glam without the infamous “glitter fallout” all over your house. It’s controlled chaos and it’s beautiful.
23. The Shadow Box Frame

Your masterpiece deserves a proper display. Take your most intricate, favorite snowflake and mount it in a deep shadow box frame. Layer it over a contrasting piece of colored paper or fabric to make the design pop. This transforms your fleeting paper craft into a permanent piece of winter art you can bring out year after year.
And there you have it—23 ways to turn a simple square of paper into a blizzard of beauty. From the classic six-pointer to the glittering framed finale, you now have a project for every mood and skill level. The real magic of this paper snowflakes DIY journey isn’t just in the final product; it’s in the quiet, focused time you spend creating something unique with your own two hands. So, what are you waiting for? Grab some paper, make a pot of tea, and let it snow indoors.